I’ve been toying around with the idea of making BlogChef recipe books. My goals? Create something memorable, unique, and fun. Give families a reason to gather around in the kitchen and work together. Give faraway friends a new experience to share over FaceTime.
To inspire togetherness, one meal at a time.
If a customized recipe book can do all that — and I think it can — I figure I should share the know-how. Plus, selfishly, writing up the process helps me put my own plan in motion.

So pull up a chair and grab your spatula. Let’s dive into the delicious world of crafting a recipe book, step by step.
1. Preheating the oven: Vision and purpose
Before you toss ingredients together willy-nilly, it’s essential to clarify the vision and purpose of your new recipe book. Some examples:
- Document grandma’s secret cookie recipes and gift them to the youngest generation in your family so her legacy lives on
- Convert carnivores to vegan diets with satisfying and delicious meat-free grubs
- Create a handbook for low-cost cooking to gift to your kids as they grow up and strike out on their own
- Choreograph a poetic, food-centric experience with recipes, photos and descriptions that are unique and stunning
- More practically, give yourself easy access to the recipes you use repeatedly because the recipes folder in your Chrome bookmarks is out of hand
Whether you want to pour your culinary soul into printed cards or simply make your life easier, defining the purpose of your recipe book is a must. When you know the endgame, you can make faster, more appropriate decisions along the way. That includes which recipes to include, what type of photos to snap, and what colors to use in the cover design.
2. Ingredients on deck: Gather your recipes

Now it’s time to dig into the pantry of your culinary exploits to find recipes that suit your theme. Since you spent the time to define a theme for your book, you likely have several recipes in mind already. If you’re struggling to add more to the list, consider:
- The dishes your friends request at potlucks, like your fiery hot buffalo wings
- The things you enjoy making on Sunday mornings, such as scones made with organic linseed
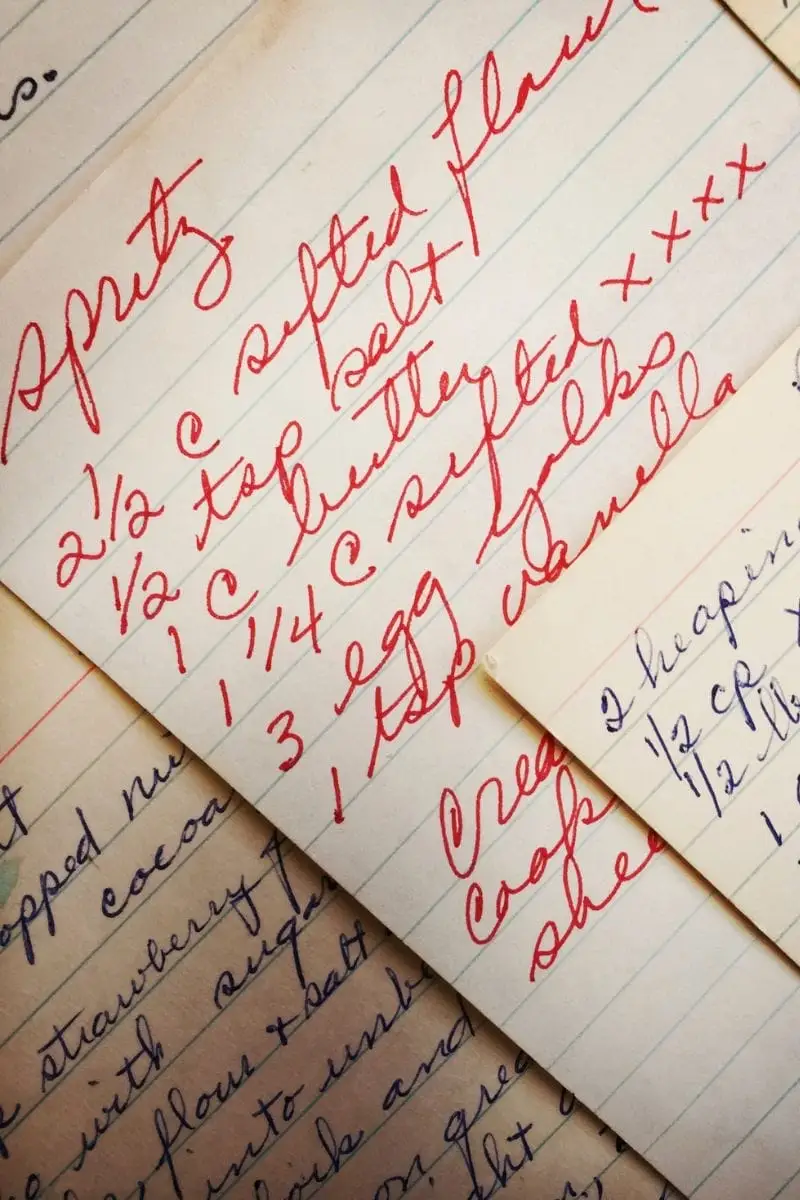
- The recipes that exist only as scribbled notes in a kitchen drawer, including grandma’s not-so-famous butterscotch sauce
- Meals you made imaginatively because you didn’t have the right ingredients, such as the stuffed peppers you made with quinoa and ground pork in lieu of rice and ground beef
Live by the rule: If it made someone go “mmm” once, it deserves consideration for your collection.
This step is like gathering your mise en place before a chaotic dinner service. It saves tons of time later.
3. The prep: Putting your photos and recipes into book format
Now the real work begins. Putting your photos and recipes into a book format is not for the faint-hearted. Whether you want to make a digital recipe book that looks like artwork or something more practical, the job is a big one.
Unless your graphically inclined, stick to tools with prebuilt designs that you can customize. Mixbook and Canva are two options I’d recommend.
Those prebuilt designs rely heavily on photographs — as they should. A recipe is far more interesting when it’s presented with a droolworthy pic.
If you don’t have photos of your creations, guess what? You get to do some cooking so you can take pictures. That’s also a great time to verify that the measurements and the timings of your recipe are perfect.
4. Secret sauce: Personal touches
Personal touches set your recipe book apart and make it a truly special collection. You can add your own zest and charm with anecdotes about kitchen blunders or quirky tips you swear by.
Getting personal helps your readers feel like you’re right there with them, grating the cheese or wiping flour off your forehead. Your presence in spirit is like the finely chopped herbs atop a pasta dish. It’s not just garnish; it adds flavor.
And here’s one more difference-maker: Add in non-recipe pages to your book. Consider a sassy introduction or a page detailing your cooking philosophy, for example. Or dedicate entire pages to your best food photos, set off with funny captions. You could also include the stories behind certain recipes, like why Aunt Edna’s peach cobbler uses canned peaches vs. fresh ones.
These elements can transform what could’ve been just another cookbook into an experience, the book people pick up for kitchen inspiration plus a hearty side-serving of laughs or reflection.
Final thoughts on DIY recipe books
Think of your recipe book as a snapshot of your kitchen soul. Once it’s all bound up (digitally or IRL), it’ll be more than a collection of instructions. It’ll be the story of you, served up one delectable bite at a time.
