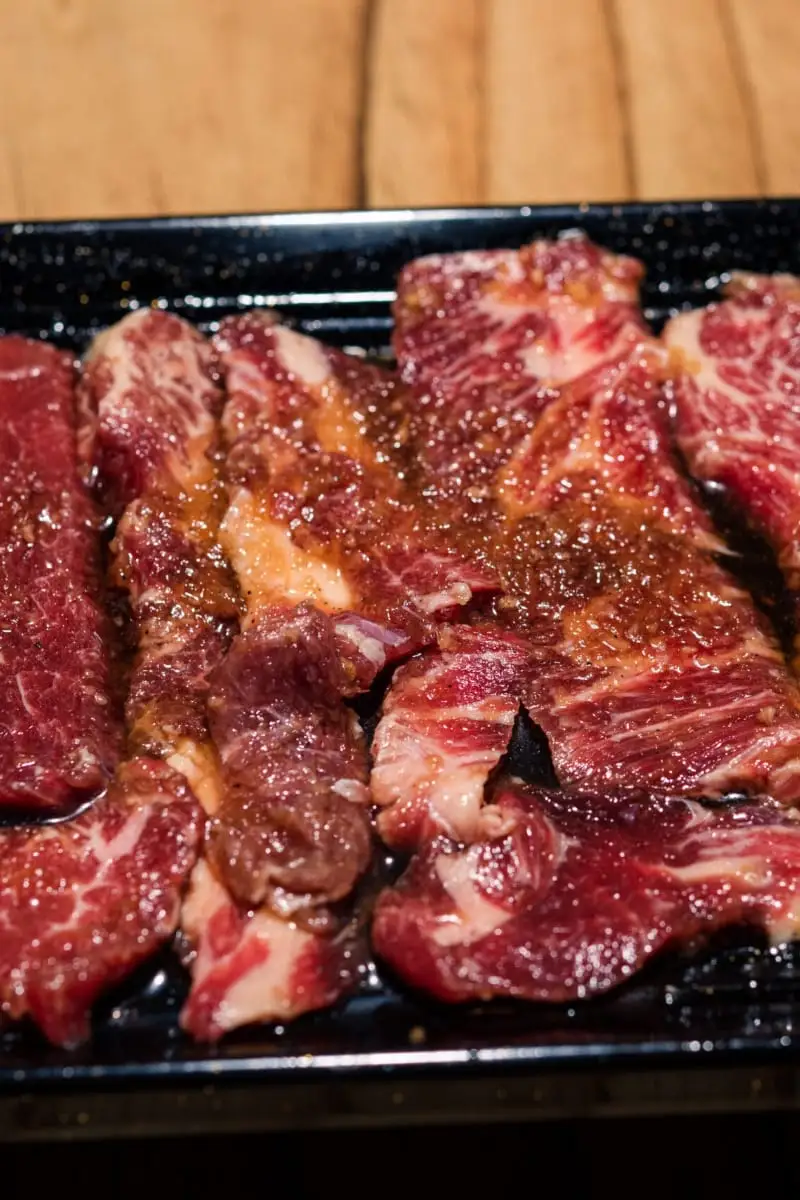
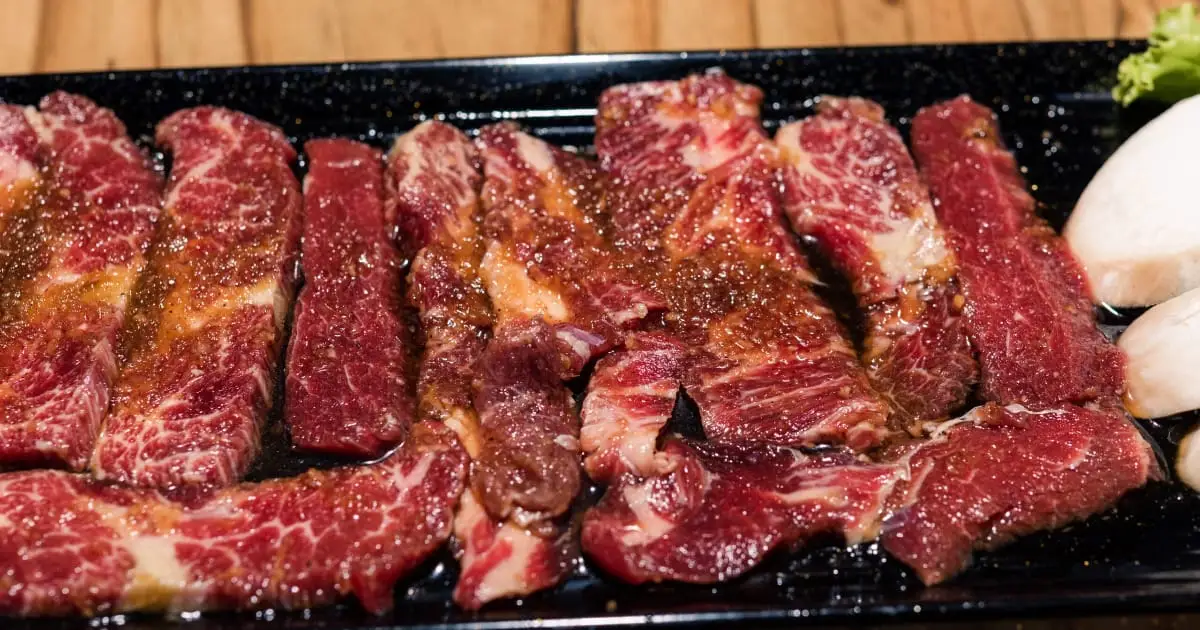
Korean short ribs, aka kalbi, are very popular and delicious; they’re also one of the most delicious beef dishes in the world. Cooking this dish isn’t so hard once you know all the steps and cooking instructions that come with it. If you want to achieve the best results in this recipe dish, you’re in luck!
In this article, we’ll give you some useful tips, step-by-step instructions, and necessary guidelines to carry out when cooking Korean short ribs on the stovetop. Just sit back, relax and learn how to cook this dish like a pro using basic ingredients you can find in the stores around you.

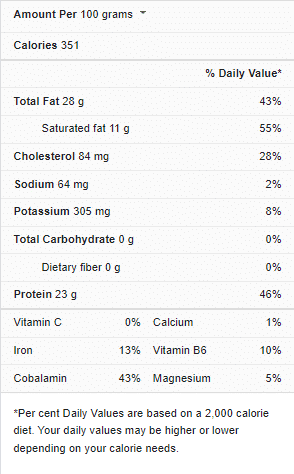
Ribs nutrition facts

Tips for cooking korean short ribs on stovetop
Don’t trim off the fat – in every meat cut, there are always bits of fat lodged in the folds of the meat. Fat in Korean short ribs is what makes them more tasty and very savory. A lot of people eat these ribs with the fat on them. But if you’re not so comfortable with the fat, you can trim it off just a little, so the rest can melt on the ribs for flavor.
Wash your meat – wash the short rib thoroughly before you start cooking to remove some particles of bone dust or shards on it. This dust is caused by the cutting process of the raw meat and bone; some tiny bits of the bone breaks off and appear like dust on the meat.
Also, soaking the meat for about half an hour and washing it after helps draw out the blood in the meat. Although this process cannot get rid of all the blood cells lodged into the meat cut, it helps remove a fair amount of blood.
Marinate the meat – make a homemade marinade to add to your beef ribs so as to get the best results with this recipe. Not to worry, we’ve got the ingredients and directions for making a very delicious marinade below.
Score the meat – marinades only reach the surface of the meat when applied, so you might want to score your beef ribs only just a little, say about half an inch, to ensure that they can absorb all those seasonings when marinated. Side tip: score the meat in perpendicular directions with one facing away from the other so you don’t end up slicing your meat in half before it’s even cooked.
Don’t add too much sugar – adding a lot of sugar to the marinade that will be added to your meat ribs could cause the meat to burn because sugar burns up easily. So, reduce the quantity of sugar you add in, even if you have a sweet tooth, to avoid your dish burning up on the stove.
You don’t have to use oil – oil is optional for this recipe because you can also fry the short ribs in their melted fat. This is equivalent to using vegetable oil or any other kind of oil, maybe even better because the fat is meant to carry some flavor with it.
Cooking time for korean short ribs on stove
In the table below, we’ve compiled the necessary timing guidelines you should always carry out when you want to cook Korean short ribs on the stovetop.
| Cooking procedure | Cooking time |
| Cooking Korean-styled short ribs on the stovetop |

Pan-seared korean short ribs (4 to 6 servings)
Ingredients
- 3 to 5 lb of beef short ribs, flanken cut
- 1 Korean pear or regular apple
- 1 medium onion
- 5 to 6 medium garlic cloves
- 1 bunch of scallions
- 1 medium thumb of ginger,
- Soy sauce
- Rice vinegar
- 2 tbsp sugar, any kind
- Toasted sesame oil
- Toasted sesame seeds (optional)
- 1/2 cup of water
- Fresh ground pepper
- Any dark and leafy green vegetable, cleaned and roughly sliced (optional)
Instructions
- Wash the meat cuts in water to get rid of the bone shards. Soak them in a bowl of water for about half an hour to remove some of their blood. After it’s done soaking, pat the meat dry with a paper towel and score the sides in perpendicular directions on the opposite sides.
- For the marinade, smash the garlic cloves on a flat surface using your knife. Next, shave the peel off of the ginger and chop up your onions into medium chunks. Peel and cut up the pear into chunks, too. Add everything into a food processor and squirt your desired amount of soy sauce on it. You can add a little at first and check later if you need to add more of it.
- Add the sugar, rice vinegar, and some ground pepper into the food processor. Remember, there’s no need to add salt because the soy sauce already contains salt. Blend everything together until it turns into a dark liquid marinade. You can taste it to know if it needs a little bit more of any ingredient. Add ½ cup of water and a few drops of the toasted sesame oil to the mix.
- Put the meat into a zip lock bag or airtight container, any you prefer, and pour the marinade on top of the meat. Shake it around, so it mixes well, and leave to marinate overnight in the fridge.
- When the meat is out of the fridge, wipe off the excess marinade on its surface with your hands or a paper towel. You can even wash it off with water; the flavor is already locked into the meat. Lay the meat side-by-side on a large pan on the stovetop and turn the heat on high. Add water halfway up into the pan and let it cook for 10 minutes.
- Flip the meat every once in a while as the water boils down. This will allow the fat to render down and melt easily. Turn your heat down a bit and continue flipping the meat to prevent it from burning. You can now fry the meat in its own fat, the fat and remaining marinade will give it an excellent glaze. Once the meat is well cooked, take it out from the pan and cut them up into finger foods.
- Fry up the vegetables in the pan containing the leftover marinade, tossing them regularly so they can absorb all those juices. When you’re done frying the greens, serve on a plate alongside the sliced Korean short ribs and some white rice. You can sprinkle some toasted sesame seeds; they taste excellent with the meat Enjoy!
If you’re looking for more ways to enhance your skills at Korean short ribs on the stovetop, please check out this video.
