Have you ever felt like recreating the wonderfully chewy texture of restaurant-style sushi rice in your own home? Cooking sushi rice is a delicate craft for sure, and it may seem safer to leave it to the professionals. However, this should not stop you from making it in the comfort of your own kitchen.
In this article, we’ll teach you how to cook sushi rice on the stovetop and achieve excellent results. Make sure to pay attention to our cooking instructions as well as our helpful tips and guidelines in order to get the best results with your recipe.

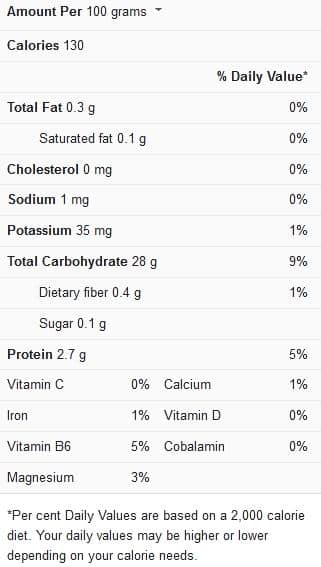
Rice Nutrition Facts

Tips for cooking sushi rice
Pay attention to the following helpful tips and guidelines when cooking sushi rice on the stovetop:
Use quality rice for your recipe – Look for short-grain rice varieties that are either created in Japan or labeled as “sushi rice” (a number of the less expensive brands are now California-grown). However, keep in mind that quality, price, flavor, and textures will vary widely among sushi rice manufacturers, so if you’re committed to finding your favorite brand, taste-test a few varieties before you decide on which one you prefer.
The ideal texture for sushi rice – The goal with sushi rice is to cook the rice to an al dente quality (firm but not crispy) and avoid mashing the sticky rice when stirring it (thus the careful slicing/folding procedure rather than randomly stirring the rice in circles).
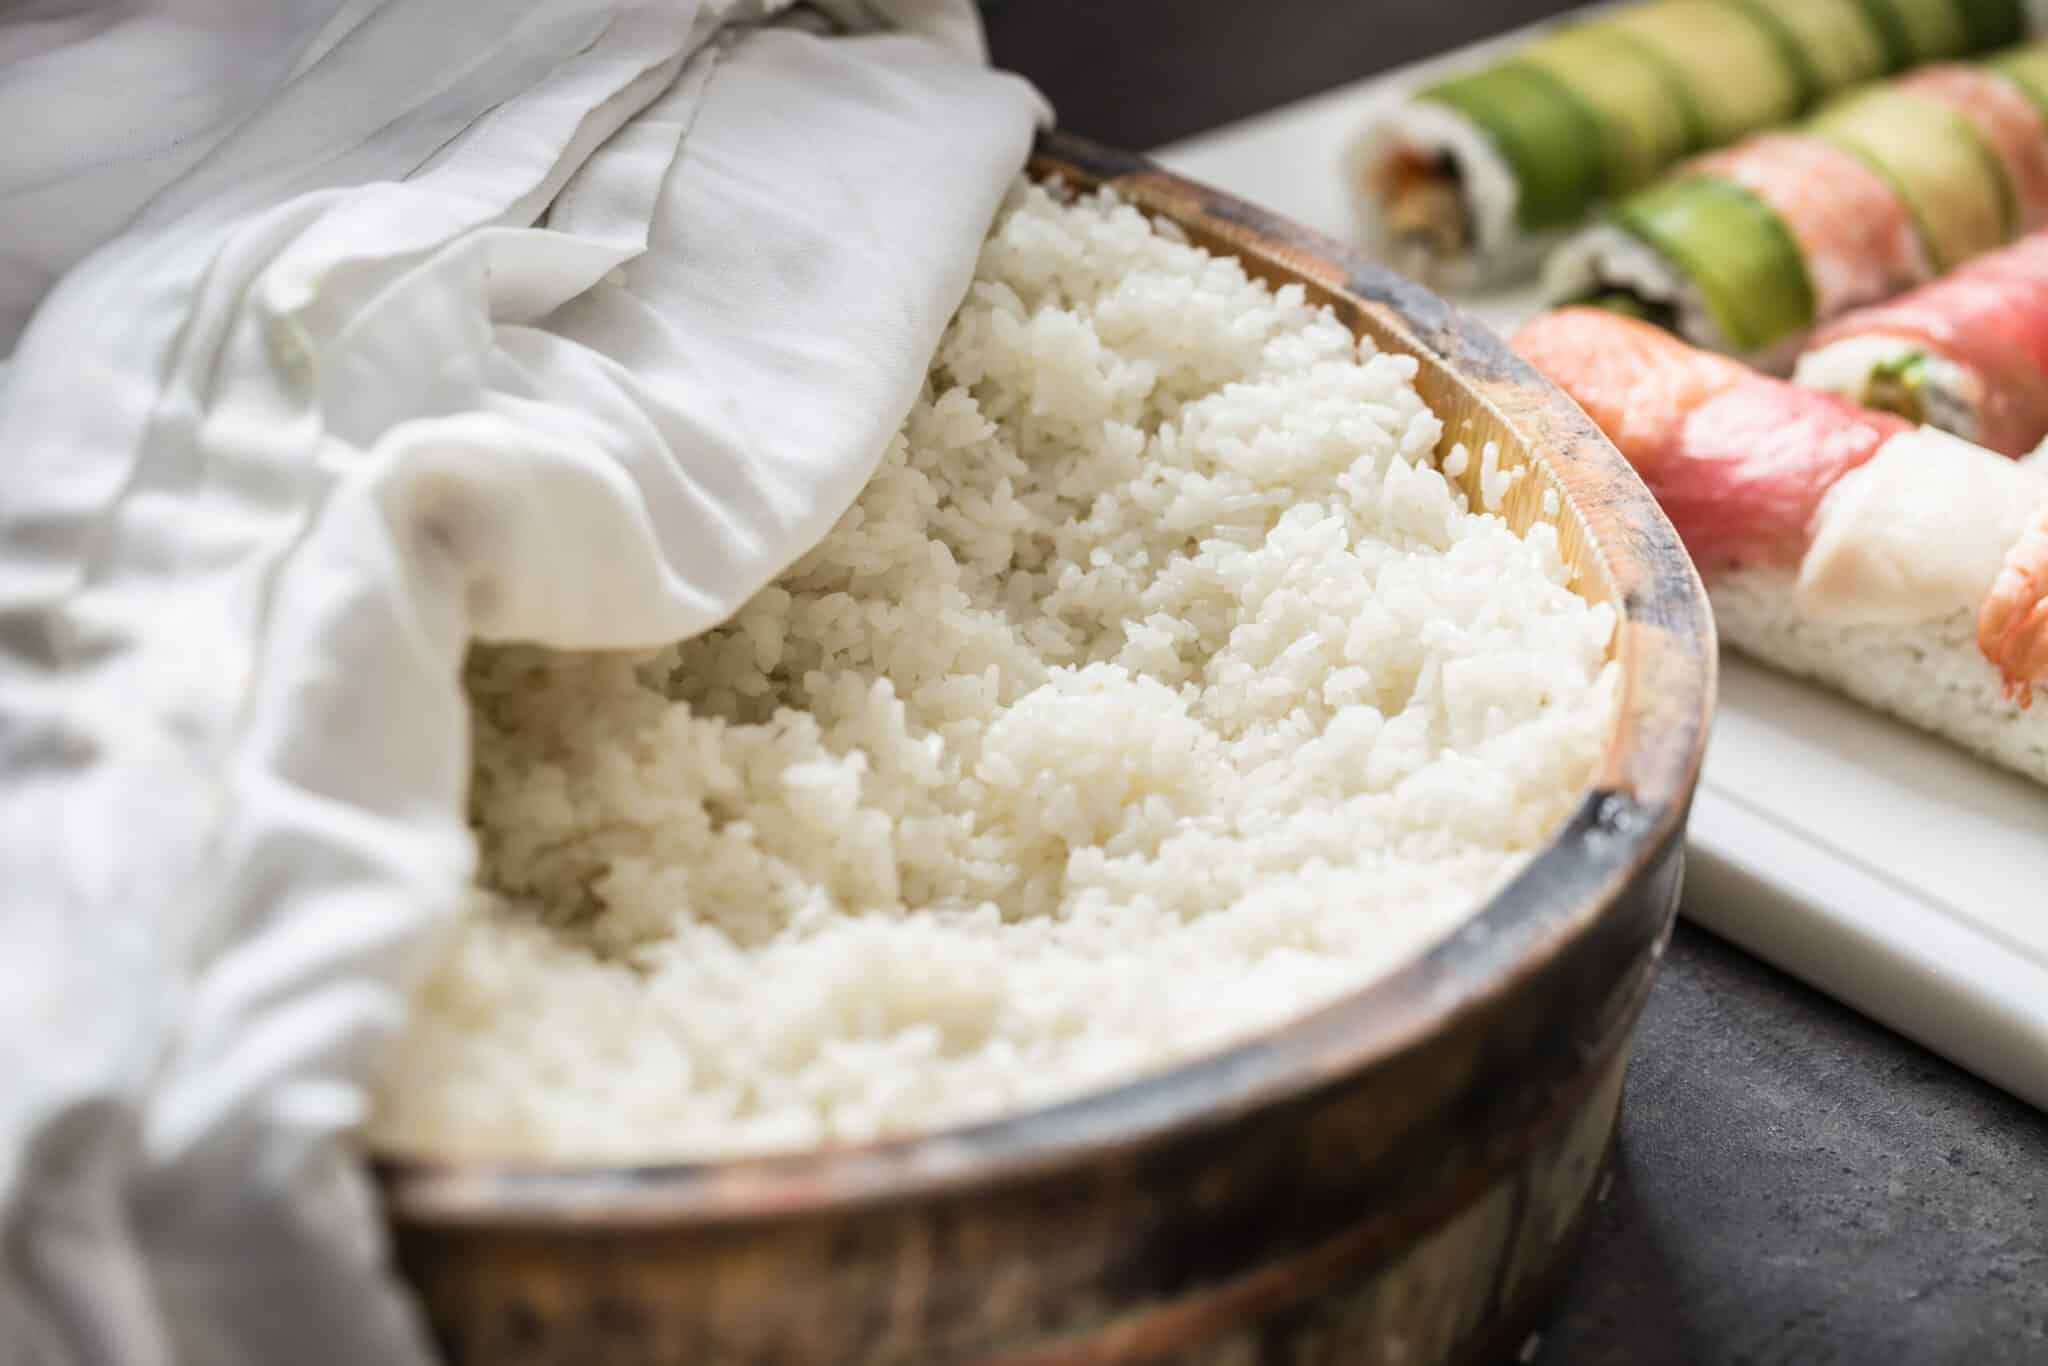
Sushi rice should ideally have a polished and lustrous appearance, with the individual grains remaining relatively separated rather than smooshed together. However, regardless of how your rice turns out, rest assured that it will work well in your sushi recipe and end up tasty!
Cooking durations may vary – Keep in mind that cook times fluctuate between gas and electric stoves (this is something to be expected normally). As a result, make sure to double-check that your rice gets tender before you turn off the heat finally.
Soak the rice for even cooking – Soaking the rice for 20 to 30 minutes in its cooking water prior to cooking it on the stovetop is a good idea that should definitely be incorporated. Taking this step has been reported to give the rice more time to moisten and cook evenly.
To cool the rice faster – This is not a traditional approach, but if you want your rice to cool down even faster, move it into a big baking sheet once it’s done cooking and sprinkle the sushi vinegar equally over it. Then, for a few minutes, use a broad spatula to spread out the rice and gently fold it until it gets to room temperature.
Ingredient variations – Some of the changes you can make to your recipe include the following:
- Taste the sushi vinegar and change the quantity of sugar and salt in your recipe to your liking. Of course, if you like, you can use less or more of the sushi vinegar.
- You could also explore a natural sweetener instead of granulated sugar. Coconut sugar, honey, or other natural sweeteners of your choice are some of the examples to try.
- If you prefer, you can buy store-bought “sushi vinegar,” which already has the salt and sugar mixed together. However, because it usually has other additives, it might be more beneficial to take a few extra minutes to prepare your own sushi vinegar by combining unseasoned rice vinegar, sugar, and salt.
View this post on Instagram
Cooking Time for Sushi Rice on Stove
The timing guidelines in the table below are ideal for cooking sushi rice on the stovetop:
| Cooking procedure | Cooking time |
| Cooking sushi rice on the stovetop | 26 to 28 minutes |

Sushi rice (4 servings)
Ingredients
- 2 cups of Japanese short-grain rice (“sushi rice”)
- 2 cups of water
- 4-inch square of kombu (optional)
- ¼ cup of unseasoned rice vinegar
- 4 teaspoons of sugar (or honey)
- 1 teaspoon of fine sea salt
Instructions
- Wash the rice in a large fine-mesh strainer for 1 to 2 minutes using cold water. Wash until the water you’re using runs clear, afterwards drain the rice thoroughly.
- In a big saucepan, combine the rice and water (using 2¼ cups of water is recommended for this approach), then lay the kombu atop the rice and cover the saucepan with a tight-fitting lid. Increase the heat of the stove to medium-high and continue to cook until the water achieves a gentle simmer.
- Reduce the heat to medium-low, then cook for 16 to 18 minutes, or until the liquid has been absorbed and the rice turns soft.
- Take the saucepan off the heat (while keeping the lid on) and continue to steam the rice for another 10 minutes. Remove the kombu and throw it away.
- In a small saucepan, while the rice is getting cooked, heat the rice vinegar, sugar, and sea salt together over a medium-high heat level, until the mixture closely gets to a simmer. Take the saucepan off the heat and stir it until the sugar is completely dissolved. (Alternatively, if you prefer, you may simply cook this mixture in the microwave.)
- When the rice is done cooking, immediately move it into a large mixing bowl and sprinkle it all over with the sushi vinegar. Gently fold the rice with a spatula until the vinegar is uniformly integrated into the rice (do this in more of a cutting and lifting motion).
- Use a damp towel to cover the mixing bowl, such that it touches the rice’s surface. This will keep the rice from losing all its moisture and drying out. Allow the rice to cool down on the counter (or inside the refrigerator) until the room temperature is reached.
- Use the rice right away in any recipe of your choice, or preserve it in an airtight jar in the refrigerator for as long as 3 days.
Sushi rice can be easily cooked on the stovetop following the cooking instructions outlined above. Also, make sure to pay attention to the timing guidelines so as not to end up with overcooked or undercooked rice.
If you’d like to see more recipe ideas for cooking sushi rice on the stovetop, we recommend that you check out this video recipe.
