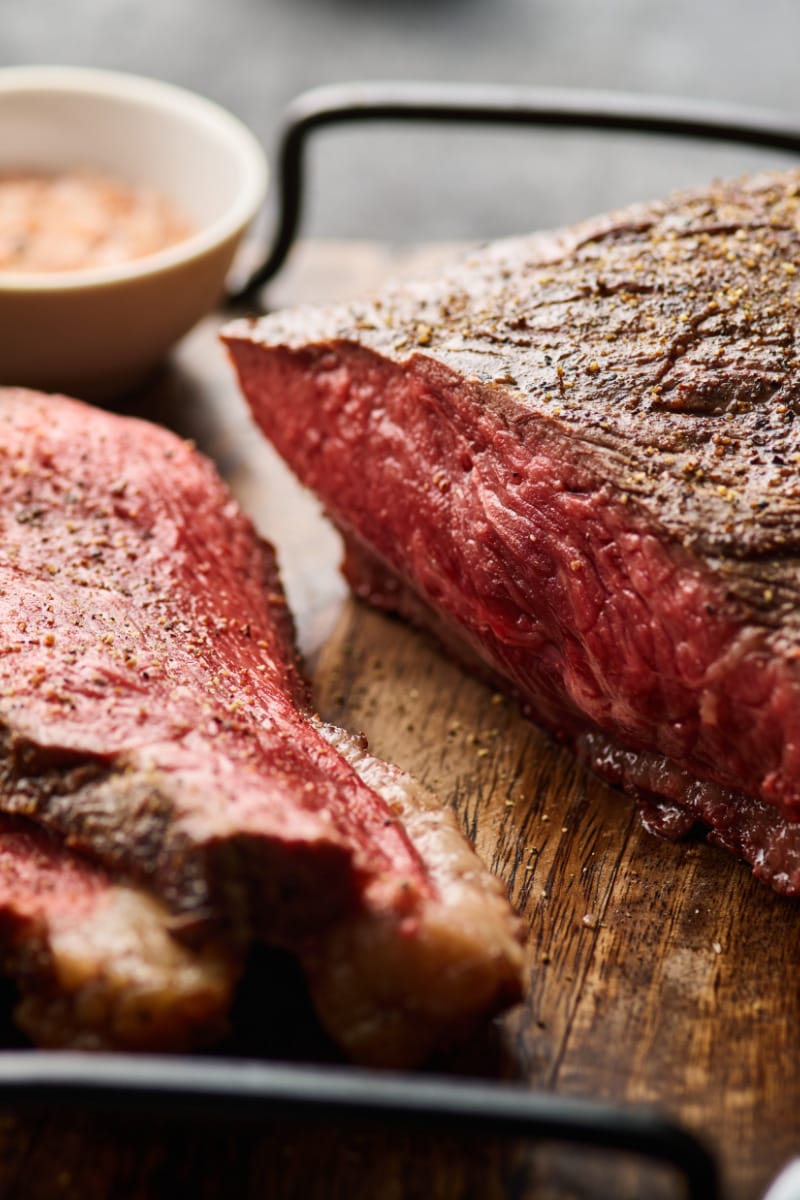
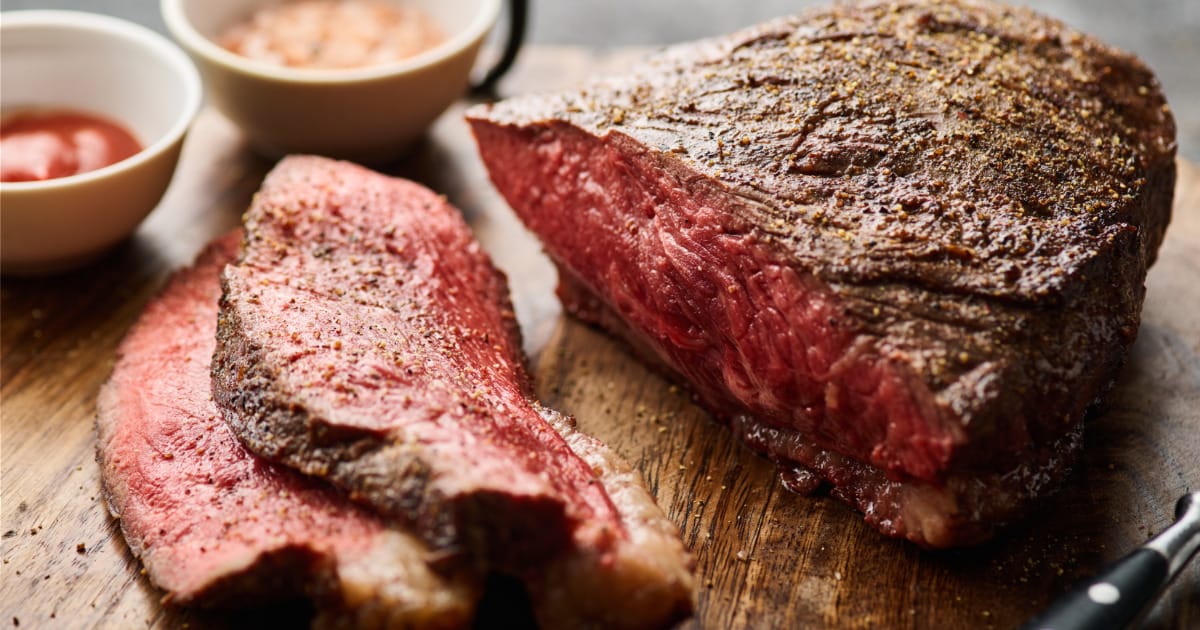
A classic rump roast recipe will not disappoint if you’re searching for a tasty, tender beef roast that’s excellent for festivities or any recipe. When you cook a rump roast in the oven, you’ll get such tender and tasty results, especially if you follow the cooking directions to the letter.
This article will show you how to cook a rump roast in the oven for excellent results. Make sure to pay attention to all the helpful tips and guidelines we have highlighted in this article. Also, take note of the timing guidelines in order to achieve the best possible results.

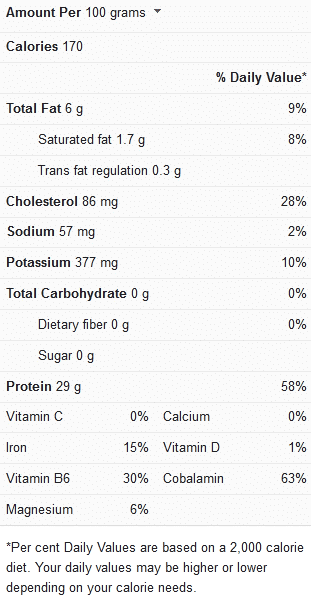
Roast Nutrition Facts

Tips for cooking a rump roast in the oven
Pay attention to the following helpful tips, guidelines, and recommendations when cooking a rump roast in the oven:
Choose a good roast – Look for a cut that has some fat as well as some visible marbling. This is recommended to get a superior flavor, regardless of the cut you choose. A tied roast also tends to have a more even shape and cooks more evenly. Ask the butcher to tie your rump roast for you if you have one. You can even tie it yourself using kitchen twine.
Storage and reheating tips – Keep the following instructions:
- Wrap leftover roast beef in plastic or foil and keep it refrigerated for 3 to 5 days.
- We recommend slicing the roast into parts to make it easier to use at a later time, but you can also freeze the entire roast instead. Allow it cool to room temperature before wrapping it twice in plastic or foil and sealing it in a zip-top bag. Make sure to squeeze out as much air as possible.
- Defrost the roast in the refrigerator overnight when you want to thaw. Reheat the roast for 10 to 15 minutes at 350°F in a preheated oven.
Cooking time for a rump roast in the oven
The ideal cooking time for a rump roast in the oven has been described in the table below:
| Cooking procedure | Cooking time |
| Cooking a rump roast in the oven at 375 degrees Fahrenheit | 1½ to 2½ hours |

Classic roast beef (4 to 6 servings)
Ingredients
- 3 to 3½ pounds of boneless rump roast (pick a cut with a layer of fat, if possible)
- 1 tablespoon extra virgin olive oil
- 8 to 10 slivers of garlic (this should be about 3 to 4 cloves, sliced in half or into thirds)
- Salt and pepper
For the gravy
- Red wine, water, and/or beef stock
- 1 tablespoon of cornstarch
Instructions
- To ensure consistent cooking, bring the meat as close as possible to room temperature before beginning to roast it. Before cooking, take it out of the refrigerator for a minimum of 1 hour, ideally 2 hours. Open the package, sprinkle salt on all sides, then re-wrap the roast.
- Heat up your oven to 375 degrees Fahrenheit (190 degrees Celsius). Place one rack in the oven’s center and the other rack beneath it.
- Using paper towels, pat the roast dry. Cut around the roast 8 to 10 times using the point of a sharp knife, ensure that these cuts are small incisions. Each cut should hold a slice of garlic.
- Olive oil should be rubbed all over the roast. Season it afterward with salt and pepper all over.
- Place the roast on the center rack in the oven, with the fatty side facing up, and a roasting pan positioned underneath it to catch the drippings.
- Positioning the roast on the rack directly, with a pan on the rack beneath produces a convection-style setting in the oven, giving room for the freer circulation of hot air around the roast and eliminating the need to turn it while it cooks. Ensure that the roast has its fat-side facing up so that the fat melts and coats the whole roast in flavor.
- To brown the roast, cook it for half an hour at 375°F (190°C). Reduce the temperature to 225°F (107°C). Cooking time for the roast should be between 1½ and 2½ hours.
- The cooking time will be influenced by the shape of the roast you’re cooking. Keep an eye on your roast if it’s long and narrow rather than circular, as it may take a shorter time to cook in this case.
- Check the internal temperature of the roast with a meat thermometer when fluids start to drip from the roast and it is seared on the outside. As soon as the roast’s internal temperature reaches 135°F to 140°F, remove it from the oven (for medium-rare doneness level).
- To keep the roast warm, place it on a chopping board and cover it with aluminum foil. Allow a 20 to 30 minute rest period before cutting into the cooked rump roast. (It’s critical to allow the cooked roast to rest because the roast will leak more of its fluids if you cut into it too quickly.)
- Take the dripping pan out of the oven, then place it over medium heat on the stovetop. It’s worth noting that if you’re taking the roast out of the oven early to achieve rare or medium-rare doneness, there won’t be a lot of drippings. You should however be able to get some, else you may need to cook the roast for a few minutes longer at a lower temperature, 175°F, to get some more drippings out.
- To deglaze the drippings, add some water, beef stock or red wine to loosen the roast’s drippings from the pan). Add one tablespoon of cornstarch to a little amount of water in the drip pan. To avoid lumping, stir the mixture quickly as the gravy thickens.
- If there isn’t much fat in the drippings, you can introduce a little butter. Season to taste with salt and pepper. If you have any, throw in some fresh thyme as well.
- Cut the roast into thin slices to serve after it has gotten a chance to rest and reabsorb its juices. (When slicing roasts, it’s best to make use of a sturdy long bread knife.)
- Serve the gravy on the side or over the sliced pieces of the roast.
- This low-heat, slow roasting method is ideal because it avoids the meat from becoming too rough. This method of cooking a rump roast is simple, and yields excellent-tasting results, as well as leftovers for roast beef sandwich recipes.
Notes
If you’d like to see more recipe ideas for cooking rump roast in the oven, then check out this video recipe.
