Almost every stovetop steak recipe insists you use a cast-iron pan or skillet for the cooking. And this isn’t just a suggestion, but practically a necessity you can’t excuse. The reason is that a perfect steak excels after a good dose of searing on both sides. This technique locks flavor in the meat, retains moisture, and adds a crispy crust that compliments every bite.
But you can still make a delicious plate of steak on the stove even if you don’t have a cast-iron skillet. And here’s how to go about it.
What you’ll need
In the absence of a cast-iron skillet, you should look out for alternatives. And such adjustments in the recipe rest on the following;
The right beef cut
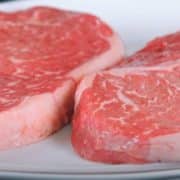
If you don’t have a cast-iron skillet, pick the boneless, quick-cooking beef cuts with a thickness range between 1 and 1½ for stovetop steaks. Examples of these cuts include filet mignon, NY Strip, and rib eye.
The replacement equipment
A thick stainless steel fry pan makes a suitable replacement for cast–iron skillet in stovetop steak recipes. Be sure to use a tri-ply stainless steel pan for this method, as its good heat-retention capacity makes it perfect for searing. You may even opt for a 5-ply stainless steel pan for extra thickness. And make sure the pan is large enough so the heat distribution is more expansive as you sear.
Once these factors are combined, you can prepare your favorite stovetop steak recipes as you usually would have on a cast-iron skillet.
The steps to zero-cast-iron stovetop steak
When cooking steak on the stove and you aren’t using a cast-iron skillet, the solution lies in the thickness of your pan. Once you’ve solved this problem, you can follow the traditional procedure for stovetop steak recipes.
Prep the Steak-Pat the meat dry of moisture to not disturb the searing process. If the steak was refrigerated, let it reach room temperature before you begin cooking it.
Season the Steak-You can use your favorite steak dry rubs, but a simple combination of pepper and salt is also good. Be sure to work the seasoning generously into the meat surfaces.
Prep the Pan- Heat the stainless steel pan at medium-high, so it gets scalding. Then, add some oil to the pan and let it shimmer.
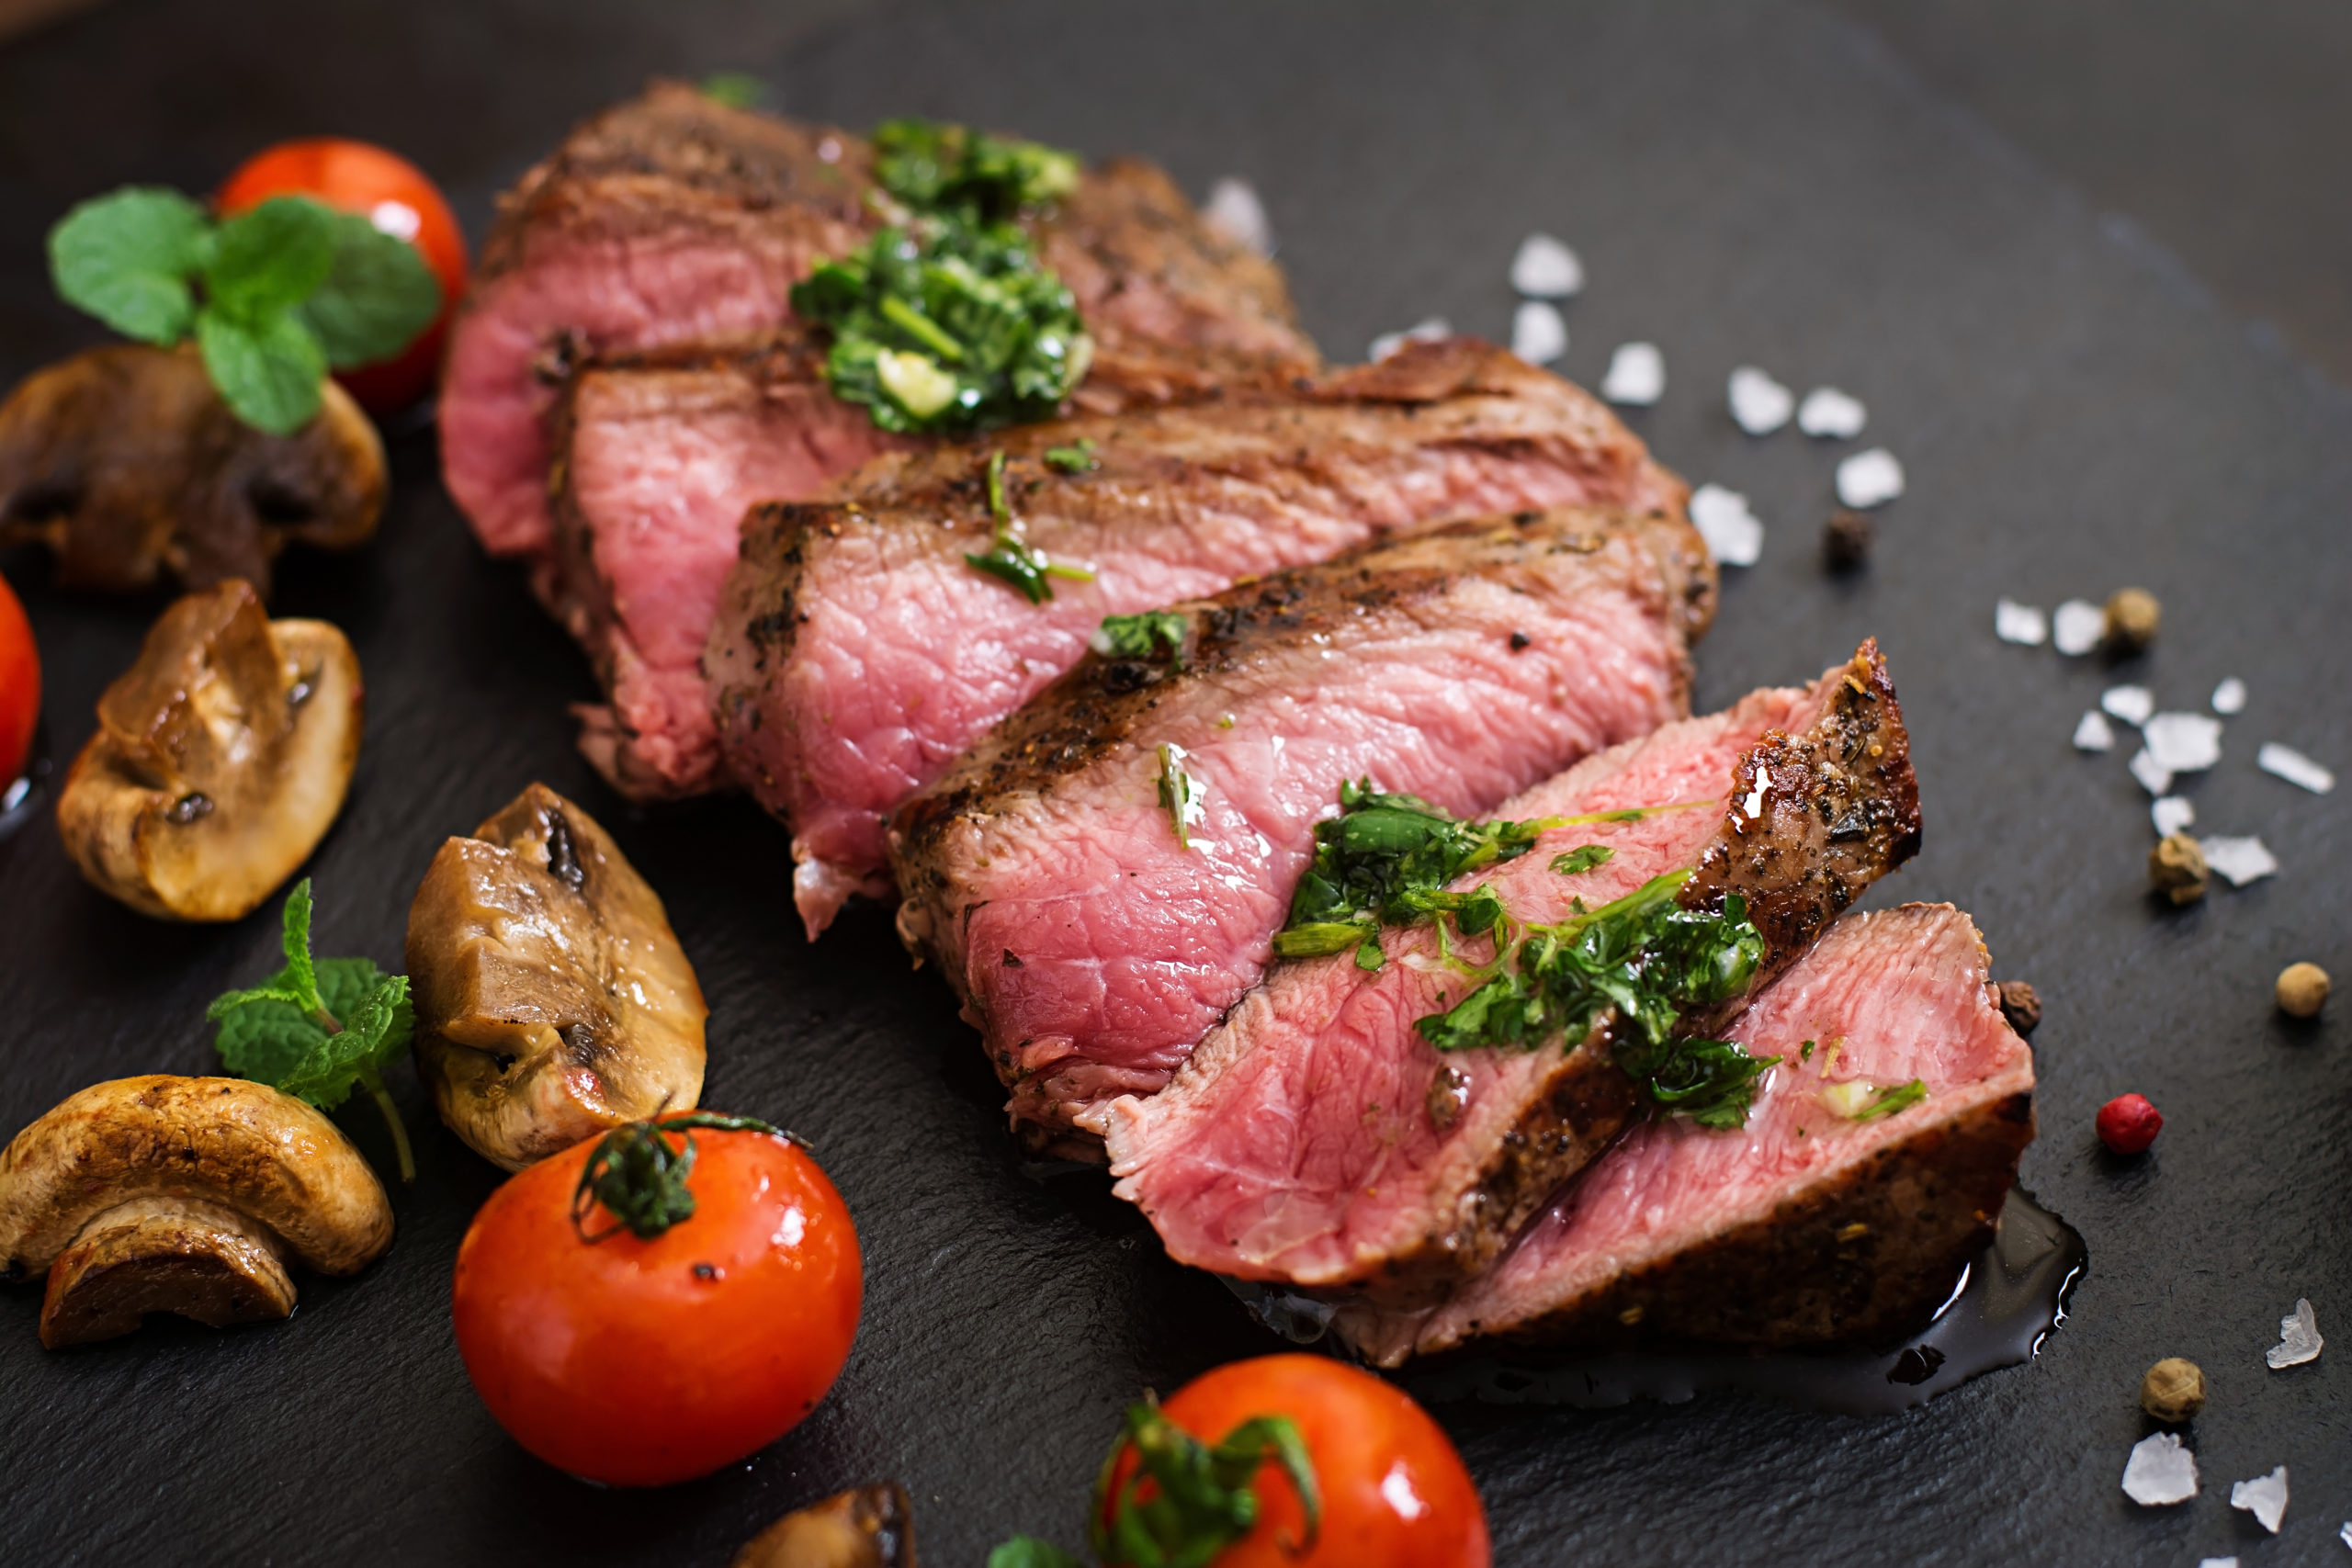
Sear the Steak-Remember always to sear steaks in a well-ventilated kitchen. Place the steaks gently on the hot pan and leave them to sear for about three minutes- don’t move them until then. Then, flip and sear for as done as you want it to be. The steaks at three minutes are rare, at four minutes are medium-rare, at five minutes are medium, and at six minutes, well done.
Serve the Steak- You can serve the steaks hot immediately it’s ready. And if you must slice it beforehand, be sure to let it rest for about six to ten minutes in an aluminum tent. Then, slice the steaks thinly, cutting against the grain.
Print
Pan-seared steaks (4 servings)
Ingredients
- Two NY Strip steaks, 12 ounces each
- Two tablespoons vegetable oil
- One tablespoon butter, unsalted
- One teaspoon kosher salt
- ½ teaspoon black pepper, freshly ground
- Fresh thyme sprigs
Instructions
- Bring the steaks from the fridge and leave them to sit at room temperature for 20 minutes. Then, pat them dry with paper towels.
- Turn on the ventilator, and heat a large, heavy stainless steel pan at medium-high. Make sure it gets scalding. Pour in the oil and let it shimmer, and thoroughly coat around the pan.
- Gently place the steaks on the hot pan and leave them to sizzle and sear for three minutes. Afterward, flip the steaks and allow them to sear till they reach your preferred doneness. Three minutes is for rare, four-minute is for medium-rare, five minutes is for medium, and six minutes is for well done.
- At the last minute of doneness, add the butter and thyme sprigs to the pan and let it cook with the steaks. Then, take the pan down. Serve hot for unsliced. For sliced, let the steaks sit in an aluminum tent for 20 minutes before you cut. Make sure to slice the meat thinly and across the grain.
You can also try this video recipe in your kitchen.
