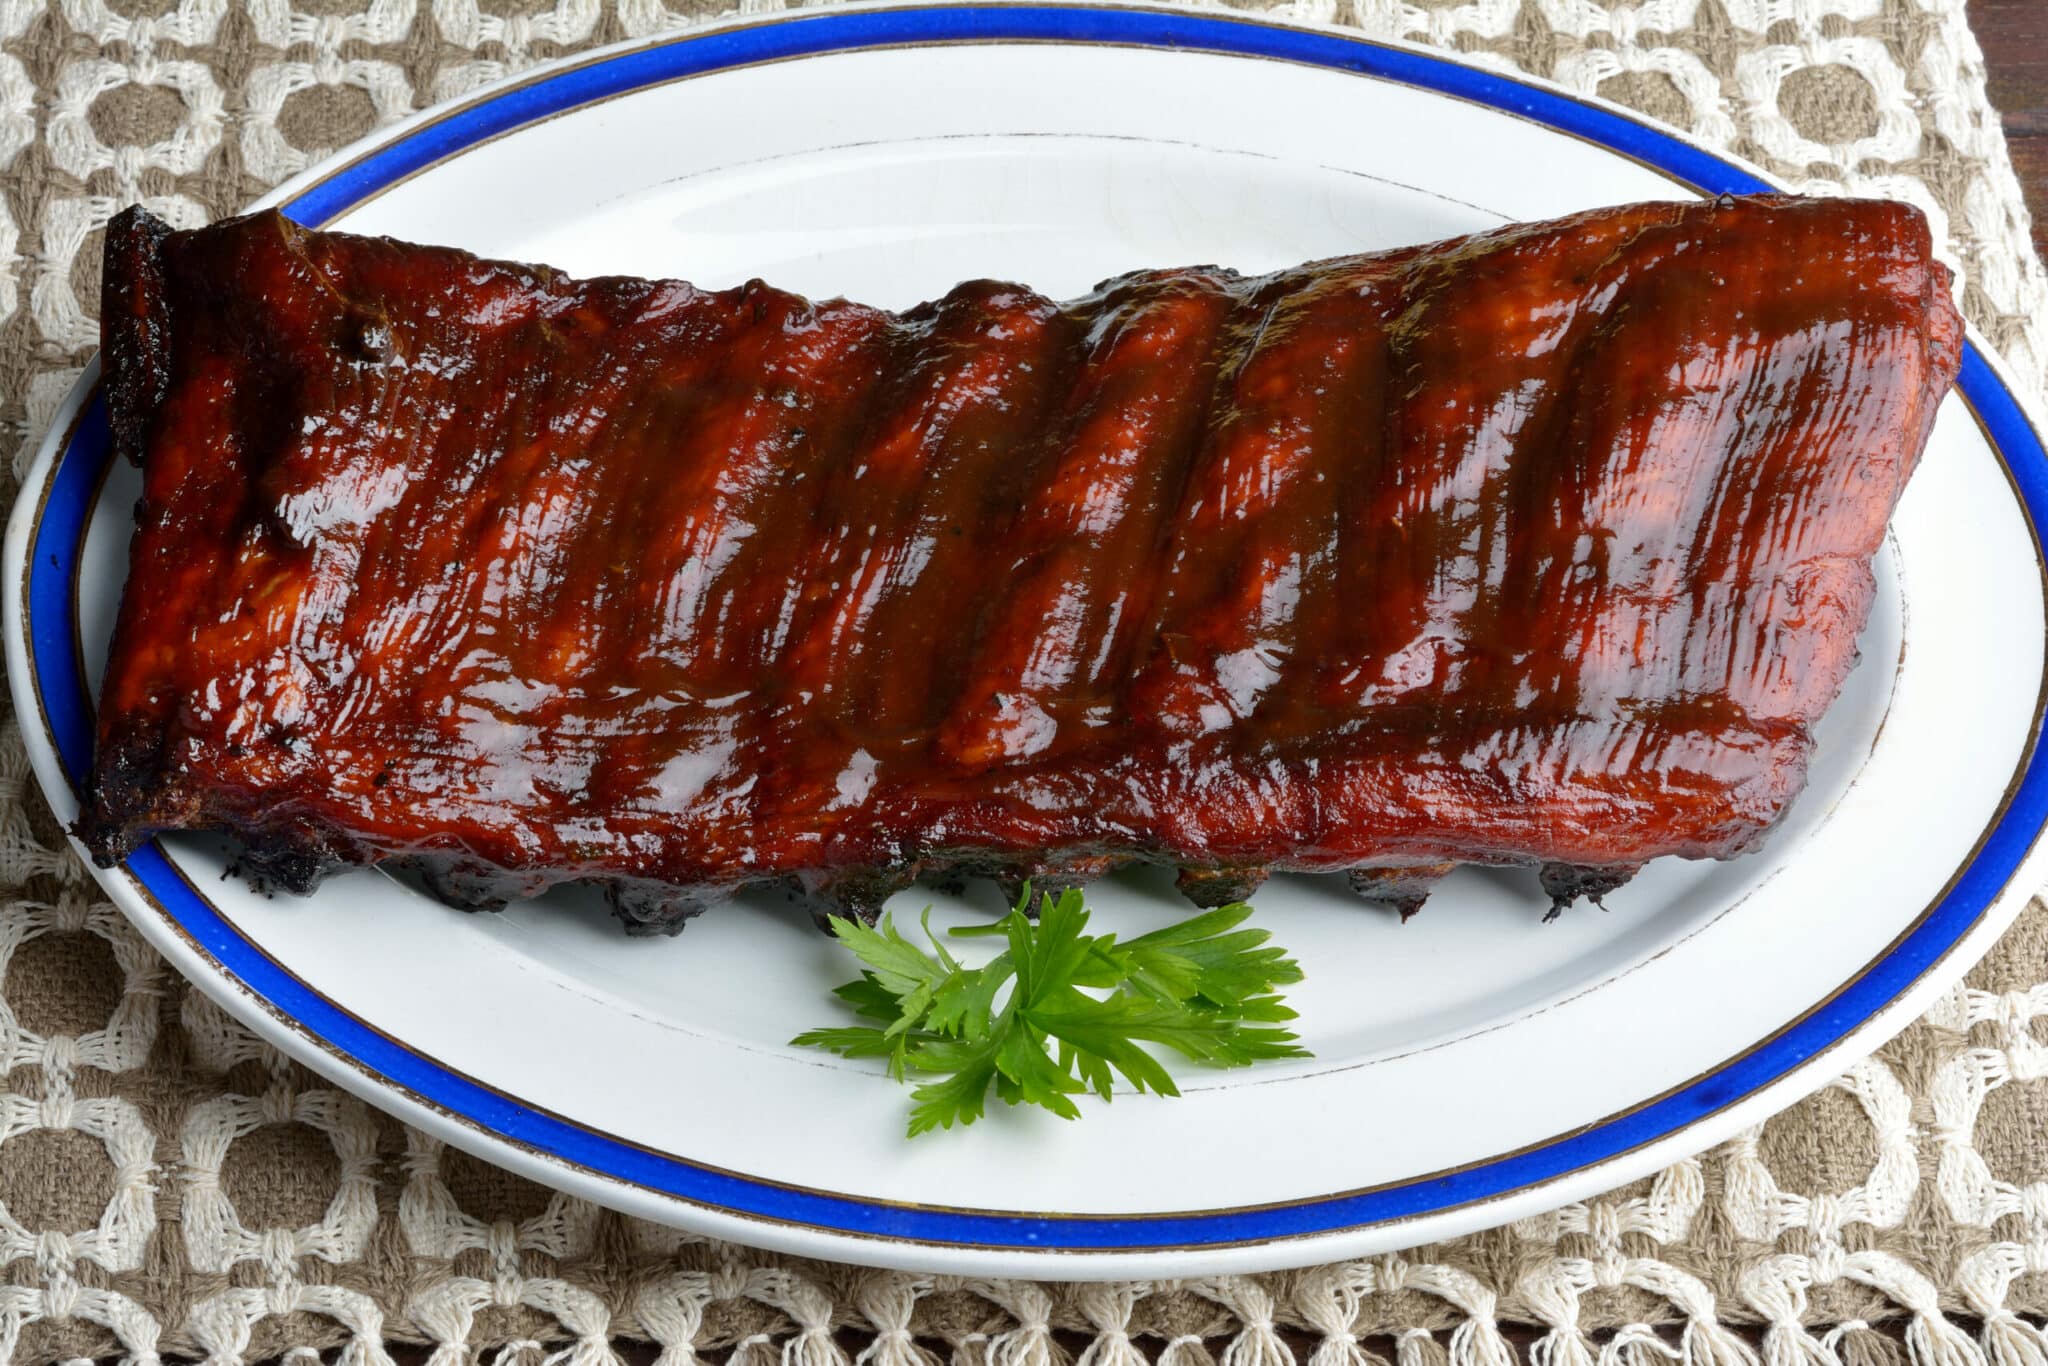
You’re probably one of those people that are convinced there’s no other way to cook mouth-watering ribs except on a grill. We’re excited to disappoint that belief; the oven is just as good for producing tender and delicious ribs as long as you have a wonderful rub to apply on your ribs and you follow the right cooking instructions.
In this article, we’ll show you how to cook ribs in the oven to get delicious results every time. Try this cooking method when you don’t want to cook outside on the grill. Make sure to pay attention to our cooking guidelines and helpful tips to get the best results.

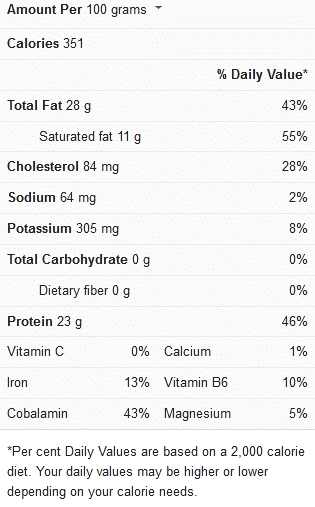
Ribs nutrition facts

Tips for cooking a rack of ribs in the oven
Keep the following helpful tips, suggestions, and guidelines in mind when cooking a rack of ribs in the oven:
The ideal amount to cook – You don’t want to run out of ribs before everyone has their fair share, so plan on having at least 4 to 5 ribs for each adult, or around 2 to 3 servings per rack.
Prepare the ribs properly – Rinse your ribs thoroughly. Ribs are usually vacuum-packed and may be resting in liquid that needs to be washed out. Remove the “silverskin” by running it under cold water, patting it dry, and then peeling it off. This is the gleaming white membrane on top of the bones that renders the meat tough and chewy when cooked.
The membrane will also keep your dry rub from settling into the ribbed flesh if you leave it on. If the membrane doesn’t come off readily, pierce it with a sharp knife and slide it as far as you can under it.
Ideas for glazes and rubs – You may use this oven-cooking method to make any barbecued ribs recipe you like. Simply brush the ribs with mustard and season with your preferred spice rub. You can also create your homemade barbecue sauce and spread it on at the end of the cooking time.
The smoky barbecue flavor is something you won’t get with this oven-cooking method. You can, however, add a bit of extra smoked paprika to your spice rub combination or mix some liquid smoke into the mustard for seasoning before brushing it on. This will help you to recreate the smoky taste of grilling.
Season the ribs properly – Robust taste is the key to great ribs, and seasoning them properly is the first step to achieving this. Make sure to season the rack of ribs generously with freshly cracked pepper and kosher salt. Ideally, you should use a dry rub to add sweetness and taste to your ribs. Allow the salt and spices to remain on the ribs for around 30 minutes before you bake them in the oven to allow the flavors to truly sink in.
Best tip for tender ribs – Ribs tend to come with a lot of connective tissue that takes a while to break down and relax. However, because ribs aren’t a very thick meat piece, cooking them for a long time may cause them to dry out before they reach their distinctive suppleness. A low temperature, plenty of cooking time, and water retention is the key to outstanding baked ribs.
Storage and reheating tips – Baked ribs can be stored in a refrigerator for as long as 3 days if they’re first kept in an airtight container. Freeze the ribs for up to 3 months; wrap them in foil and store them in an airtight container. Reheat after thawing in the refrigerator.
Wrap the ribs in parchment paper or foil, then reheat in a 300°F oven for about 30 minutes or until warmed through. If you have any remaining sauce, spread it over the ribs before serving them.
View this post on Instagram
Cooking Time for a Rack of Ribs in the Oven
The timing guidelines in the table below are ideal for cooking a rack of ribs in the oven:
| Cooking procedure | Cooking time |

Oven-cooked ribs (6 to 8 servings)
Ingredients
- 4 to 5 pounds of pork spare ribs or baby back ribs
- ¼ cup of Dijon mustard
- 1 to 2 teaspoons of liquid smoke (optional)
- 1 cup of spice rub
- 1 cup of barbecue sauce, plus more for serving
Instructions
- Aluminum foil should be used to line a rimmed baking pan. On top of the baking pan, place a wire cooling rack. Arrange the ribs in a single layer on top of the rack. This structure permits heat to circulate around the ribs on all sides.
- Season the ribs with salt and pepper. Brush both surfaces of the ribs with a mixture of mustard and liquid smoke, if using. Sprinkle the dry rub over the ribs and gently pat to ensure the rub sticks to the meat. (Note: For a richer flavor, execute this step the day before.) Refrigerate the seasoned ribs wrapped in plastic wrap.)
- Heat the broiler by placing an oven rack just a few inches underneath the heating source. Ensure that the ribs’ meaty side is facing up. Broil for 5 minutes, or until the sugar in the dry rub is sizzling and the ribs are uniformly browned.
- Heat up your oven to 300 degrees Fahrenheit. Place the ribs in the center of the oven on an oven rack. Bake spare ribs for 2½ to 3 hours, or baby back ribs for 1½ to 2 hours. Use aluminum foil to wrap the ribs halfway through cooking to prevent them from drying out.
- Brush your ribs using barbecue sauce about 30 minutes from the end of the cooking time, cover it again with foil, then keep cooking.
- When a knife readily glides into the thickest section of the rib meat, you’ll know that the ribs are done. Allow for a 10-minute rest period, then slice in between the bones in order to separate the individual ribs. Serve the ribs with extra barbeque sauce on the side for dipping.
We’ve figured out how to make flawlessly tender and delicious oven-baked barbecued ribs. You can make this recipe at home as well; just make sure you follow all of the cooking directions carefully. Also, make sure to pay attention to the timing guidelines to arrive at the best possible results.
If you’d like to see more recipe ideas or inspiration on how to cook a rack of ribs in the oven, then make sure to check out this video recipe.
