Many people will agree that crispy, smokey bacon is one of life’s greatest joys. On the other hand, laboring over a hot stove and dodging spraying bits of bacon grease is no fun.
So, one way to get the best of bacon recipes – an easy and painless approach for cooking delicious bacon – is to put them in the oven. It’s also an excellent way to cook large quantities at once — enough bacon to feed a group of people.
Please pay attention to all our tips and guidelines and learn how to cook bacon in the oven properly.
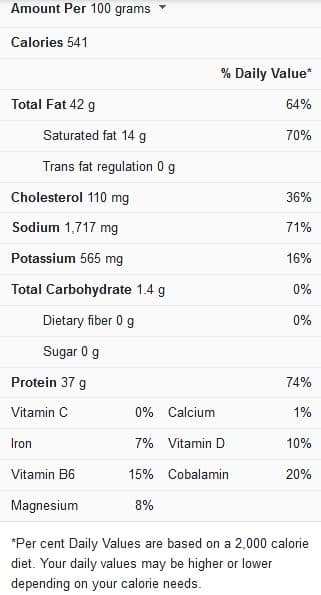
Bacon nutrition facts
Tips for cooking thick cut bacon in the oven
The following tips have been compiled to help you get the best out of oven-cooked thick-cut bacon recipes:
The ideal amount to cook at once – One pound of medium-thick bacon cuts should be able to fit comfortably on a single large baking sheet. If you would like to cook even more than that amount (or if all of your bacon strips don’t fit on a single sheet), try cooking on two baking sheets simultaneously.
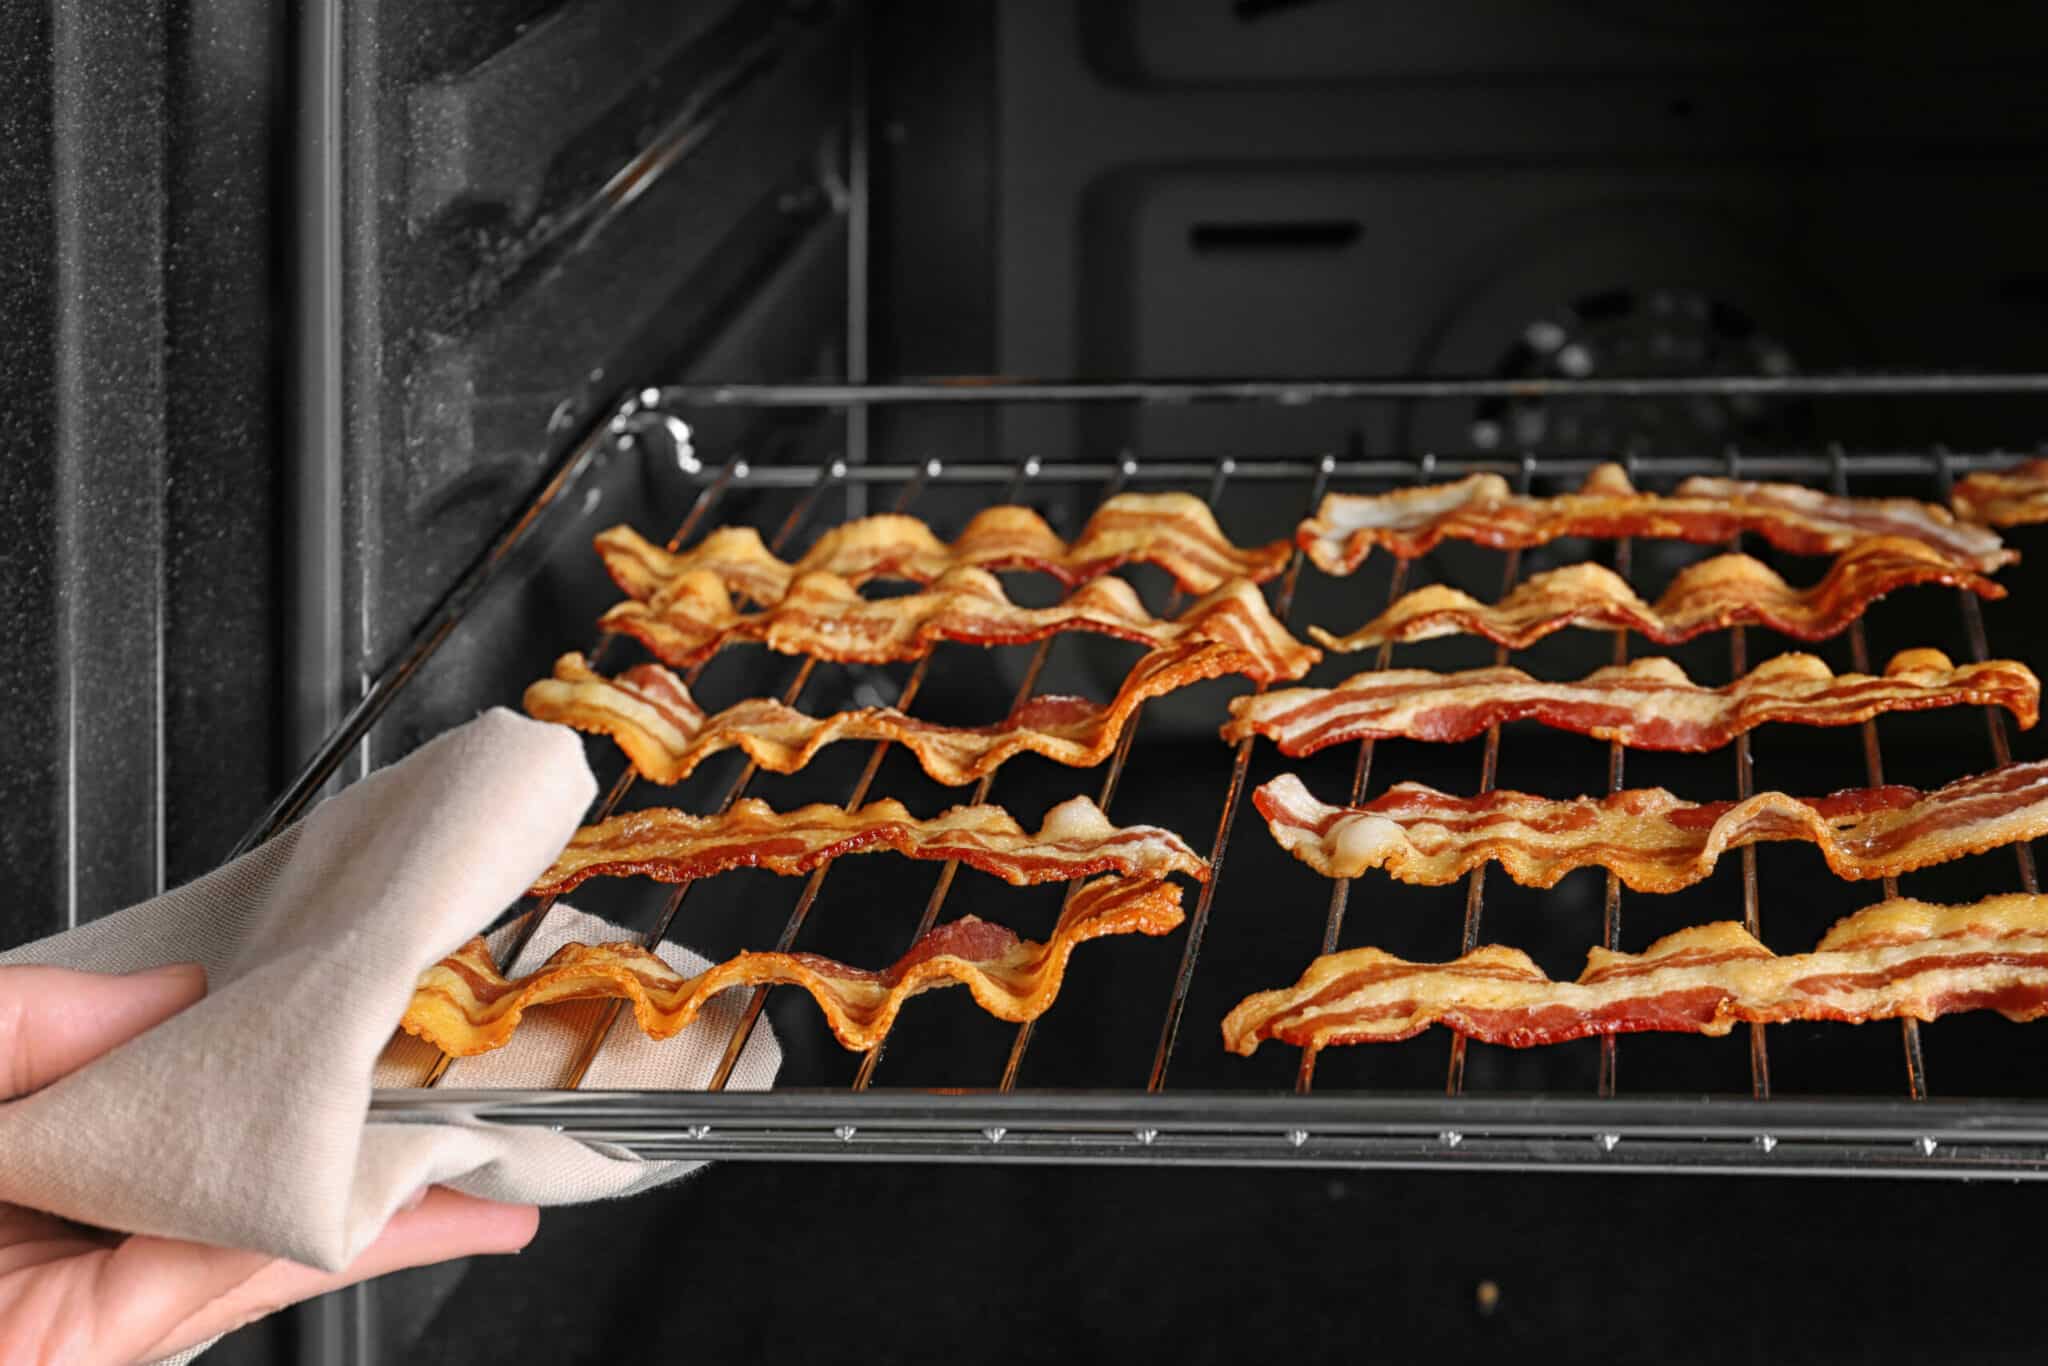
No need to flip the bacon – You don’t need to turn your bacon strips over while they’re baking. It’s so simple since there’s no need to monitor the cooking process constantly. Place the bacon strips on a baking sheet, place the baking sheet in the oven, and set the alarm for it to cook. The bacon strips cook properly in the oven this way, without splattering grease about, until they are crispy, golden-hued, and delectable.
For extra crispy bacon – When bacon is cooked in the oven, it tends to turn crispy, but it also retains a chewiness near the center, especially when thick-cut bacon is used. This is fine, but if you want your bacon to be crispy all the way through, bake it on top of a metal cooling rack placed over the baking sheet. Lifting the bacon off the heat source this way allows it to cook evenly on both sides and crisp up even more. When baking bacon, ensure that you use an oven-safe cooling rack.
Ideas for your leftover bacon grease – Cooking bacon on a rack in the oven has the added benefit of allowing the bacon grease to flow down and be easily collected.
To store bacon grease, place the baking pan over a container and tilt it such that the bacon grease pools in one corner of the pan and then drips into the container. To prevent the bacon grease from solidifying, carry this procedure out while the pan remains hot. To hold the pan securely without burning yourself, use an oven mitt.
Bacon grease can be stored on the countertop, but it’s often better to keep it in the fridge for safety reasons. As it cools, it will harden.
Reserved bacon grease from the baking process can be used in oil or butter in most savory dishes. Frying eggs or stir-frying vegetables are two of the applications you’ll find quite useful and delicious. Both are also wonderful meal options when topped with your crispy oven-baked bacon.
How to store and reheat – Freshly oven-baked bacon is a great meal option for breakfast or brunch, but you’ll also find that it keeps nicely. Bacon can typically be kept in the refrigerator for as long as five days.
When reheating (already cooked) bacon, please put it in the oven at 350°F for 10 to 20 minutes, ensuring that it is covered with foil during this process.
Bacon cooked in the oven can also be frozen for three months. It is, however, important that you allow the bacon to cool completely before freezing the strip in a single line on a parchment or wax paper-lined baking sheet. Transfer the bacon strips into a freezer bag and store them until frozen solid.
The procedure described above for reheating cooked bacon can also be used for frozen bacon after it has been defrosted.
View this post on Instagram
Cooking Time for Thick Cut Bacon in the Oven
The ideal cooking duration for thick-cut bacon in the oven is described in the table below:
Cooking procedure
Cooking time
Cooking thick-cut bacon in the oven at 400 F
18 minutes
Print
Perfect bacon in the oven (4 to 6 servings)
Ingredients
Instructions
- Adjust your oven’s temperature to 400°F, place a rack in the oven’s center and leave it to preheat. Using parchment paper or aluminum foil, line a rimmed baking sheet, leaving an overhang on all four sides (you may need to overlap a few sheets if you find it necessary, this will ensure an easier cleanup process).
- Place the 12 ounces of bacon in a single layer on the baking sheet. It’s okay if the slices are close together or touching each other slightly, but it is important to make sure they do not overlap during cooking, or they will cling together.
- Bake for 14 minutes for ordinary-sized bacon and allow 18 minutes for thick-cut bacon, or until the bacon develops a deep golden brown color and a crispy quality. The amount of time it takes to bake typically depends on how thick the cuts of bacon are and the extent of crisp you desire. After 12 minutes, start checking the bacon. The fat will spit and bubble as the bacon is cooking, but it should not splatter on the stove.
- To drain and crisp the bacon, use tongs to move it to paper towels and serve the bacon immediately.
- Allow the bacon fat to cool slightly before straining it through a fine-mesh filter and into a heat-safe container afterward, and you can refrigerate and save it for later use. Allow the grease to harden on the baking sheet if you don’t want to save it. Then, fold up the foil or paper, wrap it, and throw it away.
This recipe delivers deliciously baked bacon onto your plate, and we’re sure you and your family will love the results. If you’d like to see more interesting ideas for cooking thick-cut bacon in the oven, we advise that you watch this video recipe.