Even though pie crust is produced with the simplest basic components, it may leave people captivated, especially when cooked correctly. Many recipes abound on how to make the perfect pie crust, but what you need to know for the best results is the right cooking time and temperature, all of which we have provided you with in this article.
We have also gone a step further and highlighted some really helpful tips that may mean the difference between a generally good and an amazing, great-tasting pie crust.

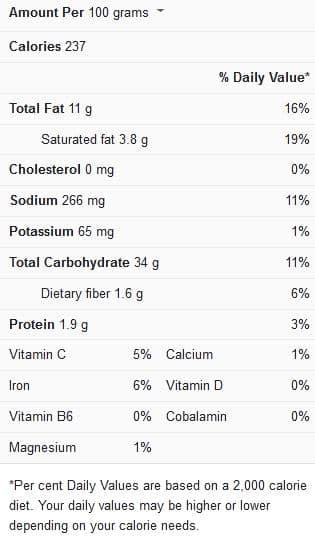
Pie nutrition facts

Tips for cooking pie crust
The following are important tips you should pay close attention to when making pie crusts:
Begin with Cold Butter – For the flaky pie crust, it’s critical to start with very cold butter, so it doesn’t melt as you mix it into the flour. The butter and flour are overly combined when this happens, resulting in a mealy, crumbly crust rather than a flaky one.
If you have warm hands, live in a warm region, or are creating a large amount of pie dough, put the butter in the freezer for a few minutes. When cooking a pie in warm or hot weather, it’s also a good idea to cool the bowl and even the flour.
Make sure the water is just enough – Don’t use too much water if you want a soft and tender pie crust. Gluten proteins are formed with the help of water, so if you add more water than is required, the crust may remain flaky but will be hard rather than soft.
Trust your fingertips over your eyes for the following reasons: when pushed between your fingers, the dough should remain together, though it will still look shaggy.
Make rolling much easier – Before chilling the dough, take the effort to shape it into an even, circular disk with clean, smooth edges. Rolling out the dough will be much easier because the edges are less prone to fracture.
Use a lightweight metal pie plate and bake-filled pies on a preheated, rimmed baking sheet if you’d like a crisp pie crust. Both will aid in the speedy setting of the crust, keeping it from becoming mushy. Baking on a baking sheet is also useful for capturing any dripping juices.
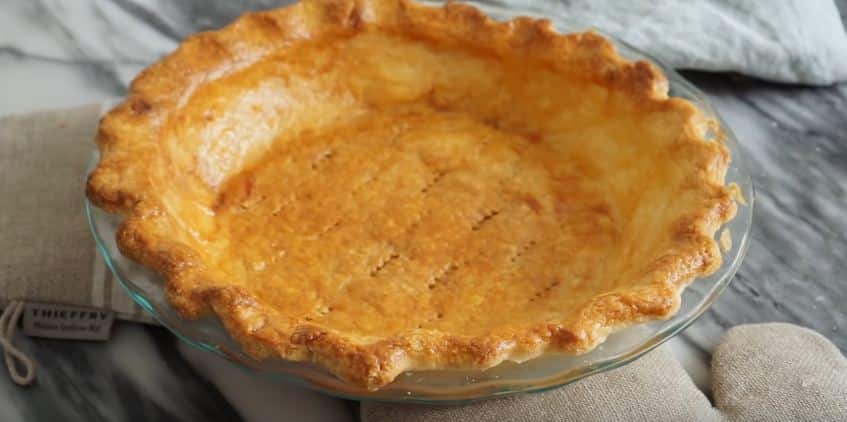
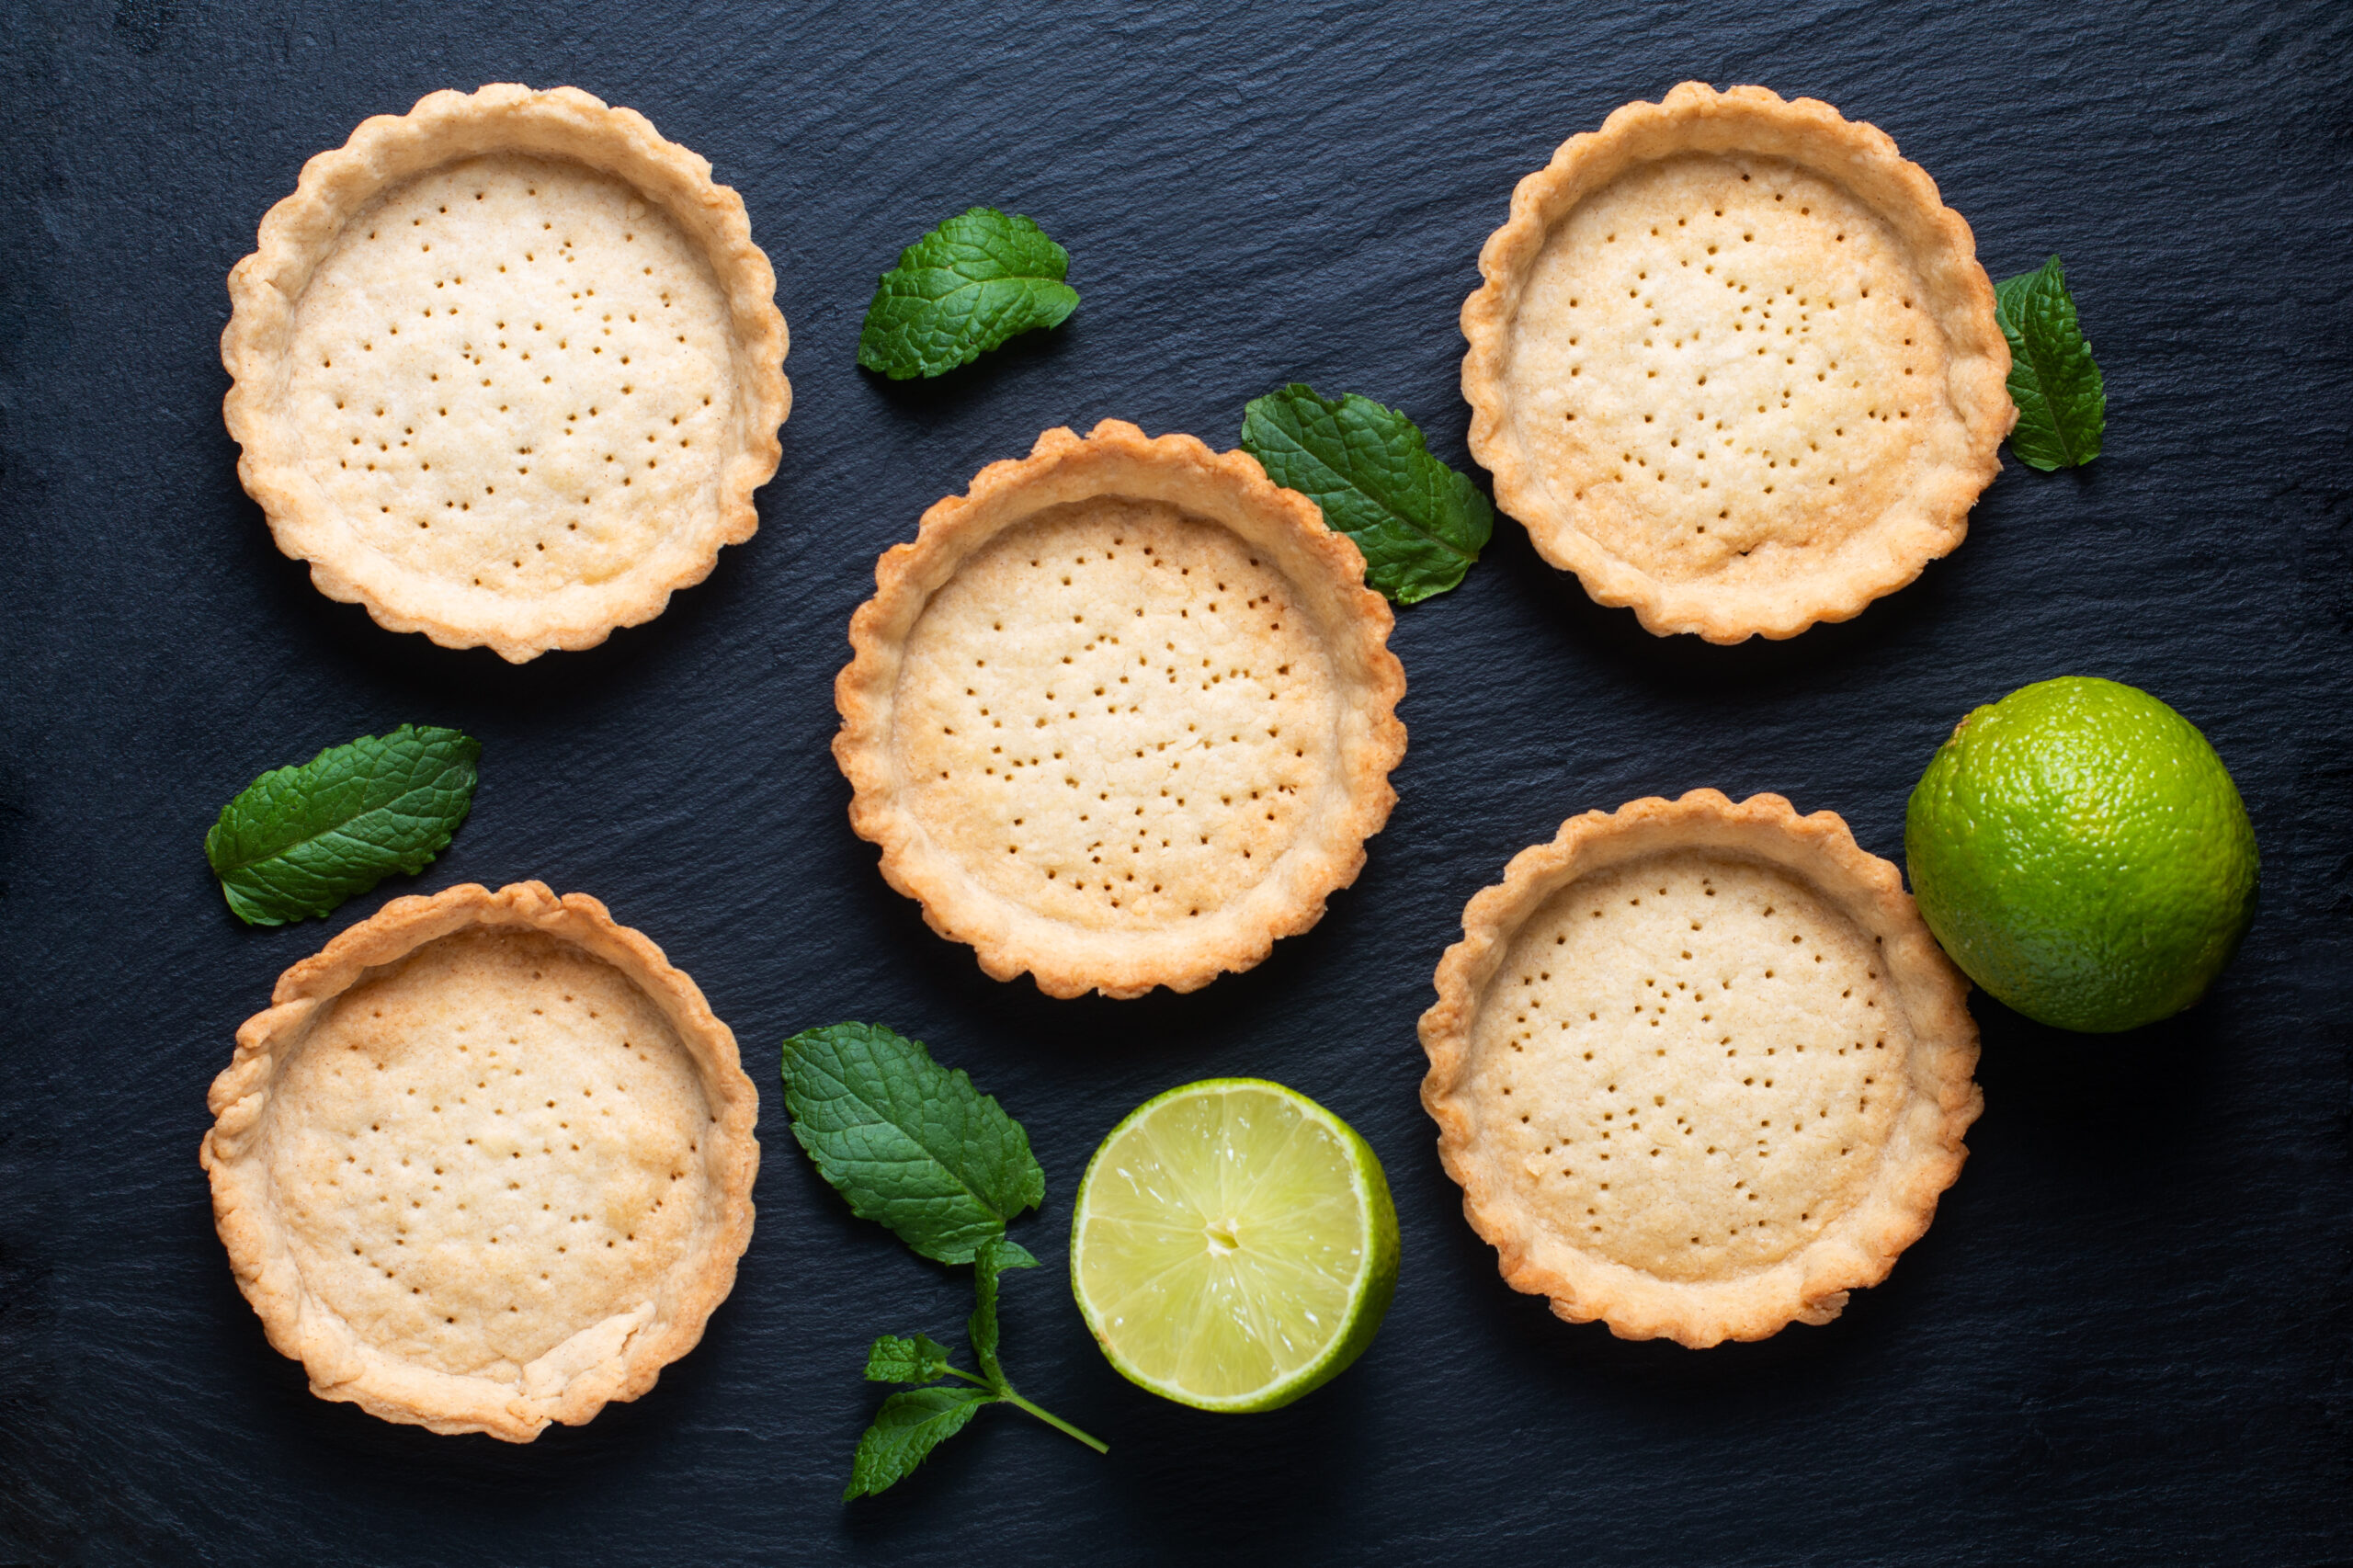
Try blind-baking – Blind baking is baking an empty pie crust before filling it. The crust gets a head start by being blind-baked, allowing it to firm up before adding the filling. The crust will not go soggy as a result of this.
Blind-baked pie crusts keep their shape with the help of dried beans or pie weights. Without them, the bottom of the crust will rise and puff, and the sides will slide down due to the weight of the crimped edge.
Ideal duration for blind-baking – The crust is frequently blind-baked until cooked through and golden brown in recipes where the filling does not require additional cooking or cooks for a short length of time, such as cream pies or fruit tarts. However, in recipes where the pie cooks for a long time after adding the filling, it’s better to blind bake the crust only halfway, so it doesn’t overcook while the filling bakes.
View this post on Instagram
Cooking Time for Pie Crust
The amount of time it takes to bake a decent pie crust depends on the recipe you’re following, but generally, you can follow the instructions in the table below:
| Temperature | Cooking time |
| 375°F to 450°F (pre-baking a store-bought crust) | 10 – 12 minutes |
| 350°F (pre-baking or blind-baking a homemade crust) | 35 minutes in total |

Pie crust recipe (Yields 1 9-inch pie crust)
Ingredients
- 3 ounces (6 tablespoons) butter, chilled
- 1 ounce (2 tablespoons) lard, chilled
- 6 ounces (1 cup) of all-purpose flour, add extra for rolling the dough
- 1/2 teaspoon table salt
- 1/4 cup ice water, in spritz bottle
- About 32 ounces of dried beans, for the blind baking process
Instructions
- Freeze the butter and lard for 15 minutes. Remove and cut both into little pieces when ready to use.
- Pulse flour and salt three to four times in the bowl of a food processor. Add the butter and pulse 5–6 times, or until the texture is mealy. Add the lard and pulse 3 to 4 times more. Remove the lid from the food processor and spray the whole surface of the mixture with water. Pulse 5 times after replacing the cover.
- More water should be added and pulsed until the mixture holds together when squeezed. In a large zip-top bag, squeeze the mixture together until it forms a ball, then press into a round disk and chill for 30 minutes.
- Preheat the oven to 425 degrees Fahrenheit.
- Refrigerate two metal pie pans until ready to use.
- Take the dough out of the fridge. Cut the plastic bag along two sides, open it to expose the dough, and flour both sides.
- Cover with plastic wrap and roll out to a 10 to the 11-inch circle using a rolling pin. Re-open the plastic and dust the top of the dough with flour.
- Remove the pie pans from the fridge and place the first one on top of the dough. Turn everything over and pull the plastic off the bottom of the dough.
- Place the second pan on top of the dough and flip it over. Remove the first pan from the top of the dough. If necessary, trim the edges to leave an edge for the meringue to stick to. Place dough in the refrigerator for 15 minutes after poking holes in it.
- Fill a large piece of parchment paper with dried beans and place it on top of the dough. Bake for 10 minutes after pressing beans into the dough’s borders.
- Remove the parchment and beans and bake for another 10 to 15 minutes, or until golden brown.
- Place on a cooling rack after removing from the oven. Allow for thorough cooling before filling.
- This pie crust recipe takes a total of 1 hour and 40 minutes to make, with a preparation time of 15 minutes, a rest time of 1 hour, and a cook time of 25 minutes. It is also a pretty straightforward process to follow and promises great-tasting results.
If you’re looking for more insightful ways to make a pie crust, you could check out this video recipe.
