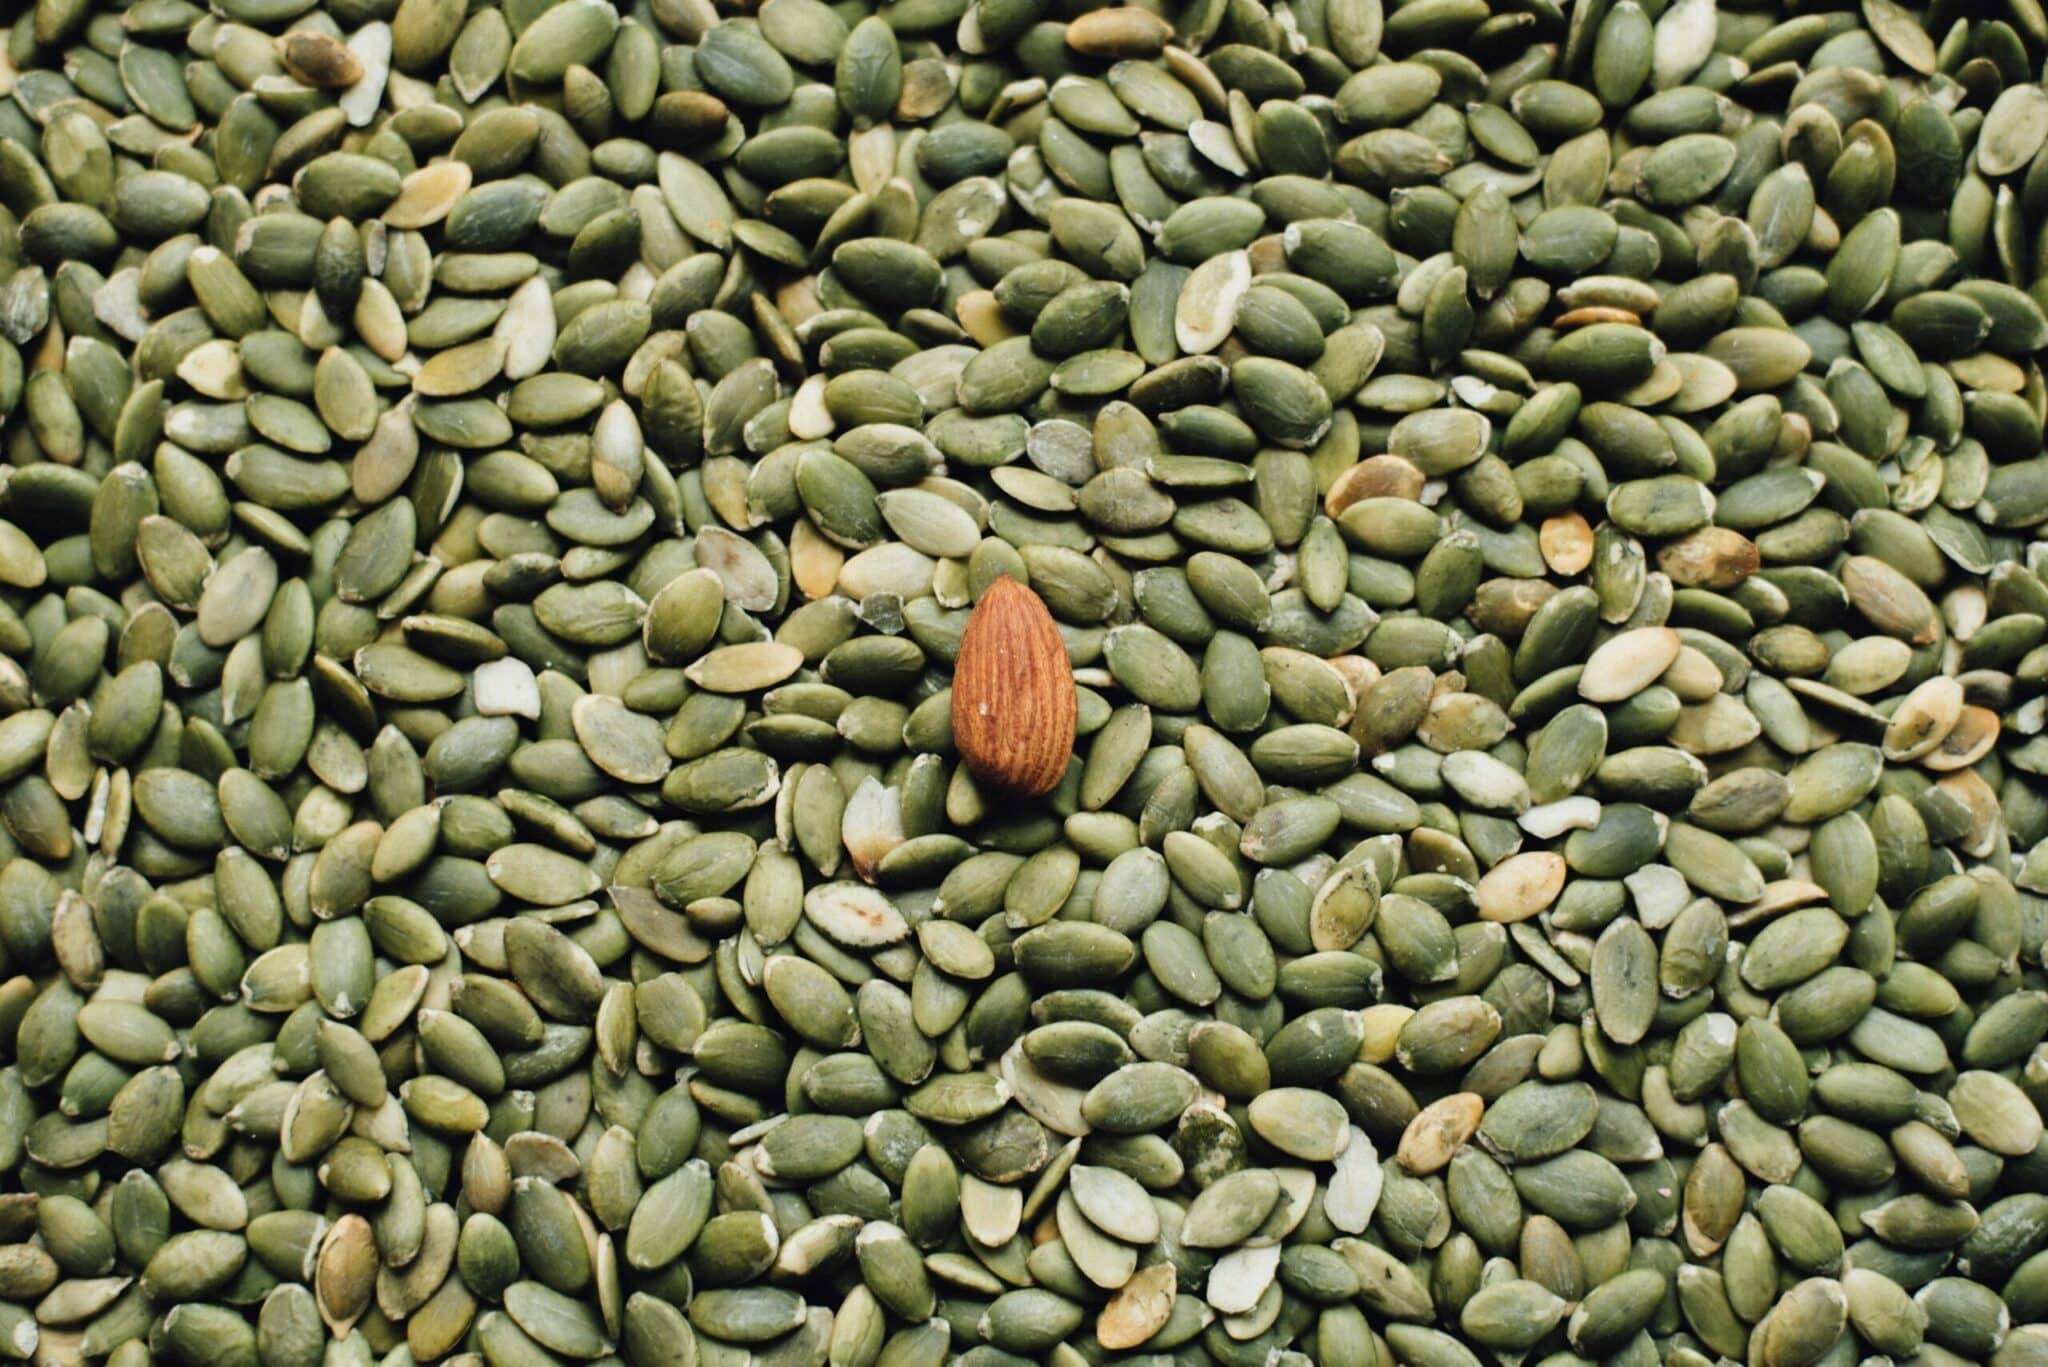
Most people throw away the seeds whenever they carve their Halloween pumpkins or make pumpkin pie. But if you knew how tasty these delights are, you’d never do so again. Pumpkin seeds, also called pepitas, are flavorful and taste great as a standalone snack. Plus, they make great additions to numerous other recipes as well.
One of the best ways to cook pumpkin seeds is by roasting them in the oven. The result is a toasty bunch of crispy seeds that crunch and release delightful flavor at every bite. Making pumpkin seeds this way is also pretty straightforward and doesn’t need much work. And once you know how to, you’ll find them a fun addition to lots of your dishes.
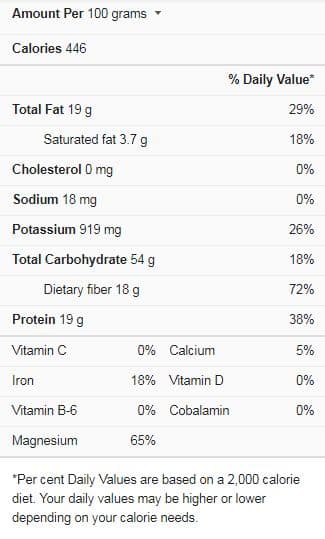
Pumpkin seeds nutrition facts

Cooking pumpkin seeds in the oven
To cook pumpkin seeds with an oven, follow these simple steps;
Select the seeds
Once you’ve cleaned out the pumpkin’s insides, you should separate the seeds from the fiber. Then, discard the latter and rinse the former in water, so the pulp is removed. You can also skip these steps by purchasing pumpkin seeds at the supermarket.
Prepare the seeds
If you’re dealing with fresh pumpkin seeds, dry them with paper towels after washing. You’ll want them dry before cooking in the oven, so they can come out crisp. Once that’s done, you can add your spices.
Season the seeds
One of the most exciting things about oven-roasted pumpkin seeds is that you can season them. You can sprinkle a generous helping of pepper and salt on them. Or you can use a seasoning mix, like Pumpkin Pie spice or Curry powder. Whichever you prefer, apply it to the seeds with olive, avocado, or coconut oil drizzle. Then, toss the contents till they’re properly mixed.
Bake
You want the pumpkin seeds to come out toasty and crunchy, so bake at 325F for 20 to 30 minutes. The pumpkin seeds need to reach a hue of golden brown with a hint of crispiness. If you’re dealing with smaller ones, 20 minutes is enough time to cook them.
Rest
When the pumpkin seeds are done cooking, you’ll have to leave them to cool for a bit before eating. This way, the seeds attain more crispiness as they sit. Once they’re cooled, you can use them as they wish. And if you plan to save them for later, make sure they’re thoroughly cooled. If not, the steam will concentrate in the container and render the seeds soggy.
Ways to eat oven pumpkin seeds
Pumpkin seeds are tasty on a wide range of menus. You can eat them as a snack, with or without the shells. You can also add them to salads made from vegetables and nuts. They go pretty well in soups and curries and are great as toppings for pies. Plus, pumpkin seeds are an excellent addition to ice-creams, oats, and many other sweet dishes.
Print
Oven-roasted pumpkin seeds (4 servings)
Ingredients
- One cup sugar pumpkin seeds
- One tablespoon olive oil
- One pinch of sea salt
- Seasoning powder
Instructions
- Set the oven to heat at 325F, and prepare a baking sheet by lining it with parchment paper. Next, take the pumpkin seeds out of the pumpkin and remove the fibers. Wash the seeds in a colander to remove the pulp. Then, dry them thoroughly on a towel. If you’re store-bought, skip these steps and pour the amount you need on the baking sheet.
- Pour and sort the pumpkin seeds on the baking sheet, and pour some olive oil over it. Sprinkle the salt and seasoning powder to taste, and toss the contents to mix. Then, slide the tray into the oven.
- Bake for 20 minutes or more if the seeds are large. You want them to attain a crisp, golden brown color. Once ready, bring the pan down and let the pumpkin seeds cool completely. Then, use them as you wish or store them in a jar or container.
- Oven-roasted pumpkin seeds will hold in storage for up to a week or more at room temperature. And when frozen, you can keep them for up to a month. And if you want more instructions on roasting pumpkin seeds in the oven, consider this video recipe.
