Nowadays, many kitchen equipments are being churned out by manufacturers, each possessing even more outstanding features than the last. The Power XL microwave air fryer is such excellent kitchen equipment, combining the goodness of a microwave and an air fryer into one single kitchen equipment.
In this article, we’ll show you how to use a power xl microwave air fryer and a few helpful tips that should get you through a successful cooking process. Also, feel free to explore some of the recipes we suggested and get the best out of your cooking experience with this culinary equipment.
Tips for using power XL microwave air fryer
It is important to keep the following helpful tips in mind when making use of your power XL microwave air fryer:
A quick start guide – Make sure to take off any transparent or blue protective cover from the components while unpacking all package pieces. Before using, wash with warm, soapy water (keep in mind that only the Glass Tray is dishwasher safe).
Also, keep these in mind when using your microwave air fryer:
- After opening the door, set a microwave-safe food container or another cooking accessory atop the Glass Tray. Click the Microwave Button after closing the door.
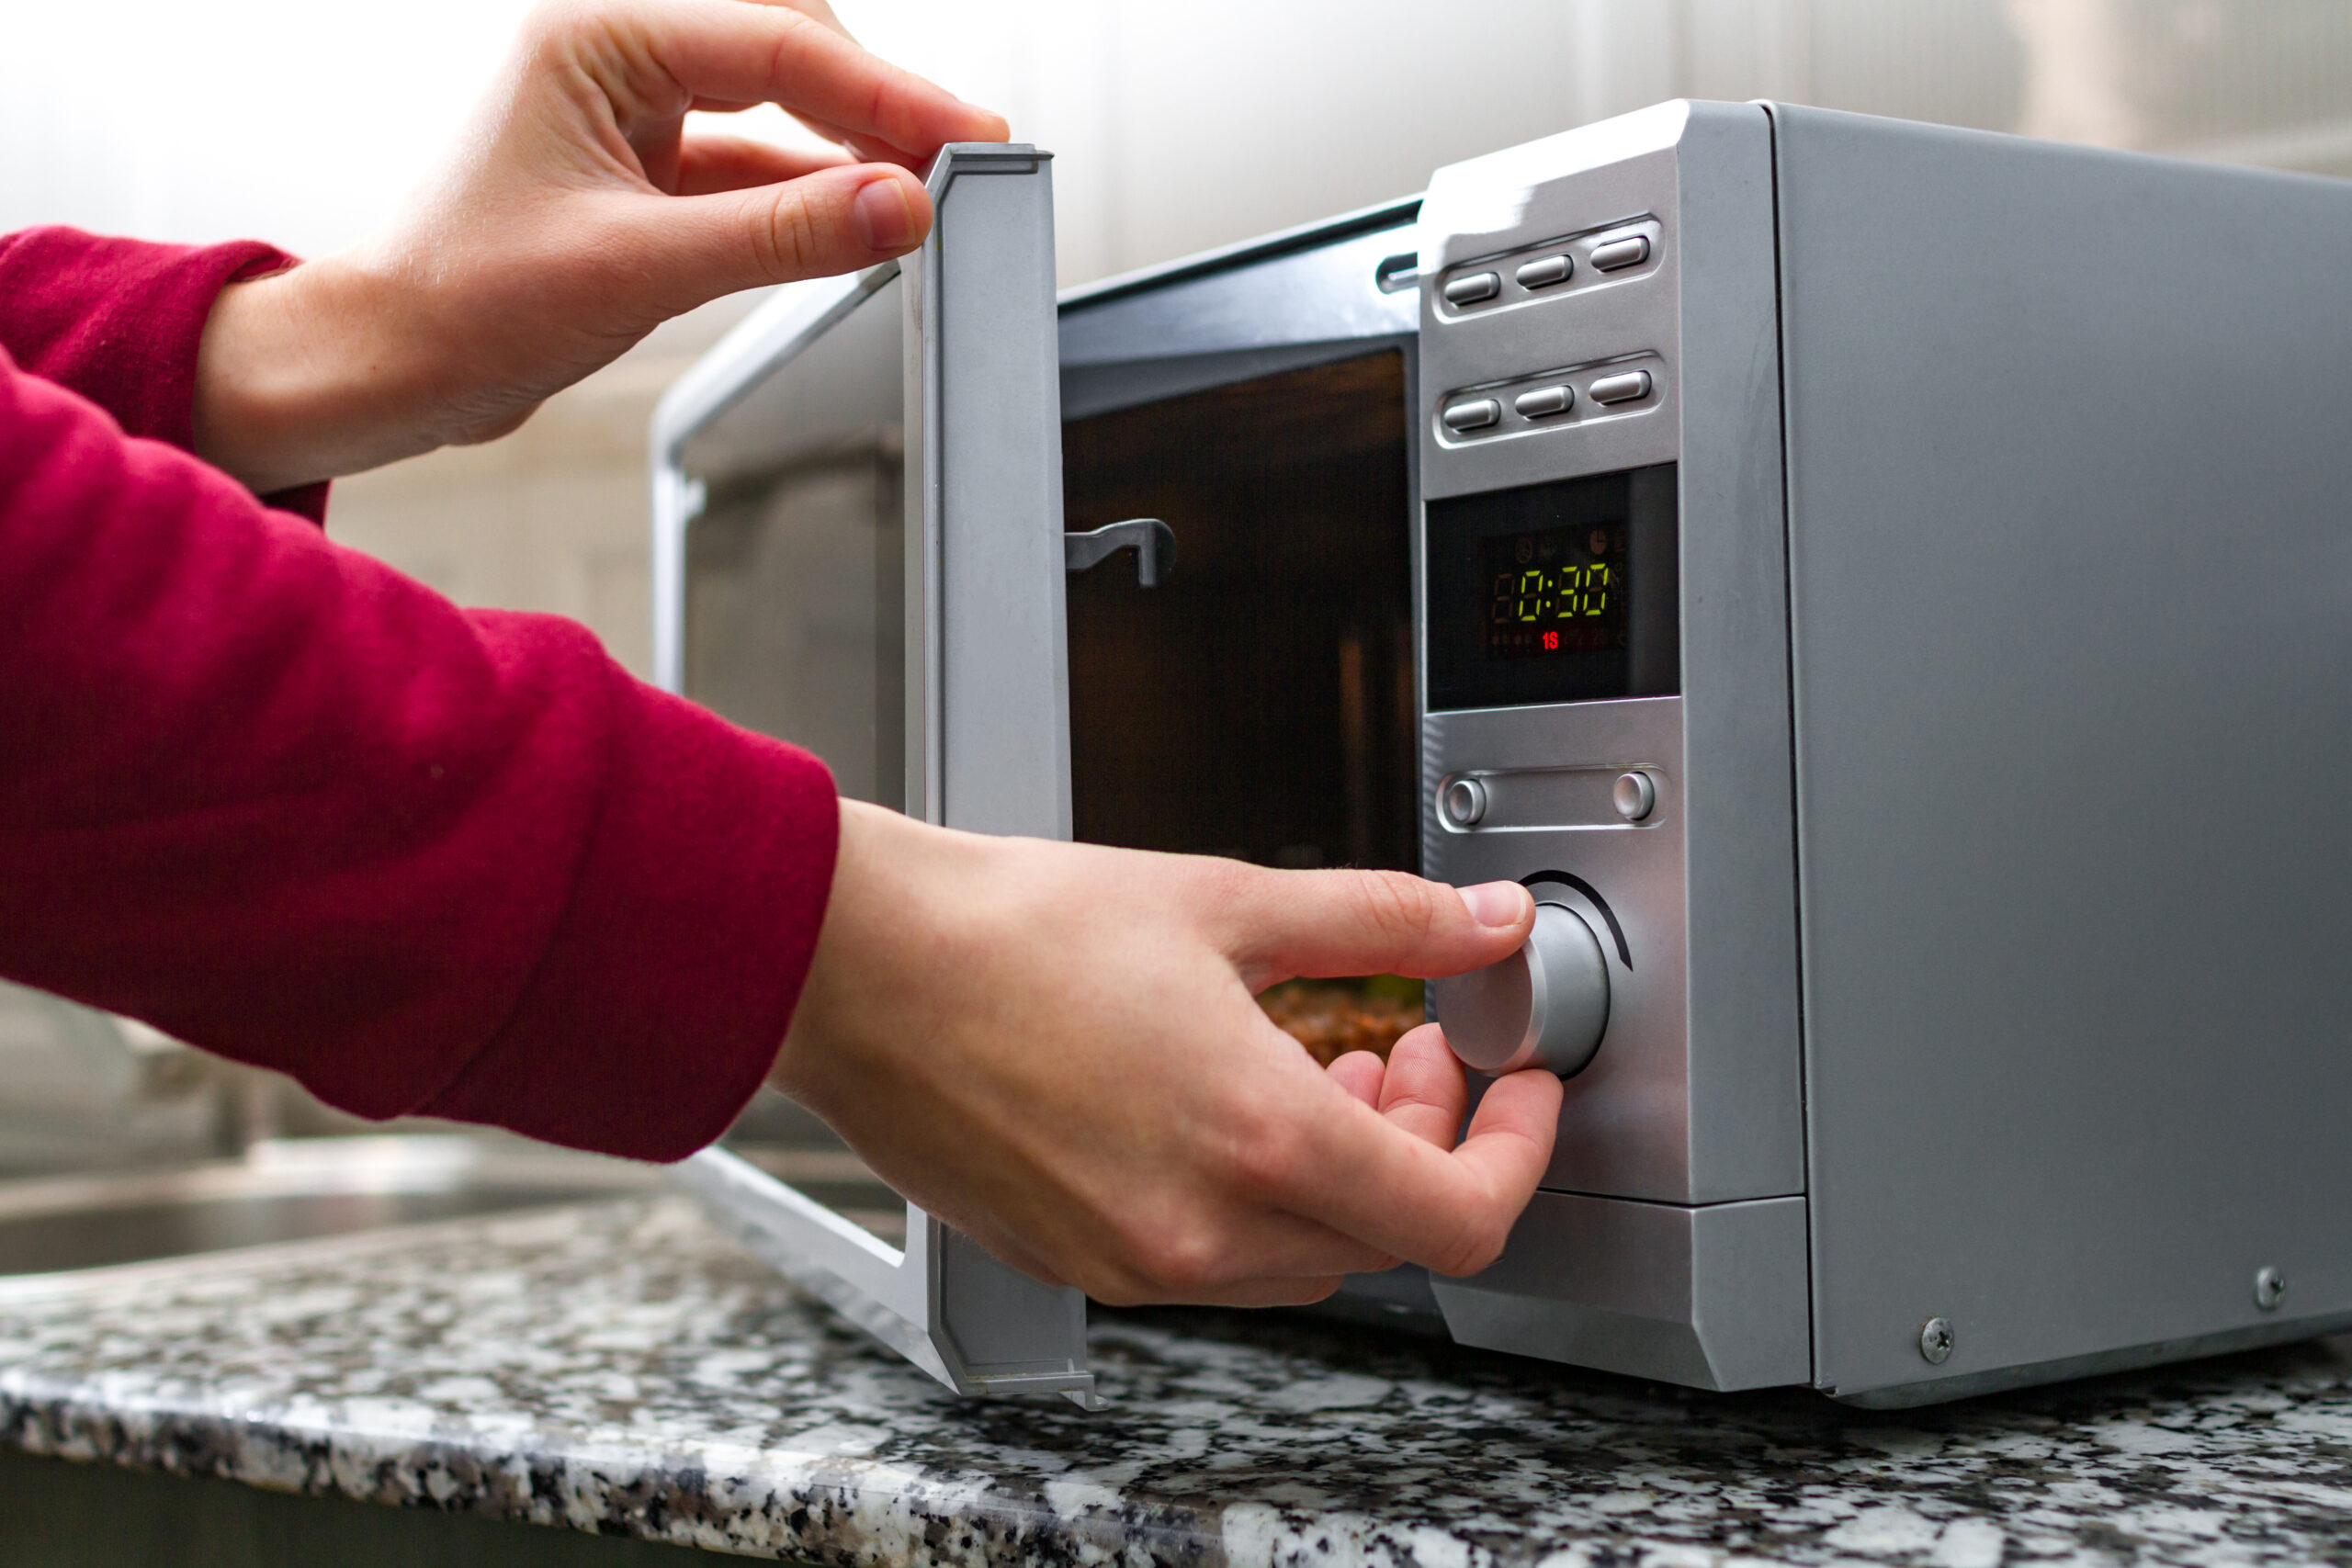
- Modify the cooking time using the Control Knob to suit your recipe. To verify the setting and start the cooking process, press the Control Knob.
- As soon as the cooking cycle is over, open the door and take your food out of the oven with oven mitts or potholders.
- Before using this appliance, make sure you read all of the instructions. Only utilize the accessories that came with the package or those indicated in the instruction book.
- When using the Microwave, avoid utilizing air fryer accessories. Before using any accessories, make sure they are in good working order.
When air frying with your microwave air fryer – Follow these steps:
- Preheat the appliance by using the “Air Fry” feature for at least 3 minutes before you cook any meal for the first time to burn off the manufacturer’s protective oil coating (the smell that will be emitted during this step is normal, so no need to worry).
- Change the cooking duration and temperature to fit your recipe using the Control Knob. To verify the settings and start the cooking process, press the Control Knob.
- Set up the baking pan atop the Glass Tray of the microwave air fryer or the Air Fry Rack after opening the door. Food can be positioned closer or farther away from the heating element at the top by flipping the Air Fry Rack. Push the Air Fry button after closing the door.
- When the cooking period is over, open the door and take your food out of the oven with oven mitts or potholders.
Try out some of your favorite recipes – There are a wide range of recipes – from quick fixes to whole meals – that can be made from start to finish using the power xl microwave air fryer. Consider exploring one or more of the following:
Basic egg sandwich (4 servings)
Ingredients
- Four eggs
- Four slices of Canadian bacon
- Four slices of American cheese
- 4 English muffins, cut in half lengthwise
Directions
- Break the eggs into ramekins or tiny glass dishes and set them aside. Put the eggs in the microwave air fryer. Activate the Micro Button. To pick the Microwave preset, turn the Control Knob. Set the timer for 3 minutes of cooking. After the cooking period is complete, remove the eggs and set them aside.
- Broil the food by pressing the Broil Button. Adjust the temperature to 425 degrees Fahrenheit/218 degrees Celsius and see the cooking duration to 10 minutes. To confirm the settings, press the Control Knob.
- As the appliance gets heated to the desired temperature, open the door to halt the cooking cycle. Arrange the English muffin bottoms atop the Air Fry Rack and flip the Air Fry Rack so that the food is closer to the top of the appliance. The Canadian bacon and English muffin tops should go on top of the English muffins at this point. In the appliance, set up the Air Fry Rack. To restart the cooking cycle, close the appliance door and push the Control Knob. Cook till golden brown.
- As soon as the cooking time rounds up, top each sandwich with a piece of cheese and an egg before serving.

Fried chicken (4 servings)
Ingredients
- 4-lb chicken, cut into eight pieces
- 1 cup of buttermilk
- One tablespoon of salt
- 2 cups of flour
- ½ cup cornstarch
- One tablespoon of kosher salt
- ½ tablespoon of ground black pepper
- ½ tablespoon of garlic powder
- ½ tablespoon of onion powder
- ½ tablespoon of thyme
- One teaspoon of celery salt
- One tablespoon of paprika
- ½ tablespoon of ground cayenne pepper
- Two eggs
- Olive oil spray (optional)
Instructions
- Place the chicken in a glass dish and coat it with buttermilk and salt, refrigerating for 3 hours, covered.
- In a small pan, combine the flour, kosher salt, cornstarch, garlic powder, black pepper, onion powder, celery salt, thyme, paprika, and cayenne pepper.
- Separately, beat the eggs in another shallow pan.
- Dip the chicken in flour, eggs, and then back in the flour.
- Switch on the Air Fry Button. S set the temperature to 400 degrees Fahrenheit/204 degrees Celsius and the cooking duration to 5 minutes, then leave the appliance to heat up. To confirm the settings, press the Control Knob.
- Arrange the chicken pieces atop the Air Fry Rack after the appliance has preheated, ensure to flip the Air Fry Rack so that the food is kept closer to the bottom part of the appliance. In the appliance, arrange the Air Fry Rack. Switch the Air Fry Button on, then leave the appliance to heat up to 400 degrees Fahrenheit (204 degrees Celsius), with the cooking time set for 60 minutes. To confirm the settings, press the Control Knob. Flip the chicken midway through the cooking time and spritz the pieces with olive oil for crispier chicken.
- Check the chicken portions after 45 minutes and take them out as soon as they’re crispy.
You may also want to check out this video to get some ideas on properly using a power XL microwave air fryer to get the best results with your cooking.
If you’re not sure how to use it to achieve desirable results, pay attention to all the instructions in this article. It’s also a great idea to go back to the user manual that came with the equipment if in doubt.
