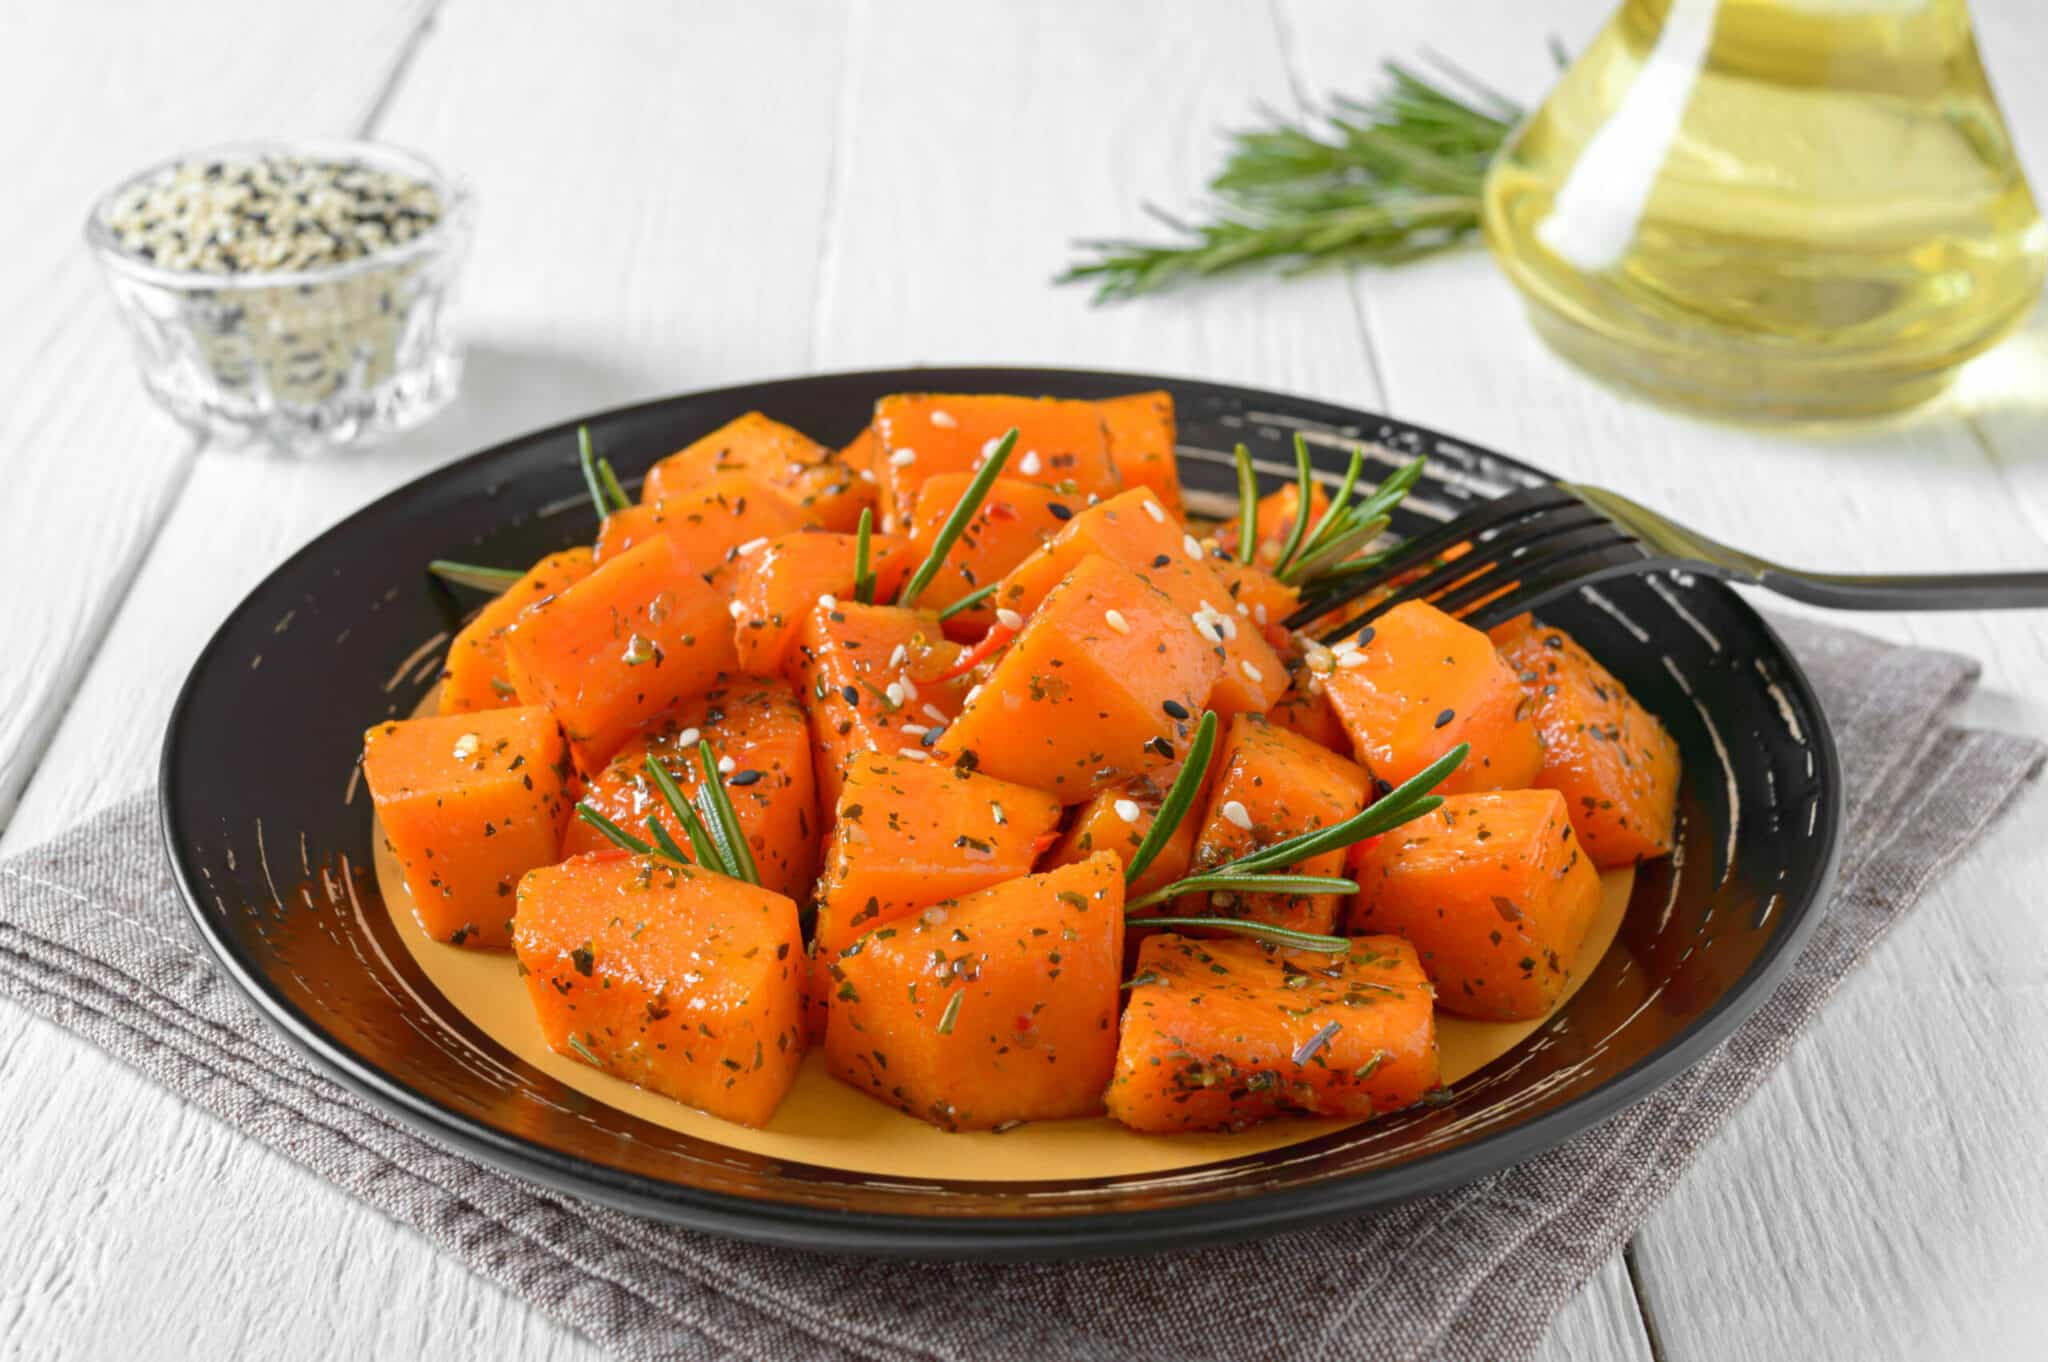
Butternut squash is one of the most delectable recipes to try out in the fall, and cooking it in the oven is one of the best ways to enjoy it. This might, however, be an unfamiliar process, understandably. However, we’re here to make things simple for you.
Follow all the guidelines we’ve outlined in this article. As long as you’re doing everything you’re supposed to, you can rest assured of the delicious goodness you’ll have on your plate at the end of your culinary adventure.
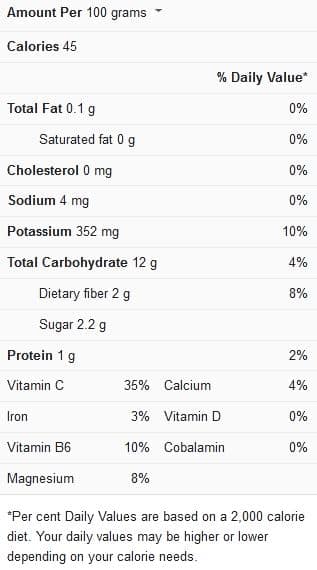
Butternut Squash Nutrition Facts
Tips for cooking butternut squash in oven
With butternut squash recipes, there’s a lot to know to understand how to get the best results. We’ve compiled some of this information below, as well as tips we believe you’ll find quite helpful:
Why cook butternut squash in the oven – There are so many advantages to choosing this cooking style for butternut squash recipes:
- Roasted butternut squash is very delectable. Cooked in this manner, the squash is soft and caramelized, and you’ll find yourself swiping cubes straight from the pan.
- It’s simple to cook roasted butternut squash. The only difficult part is cutting it, which, as you’ll see in the steps described later in this article, isn’t quite as difficult as it appears.
Cutting your butternut squash – The easiest way to peel butternut squash is with a vegetable peeler. Below is an easy process to get it done:
- Choose your squash. The ones with a longer “neck” are easier to peel. This procedure, however, works regardless of the shape of your butternut squash.
- Cut off the top and bottom of the butternut squash with a sharp chef’s knife, about ¼ inch from the end (this will help stabilize the squash while you peel and cut it further). You might also use a nonslip cutting board, but make sure it’s a sturdy one you work with.
- Remove the outer layer of the butternut squash with a vegetable peeler. This is the skin of the squash. Depending on your squash and how much pressure you apply, you may observe a thin, lighter layer of flesh behind the peel that surrounds the deeper yellow flesh below. If the lighter portion sticks, don’t worry about it. You can’t taste the squash once it’s been roasted.
- Cut the butternut squash in a crosswise fashion, from the point where the neck meets the rounder, base end with the same sharp chef’s knife so that you get two round pieces, one that is more like a cylinder (the neck) and one that is more like a ball (the base).
- Place each piece upright on the cutting board and cut top to bottom down the middle. You should now have four separate parts.
- Remove the seeds and stringy pieces from the inside of the squash base with a spoon or ice cream scoop once it has been chopped.
- Cut each half of the squash into 1-inch broad slices by laying them cut side down. Then cut your slices into 1-inch broad crosswise slices. (You should have 1-inch cubes at the end.) To suit your recipe, you can modify the width of the pieces as needed. If the recipe you’re following calls for ½-inch cubes, for example, cut the pieces ½-inch broad instead. There won’t be a perfect square in every piece (especially with the base-end ones, particularly odd).
- Your butternut squash cubes are ready to cook.
It’s safe to eat the skin – You might be wondering if the skin of roasted butternut squash can be eaten. The answer to this question is yes, to put it simply. However, while it is okay to eat the skin, it does not have the best texture, especially when compared to the flesh of the squash itself.
Storage tips – Follow these guidelines to store cooked butternut squash:
- When storing: Keep leftovers in the refrigerator for 4 to 5 days in an airtight container.
- When freezing: Cooked butternut cubes should be placed on baking sheets in a single layer and frozen solid. Freeze cubes for up to 3 months in an airtight freezer-safe storage container. Allow defrosting overnight in the refrigerator before reheating. If you freeze the cubes, they will become visibly softer and have a less ideal texture, but it is an option.
View this post on Instagram
Cooking Time for Butternut Squash in Oven
Timing is very important when cooking butternut squash, as with any other recipe. As such, it is important to follow the timing guidelines in the table below:
Cooking procedure
Cooking time
Roasting butternut squash in the oven
25 to 30 minutes
Print
Cinnamon roasted butternut squash (4 to 5 servings)
Ingredients
- One large 3-pound butternut squash; peeled, seeded, and cut into 1-inch cubes
- 1½ tablespoons of extra-virgin olive oil
- 1½ tablespoons of pure maple syrup
- 1¾ teaspoons of kosher salt (ensure not to use sure table salt, or the recipe will be too salty, you could also reduce the amount and add a bit at the end as needed)
- ¾ teaspoon of ground cinnamon
- ½ teaspoon of ground black pepper
- One tablespoon of fresh rosemary, chopped
Instructions
- Set your oven to 400 degrees F, preheat it, and place racks in the upper and bottom thirds of the oven. Spray two baking sheets generously with nonstick cooking spray.
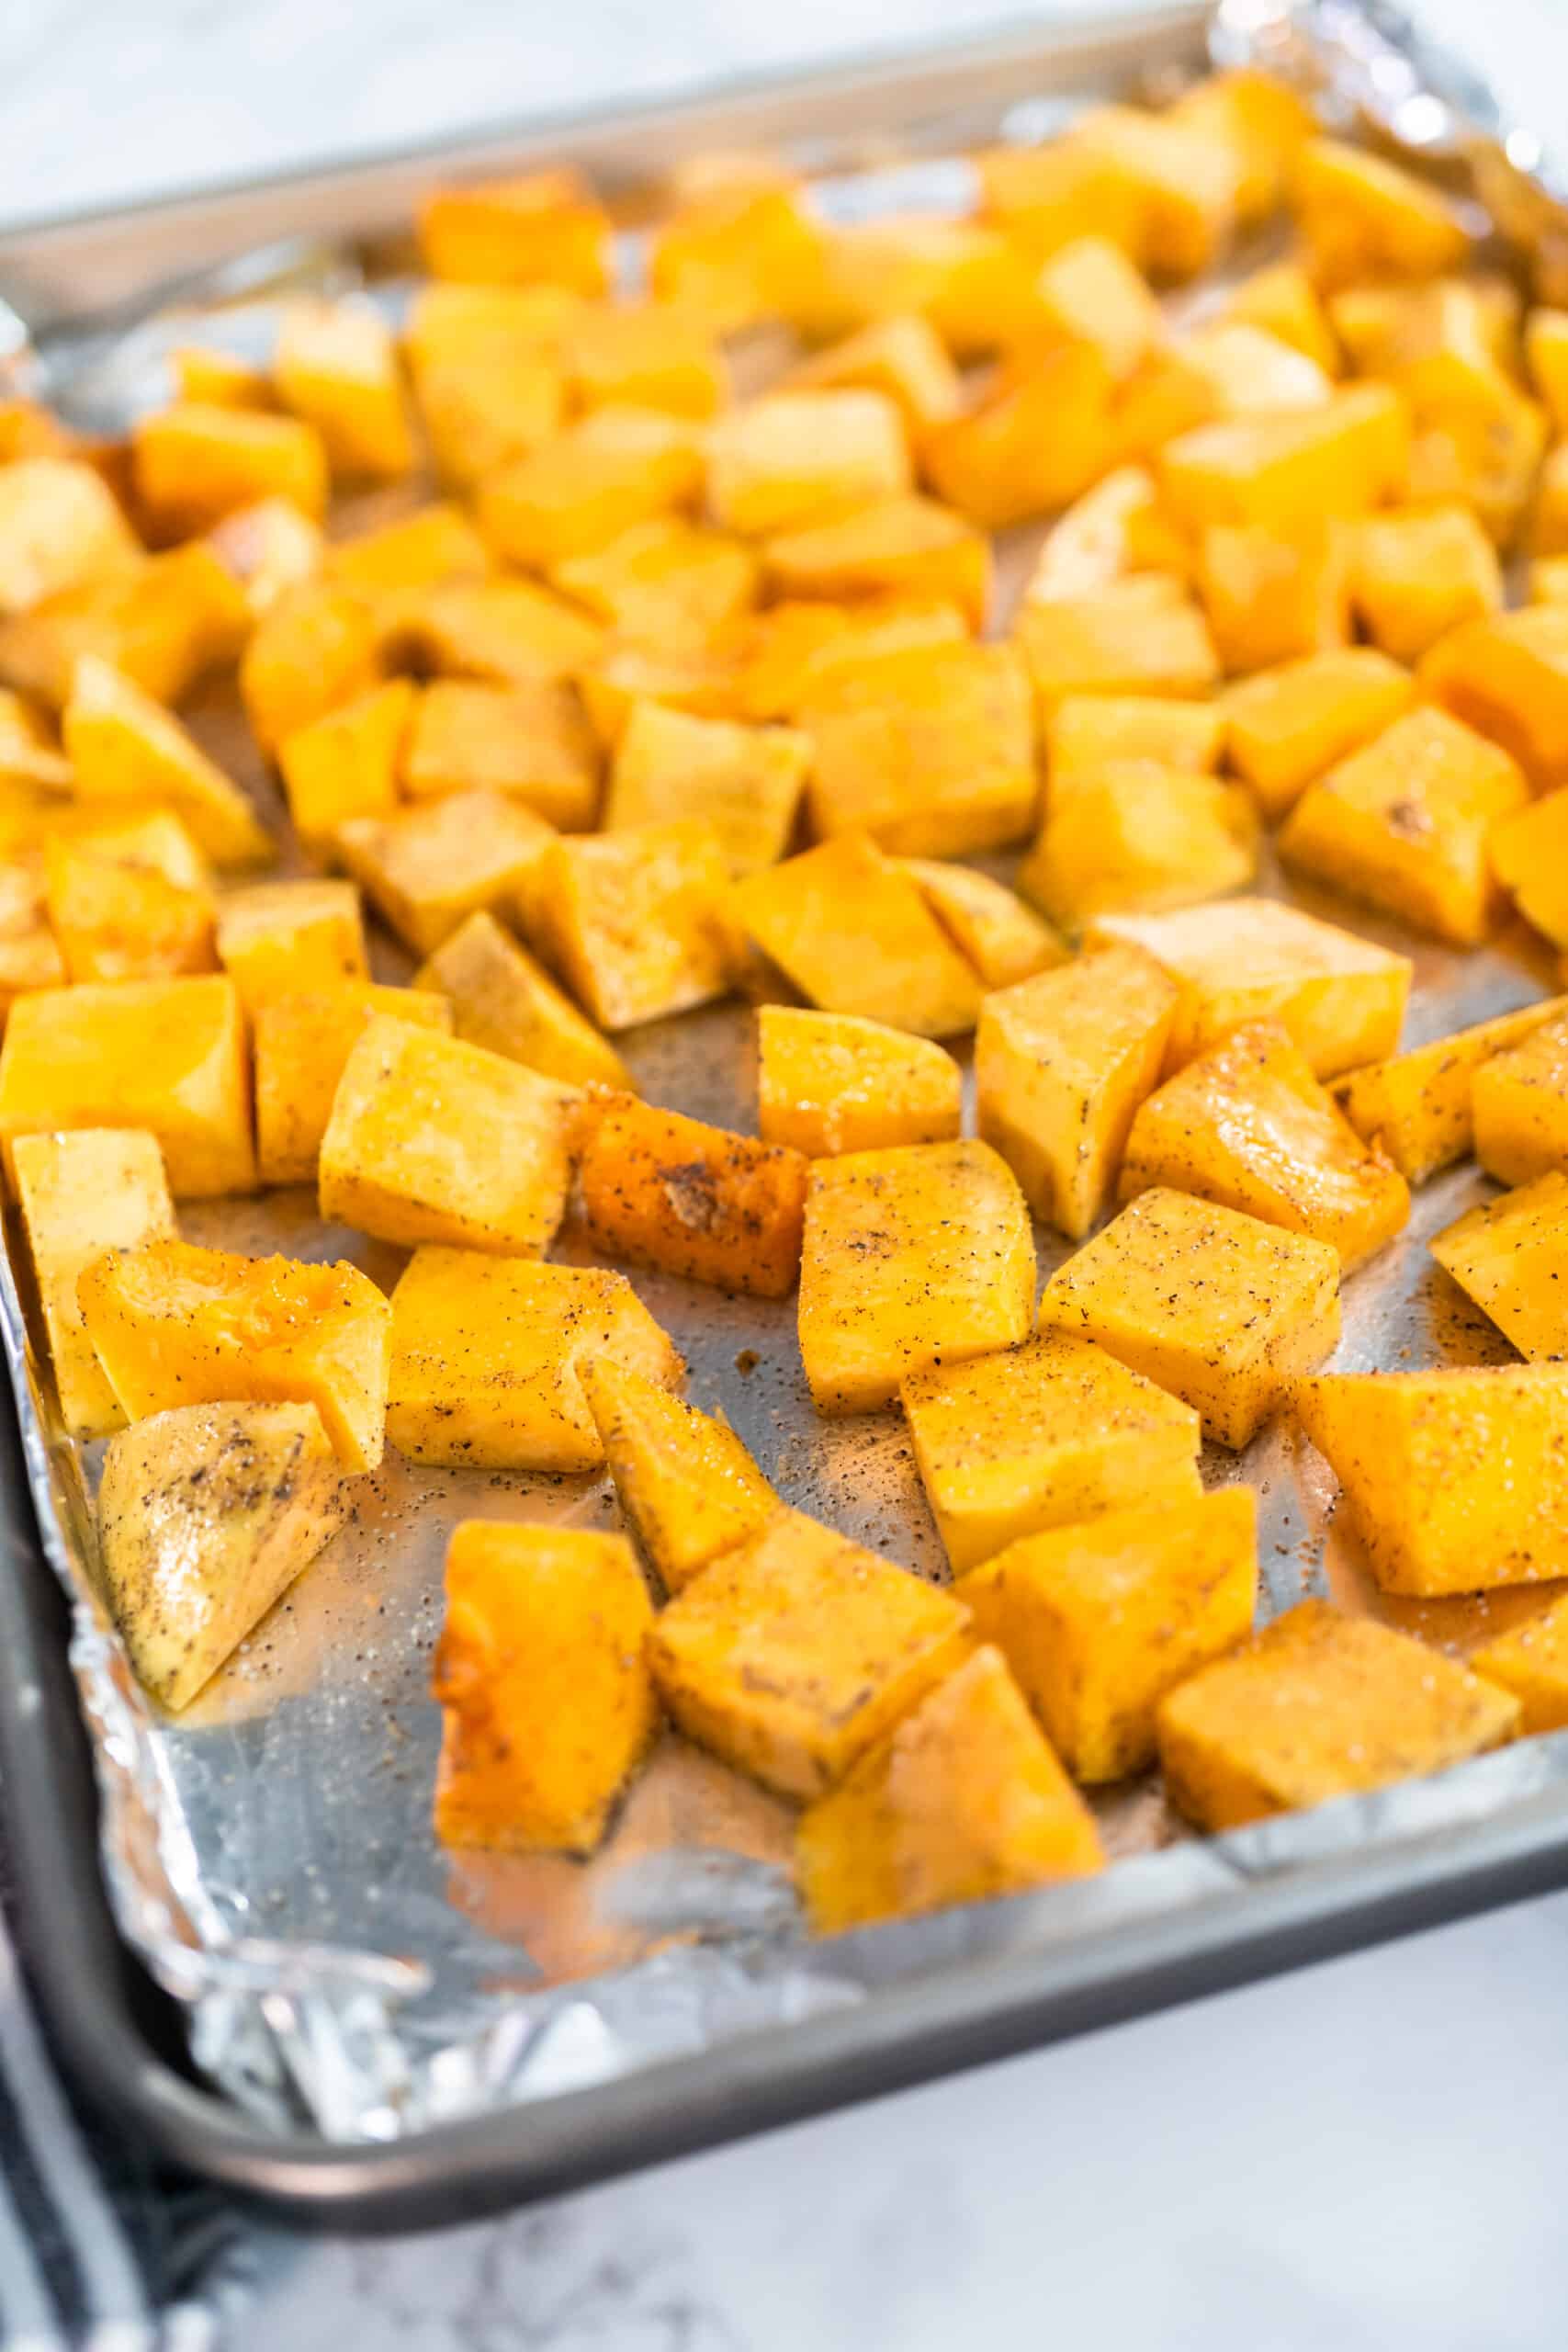
- In a large mixing bowl, put in the squash cubes. Spread the olive oil and maple syrup over the top of the cubes, then season with salt, cinnamon, and pepper. Toss the butternut squash cubes to coat them, then split them between the two baking sheets, making sure to discard any extra liquid from the bowl’s bottom. Arrange the cubes and make sure they are spread out on the prepared baking sheets in a single layer, ensuring that they don’t overlap.
- Bake the butternut squash cubes for 15 minutes with the pans in the upper and lower thirds of the oven. After this time has elapsed, take the pans out of the oven, flip the squash cubes with a spatula, and replace them on the higher and lower racks of the oven.
- Continue baking for another 10 to 15 minutes, or until the squash becomes soft. Retrieve the baked squash from the oven and top it with the rosemary. Ensure that they are still warm when you’re serving them.
This recipe delivers well-cooked, delicious butternut squash in a short time, a total of 40 minutes, including a prep time of 10 minutes and a cook time of 30 minutes. See this video recipe if you’d like more recipe ideas for butternut squash in the oven.