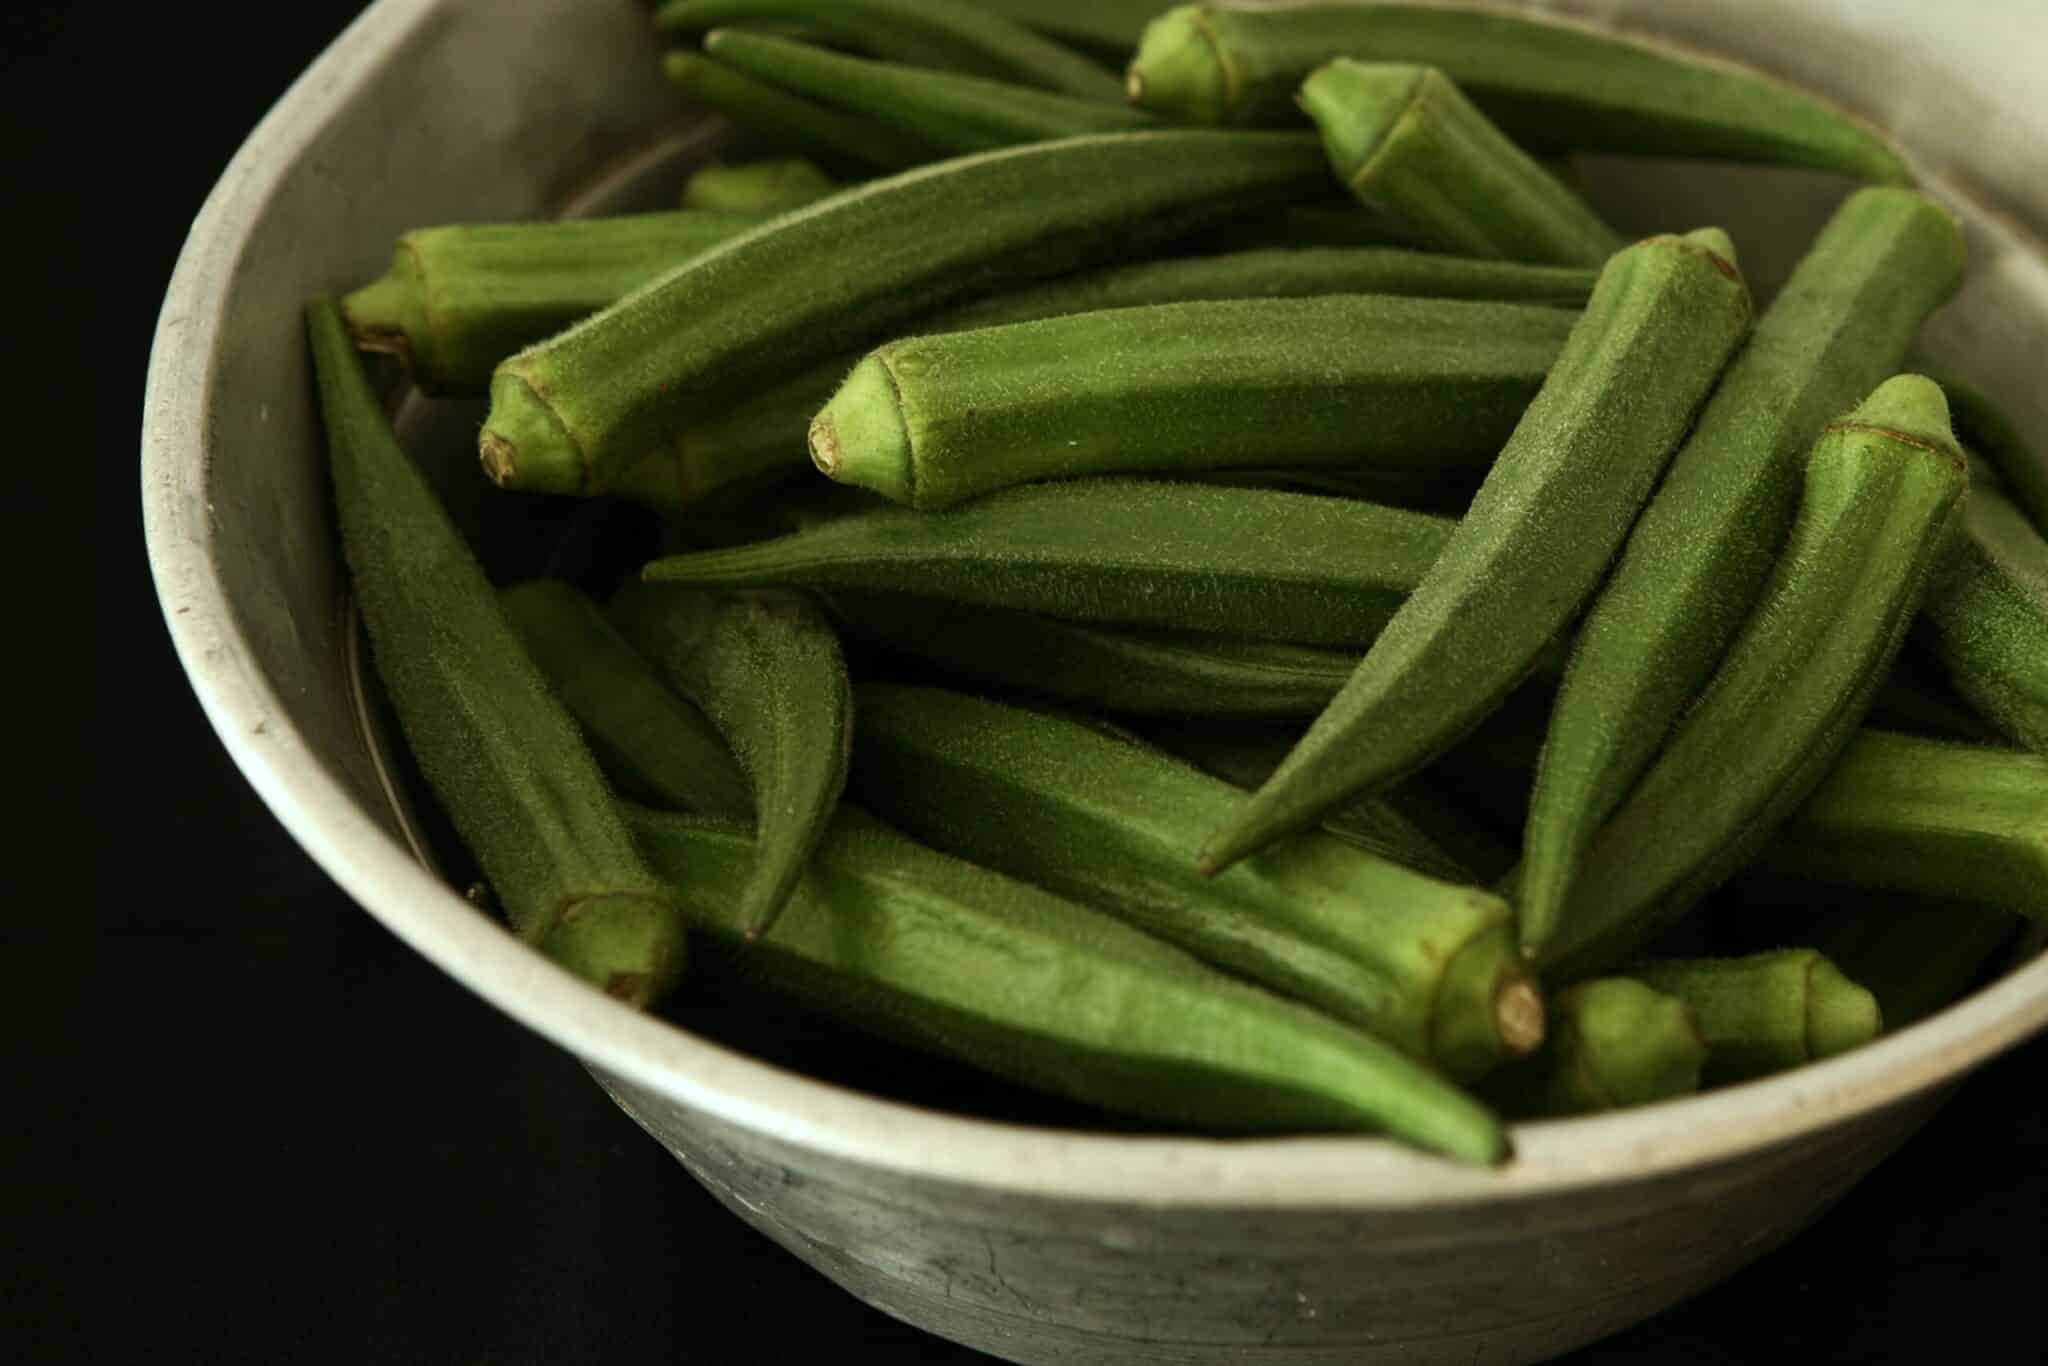
Okra is a very nutritious and healthy meal that can be eaten in a variety of ways. Whether you eat them raw, fried, baked, or roasted in an oven, it still contains most of their numerous nourishing quality.
Okra is largely accepted by many because of its rich contents which include magnesium, folate, antioxidants, vitamin C, K1 and A, and so many others, making it a top food option for your home. It is known to also carry anticancer properties and helps the heart, so this simple-looking vegetable isn’t all talk, it carries a truckload of benefits!
Some people think okra is all slimy when cooked and tend to avoid it, but trust me, with this particular recipe, you’ll be certain of at least 80% of the slime dried up, making it more suitable to eat. In this article, you’ll be learning the simple tips, guidelines, and instructions for preparing a very delicious roasted okra cuisine, so please pay close attention if you desire satisfactory results in your cooking.
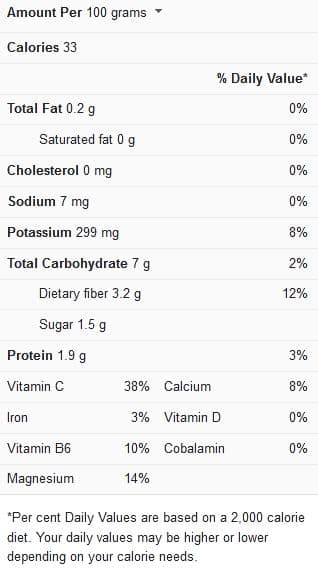
Okra nutrition facts
Tips for Cooking Okra in the Oven
We’ve compiled the following tips and guidelines below to ensure you have the perfection of an okra dish. We advise you pay to take note of the following below for best tasting results.
Know your okra type – okras come in two different types, although this is very easy to overlook. They’re either too hard to the point where cutting into them becomes a chore, or too soft so they come apart with just a little squeezing. When in the market shopping for your okras, it’s advisable to feel them with your fingers to ensure they’re in a balance between being too hard and too soft.
The texture of your okra will affect your meal to some extent, and it is best to avoid anything that will ruin your cooking. Hence, search for okras that are firm and easy to cut or bite.
Don’t store it for too long – if you’re buying your okra straight from the market, it is advisable to cook it quickly, as storing it in the fridge for too long may be harmful to the okra and may cause it to lose some of its nutrients. Long storage of okra also causes them to turn slightly black at the edges which indicates spoilage.
If your okra has been sitting in the fridge for a couple of days too, it’s completely fine as long as they don’t stay there for more than a week.
Rest your okra – it’s quite evident that anything that goes into the oven will be intensely hot and requires time to rest before being taken out. Resting your okra also allows it to dwell on the heat and moisture it created while in the oven, adding flavor and texture to the okra.
How to remove the sliminess – although cooking okra in this recipe will make it not to be too slimy, it doesn’t just happen automatically. There’s an important step to take to ensure your okra is less slimy when cooked, and that is soaking them in vinegar for an hour before you start cooking them. This tip is guaranteed to reduce slime in the okra.
What type to buy – I’ve already mentioned the best okra type when it comes to cooking in the oven above, but if it’s your first time cooking okra, you might be wondering ‘do I get small or big ones?’ It’s simple, the smaller okra is, the better. This is because okra is more suitable for eating when it’s about two days old or so. The bigger ones tend to dry out more and have a woody texture because they’ve been on the plant for a longer amount of time.
Don’t overcrowd your okra – okra is a smaller vegetable when seen singularly, but it’s still advisable to not overcrowd them on your tray when you want to cook them. Overcrowding doesn’t allow the heat to penetrate the okra easily and extends their cooking time since everything is not thoroughly cooked.
If you cooking your okra whole, we advise you to line them up one by one on the tray with a 1-inch space or 1.5-inch space between them for easier cooking.
View this post on Instagram
Cooking Time for Okra in the Oven
The timing guidelines below are necessary to follow for satisfactory results in cooking your okra in the oven.
| Cooking procedure | Cooking time |
| Cooking okra in the oven at 425 degrees Fahrenheit | 15 to 18 minutes |

Oven baked okra (9 servings)
Ingredients
- 4.5 cups of raw okra (1 lb okra)
- 2 tsp of cooking oil, vegetable or olive oil
- 1 tsp of salt
- 1 lemon or lime
- 1 tsp of turmeric powder
- 1 tsp of red chili powder
- ½ tsp of coriander powder
- ½ tsp of garlic powder
- ½ tsp of cumin powder
- ⅓ tsp of asafoetida (optional)
- ½ tsp black pepper
- 1½ tsp of paprika
Instructions
- Take okra out of vinegar and leave out on a flat board to dry out.
- Cut okra into ⅓ inch chunks and throw away the cut out ends.
- Preheat your oven at 425 degrees F.
- Spray oil on your tray. If you don’t own a spray can, you can drizzle some oil on the tray, then spread with your fingers so the oil reaches all segments of the tray.
- Get your cut-up okra onto the tray, and separate them a little for a more suitable cook.
- Add salt and drizzle some oil onto the okra. Squeeze your lemon or lime juice on the okra. Mix well.
- Put it into the oven and leave for about 15 minutes.
- After 15 minutes, carefully remove the okra with an oven mitt from the oven as it will be very hot. Set aside and start mixing the spices in a bowl.
- Mix your spices well into the okra, and you’ll find them spotting a golden brown color. Your delicious oven-cooked okra is ready to be served.
This is a recipe that you can cook once, and eat a couple of times before it runs out. It’s very quick and easy to cook, serving as an excellent side dish or appetizer for you.
If you want to know more about cooking your okra in the oven, we suggest you check out this video recipe.