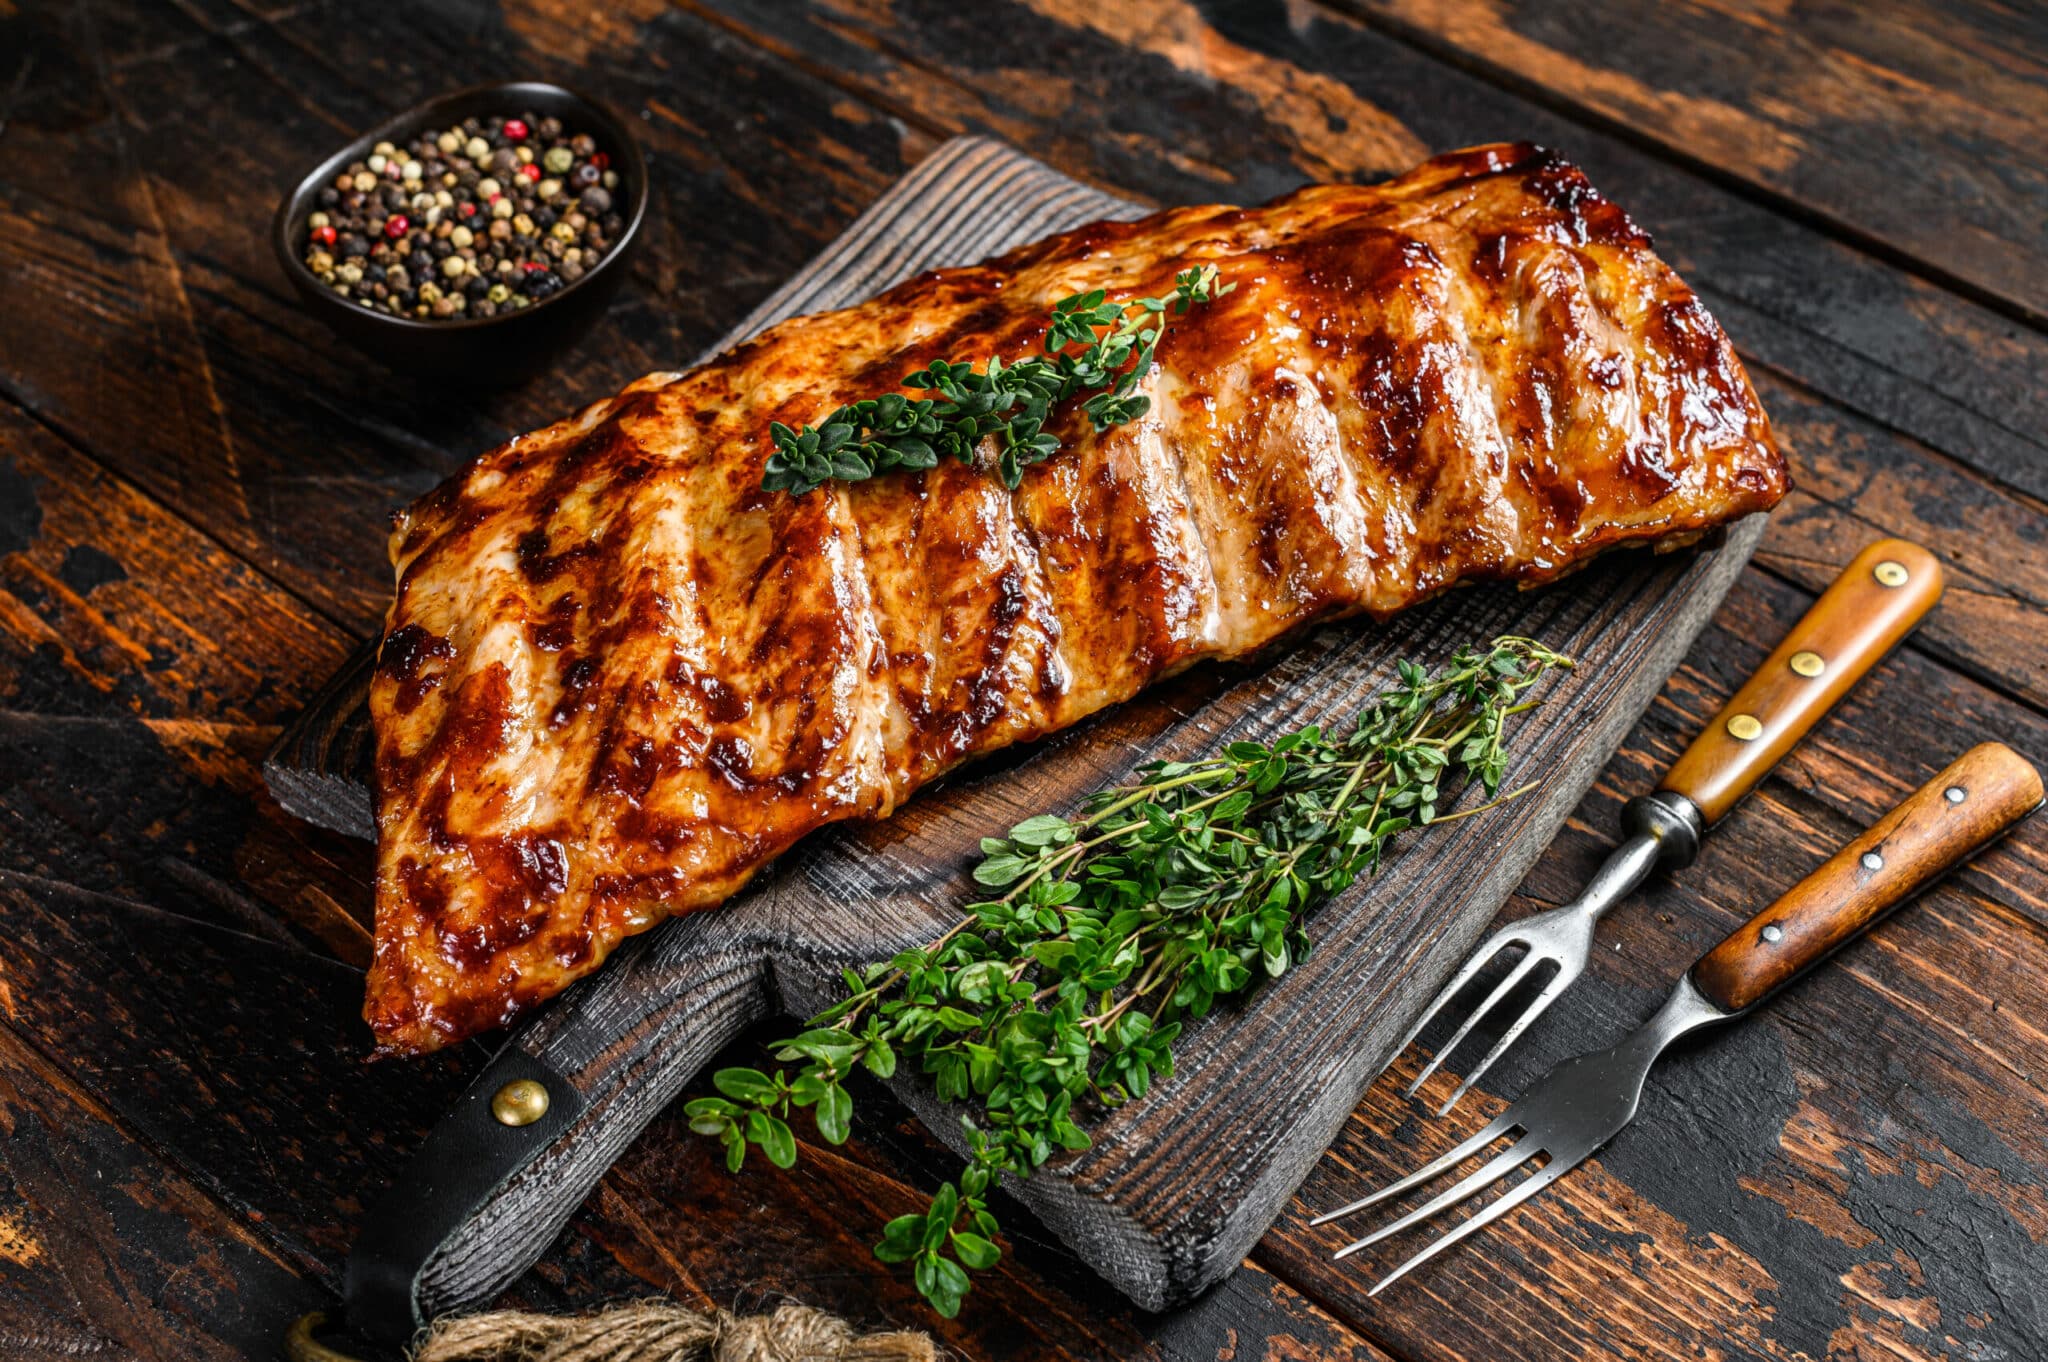
If ribs are cooked incorrectly, they might result in tough, chewy flesh being torn from the bone Ribs may be tender, juicy, and fall-off-the-bone excellent if prepared correctly. This strategy, sometimes known as 3-2-1, is simple and almost foolproof, and it results in ribs that are so soft that the meat can be pulled off the bone with your fingertips.
The 3 2 1 rib method entails smoking ribs for 3 hours at a specific temperature, wrapping them in liquid for 2 hours, then saucing for the final 1 hour. This method for cooking the most tender, precisely cooked smoked ribs is foolproof.
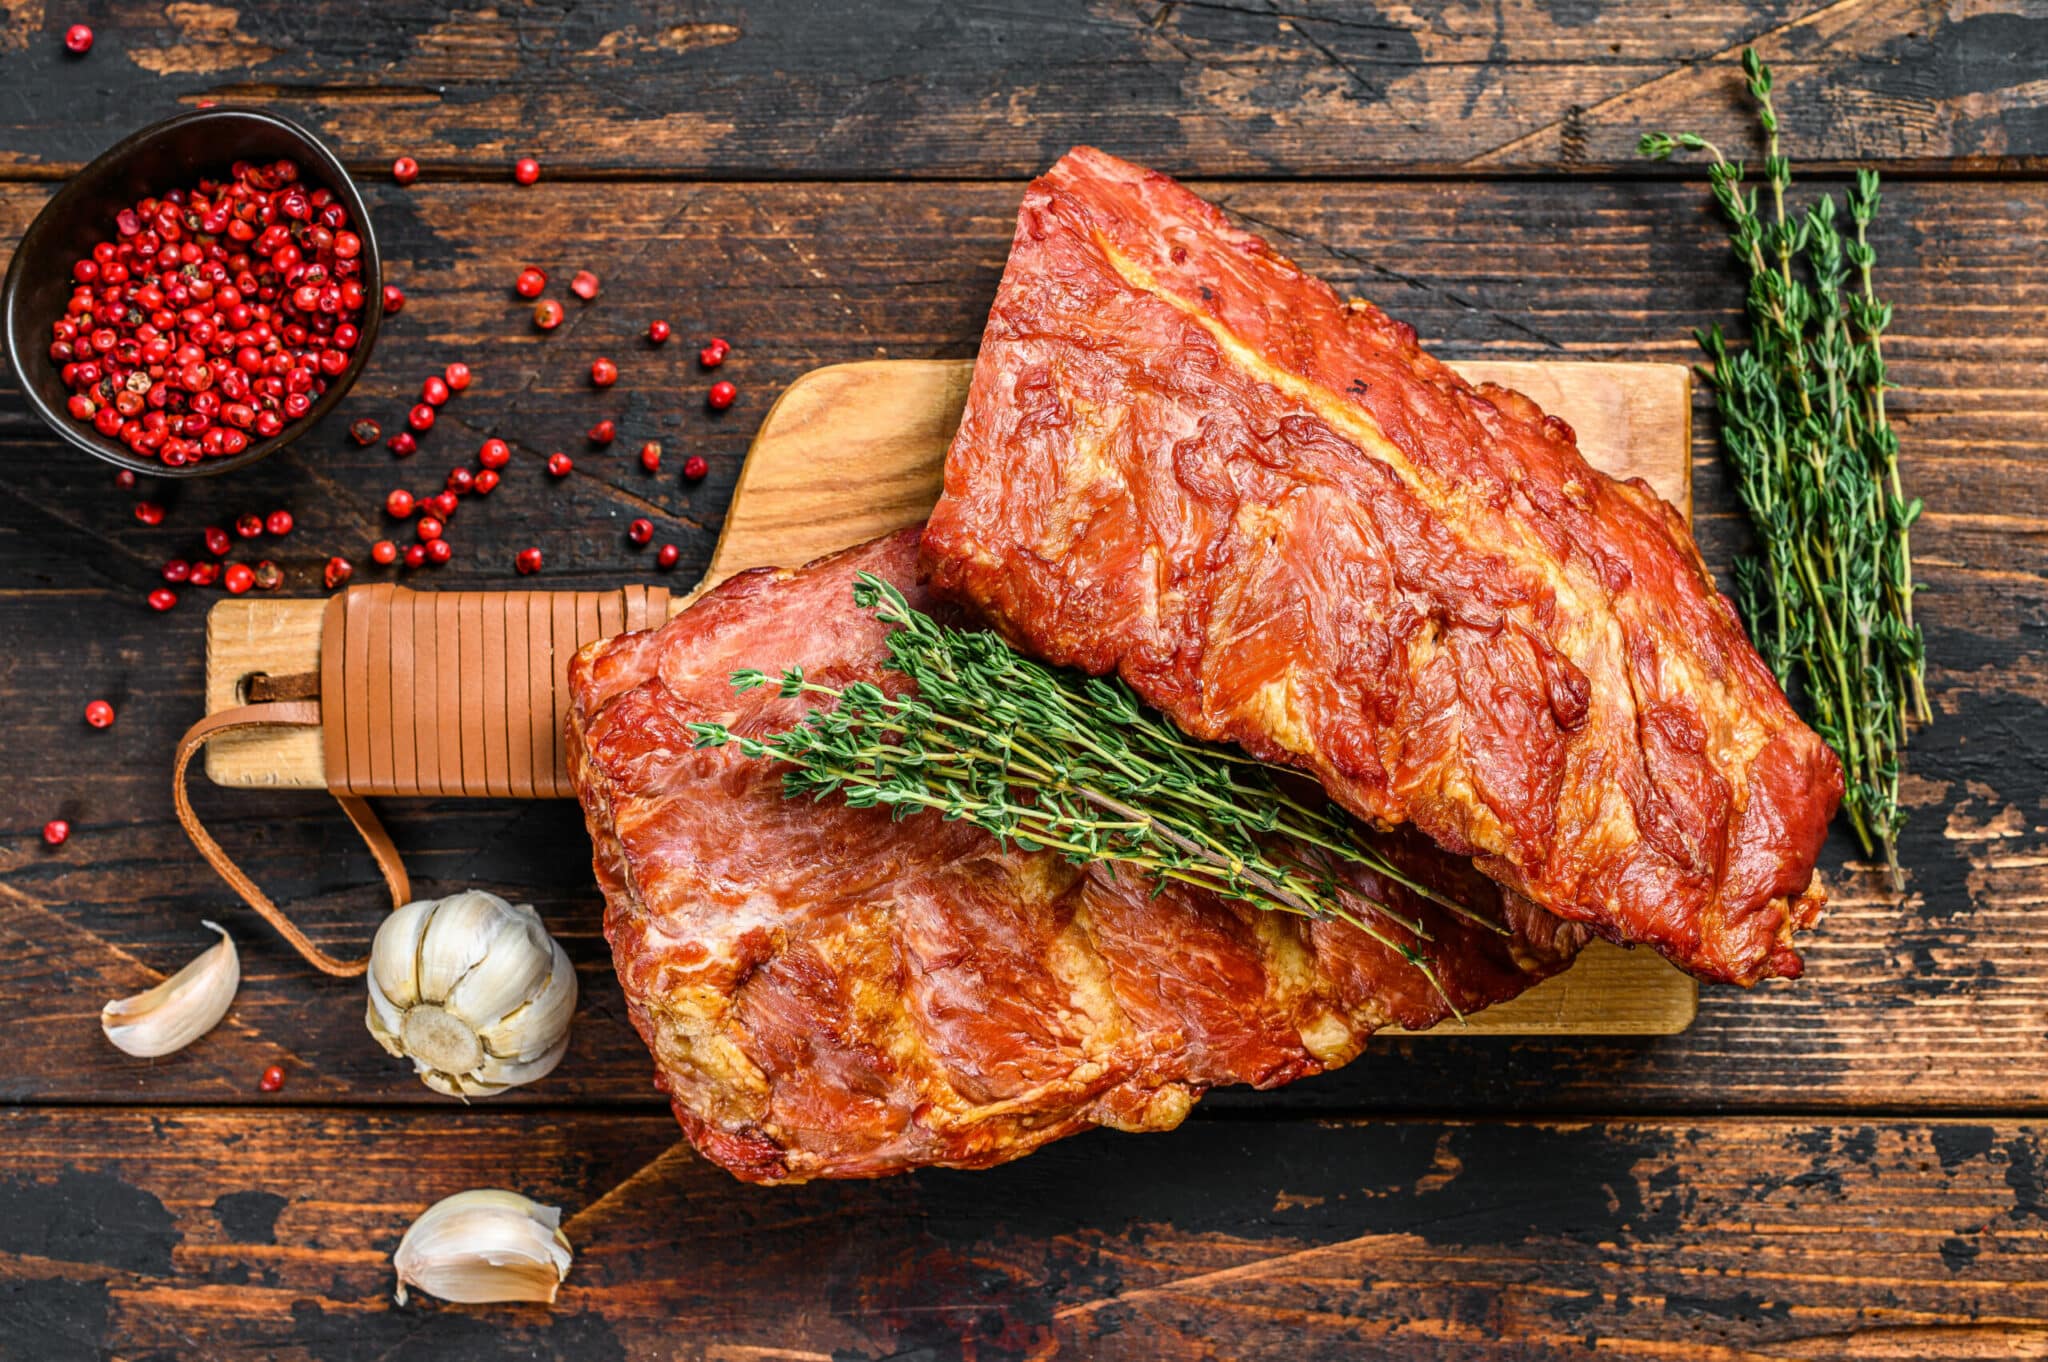
Remove the membrane from the ribs and cover them in yellow mustard before rubbing with the homemade dry rub. This is best done the night before you plan to smoke ribs.
This method provides the faultless results in churning out incredibly soft ribs that fall off the bone; this method has garnered a lot of appeal with home cooks in recent years. It’s always the bone. Your ribs should be rubbed, slathered in sauce, and smoked to perfection. They must also be delicate and juicy!
This article will provide you with all of the information you need to confidently smoke ribs that will be the talk of the town. We’ll talk about seasoning the ribs, how long to cook the ribs, and at what temperature to smoke them, as well as other data to help you improve your barbecue skills.

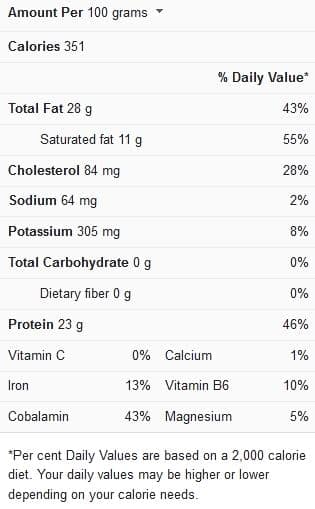
Ribs nutrition facts

View this post on Instagram
Cooking time for smoked ribs
The preparation and cooking of smoked ribs take time. The nature of the meat necessitates an extended cooking period in order for it to be soft. The following are the different timing guidelines to follow:
| Cooking method for Smoked Ribs | Cooking time |
| Smoking | 3 hours |
| Wrapping | 2 hours |
| Sauce and smoke | 1 hour |
Check out this video on how to make smoked ribs.
Print
How to cook ribs in a smoker
Ingredients
Instructions
1. The membrane should be removed
There is a thin membrane on the rear side of the ribs that will not break down while cooking and can be chewy. You can get it out by pinching a corner of the membrane with a paper towel.
Once you’ve detached enough of the membrane to gain a grasp on it, gently pull until it’s completely gone, preferably in one piece.
Pinch it again if it tears, and remove any little parts left behind.
2. First season, the bone side, then the meat side.
It’s time to season the ribs when the membrane is removed. Apply a little layer of oil or mustard on both sides of the ribs to aid seasoning adhesion.
The backside of the ribs should always be seasoned first. Allow about 5 minutes for the seasoning to soak in before flipping the rack to the presentation side.
This ensures that the seasoning absorbs completely and does not fall off when the ribs are turned over.
Season the ribs a little more strongly after flipping them to the presentation side.
Season the ribs from a higher vantage point to ensure even distribution.
3. Pre-cook the ribs in the fridge for 30 minutes.
Starting your rack of ribs earlier than brisket or roast because of the thinness of the ribs allows them to absorb the smoke and acquire a lovely texture.
4. Set the ribs on the smoker and inspect them carefully.
Preheat the grill to 225°F. Place the ribs on the grill and cook for two hours. At this time, the ribs will be the ones to absorb the most smoke. Look at the ribs to determine if a bark has developed. If the rub has clung to your ribs, mop or sprays them for the first time. Continue to cook for another hour.
After a second mopping of the ribs, check the temperature. If you don’t like the color when the internal temperature of the flesh reaches 160°F to 170°F and the flavor is to your taste, the meat is done. Wrap it in foil or butcher paper after that.
Bone side up, place the ribs on the foil or butcher paper. Spread a couple pats of butter on the rack, then drizzle with honey and a little dusting of dry rub. Return the ribs to the smoker by tightly wrapping them. For another hour, keep smoking. You can boost the temperature to 275 degrees F if you want to. The cooking process can be sped up because the meat is shielded by foil or butcher paper.
5. Check to see if it is tender
Unwrap the meat gently and test it. Ribs are a type of meat commonly used in cooking at an interior temperature of 200-210 degrees F; depending on personal liking, the food is ready to consume. Use the probe thermometer to test for soreness rather than temperature. To test if the ribs are tender, poke the meat between the bones. The probe should be inserted into the meat with as little stress as possible. If the meat is still tough, wrap the ribs again and simmer for 30-60 minutes before checking.
6. Ribbon cutting
Turning the rack upside down makes viewing the bones and making clean cuts while cutting the ribs. You may lose some sauce, but you can always baste it on top when you flip them.
A perfect rib bite should be taken in the center of the rib and held like an ear of corn. The bite should leave a half-moon-shaped mark on the bone and expose clean meat. It’s most certainly overcooked if the entire rib falls apart or doesn’t leave a clean bite. It’s possible that it was wrapped for an excessive amount of time. Still excellent and delectable, but you might want to cut down on the wrap time in the future. You probably didn’t cook the beef long enough if the bite feels tough or the meat doesn’t easily come off the bone. Adjust the time as needed in the future
7. Serve
You can serve the ribs after they’re tender; it is a personal preference whether they’re served dry or with a sauce. If you’re saucing, unfold the foil and fold it over to form a tray to catch the juices while you sauce the top. Smoke for another 30 minutes after applying a thin layer of sauce. Depending on how saucy you prefer your ribs, you can sauce a few times. Before slicing the ribs, give the sauce a chance to attach to the flesh.
