We all love steak, and hardly can we resist that tasty, juicy slab of beautifully roasted meat sitting in front of us at an exquisite dinner meeting. And one of the best ways to prepare it is to combine cooking the steak first on the stove and then finishing in the oven. But of course, it doesn’t just start there. So, for the best-tasting steak cooked on the stove and oven, consider these handy factors;
Choose the right beef cut
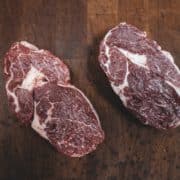
For the best steak, choose the boneless cuts that cook quicker and are about 1 1/2 to 2 inches thick. Ribeye, strip, and filet mignon are excellent examples. Also, make sure the steak has a nice marbling; not too much and not too little.
Air the steak
Unless you’re returning from the market with fresh supplies, the chances are that the meat you plan to cook sits in the fridge. So you need to let the chill out before you cook it. Leave it to sit at room temperature for about 30 minutes. If you cook them directly from the fridge, it’ll take longer to finish.
Preheat
For the pan, preheat before placing the steak on it. It’s best to use a cast-iron pan or skillet for this as they’re designed to evenly distribute heat and are thicker and more ideal for searing. Also, preheat the oven to about 400°F as well while you season the steak.
Season the steak
A rich rub of a simple salt and pepper mixture can work as a good seasoning for steak. But if you already have a special dry rub mix you use, that’s good too. Remember to pay the steak dry with a paper towel first before you season. This is so you can brown on the pan, and a wet steak won’t do that.
Sear on stovetop
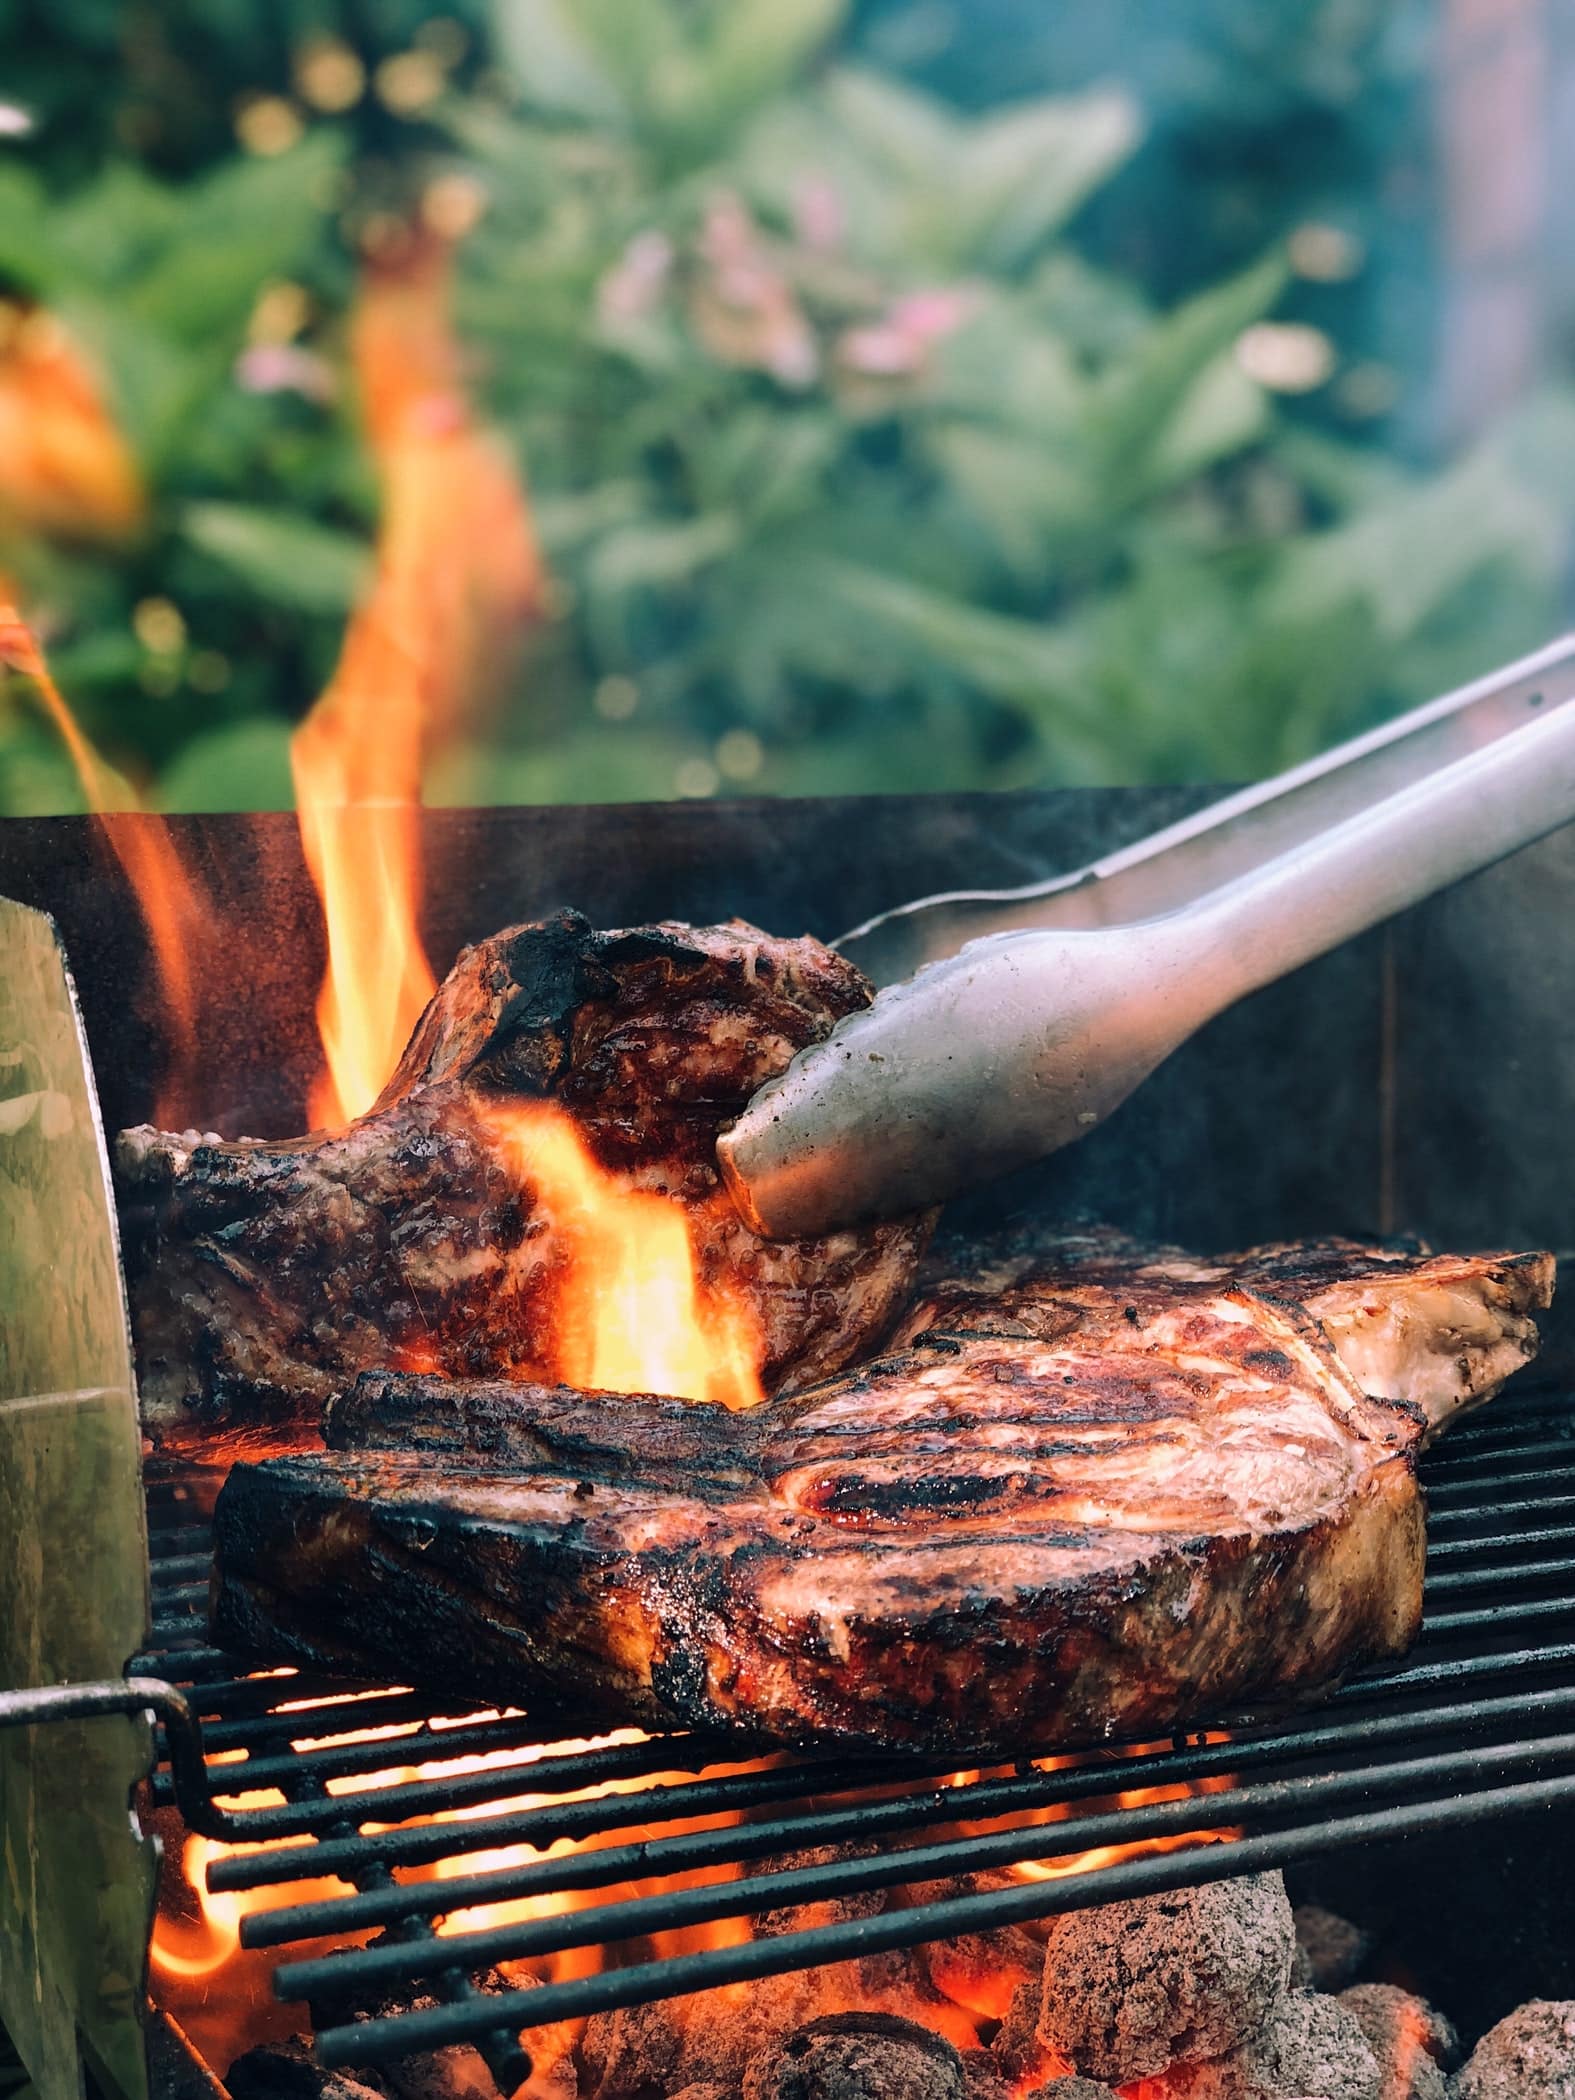
Searing helps you brown the sides of the steak and trap the flavor in, and it’s only possible on a boiling pan. This is why you should use a cast-iron skillet, but make sure it’s oven-safe because you’ll be transferred the skillet directly into the oven at the end of the searing process.
To sear, place the steak to one side of the skillet and let it brown for about 2 minutes untouched. Then, turn and place the fresh side to another part of the pan and leave it to be brown for another 2 minutes untouched. Don’t flip on the same spot in the pan because that part has already lost heat. If you’re making more than one steak, it’s best to use a huge pan with enough space to flip a steak newly four times. If you’re not sure that the steak has reached enough browning, simply move it after the 2-minute searing time. It should come off the skillet easily, then.
Finish in the oven
Once you’ve finished searing the steak, transfer the oven-safe skillet directly into the preheated oven to finish cooking for about 5 to 12 minutes. Close to the end of the cooking time, poke a meat thermometer into the thickest part of the steak to check for doneness. You want to take the steak out when the temperature reads at 5° lesser than what’s required.
To help, you can follow these temperature suggestions for when to take your steak out;
- Rare (115 to 125°F)
- Medium rare (125 to 135°F)
- Medium (135 to 145°F)
- Medium well (145 to 155°F)
- Well done (155 to 165°F)
Rest
Once taken out, let the steak rest for about 6 to 10 minutes, covered in foil. This allows the juices to sit and the steak to finish cooking through the carryover heat inside it.
Print
Pan-seared, oven-finished steak (2 servings)
Ingredients
- 2 steaks, aired
- Dry rub mix
Instructions
- Preheat a skillet on the stove over medium-high heat and the oven to 400°F. While you’re waiting, pat the steaks with paper towels to remove moisture. Generously season both sides with the dry rub spice and rub it in with your fingers.
- Place the steak on the skillet part and let it sear for 2 minutes without touching it. It should come off easily now, with a nice crisp browning. Flip to another hot part of the skillet and let it sear for another 2 minutes without moving the steak.
- Transfer the skillet with the browned steaks to the oven and let it roast for around 6 to 12 minutes. Check the temperature with a meat thermometer, and take it out when it’s 5° less than the desired doneness.
- Put the steaks on a plate and cover them loosely with aluminum foil. Leave to rest for about 10 minutes before serving as you wish.
Also, try out this video recipe when next you have guests over.
