A vegan yogurt culture starter is a blend of lactic acid bacteria used to make dairy-free Yogurt. These cultures will give the Yogurt a mild, yogurt-like flavor and a thin, smooth texture with low viscosity. Vegan Yogurt Starters come in packets that you add to your alternative milk choice. If you’re making a large batch, use two packets and four to four quarts of alternative milk. You can then place the packets in the refrigerator.
What exactly is yogurt?
Yogurt, sometimes known as Yogurt, is the most well-known fermented milk. In symbiosis, lactobacillus bulgaricus and Streptococcus thermophilus, two lactic bacteria, ferment milk to make it. Vegan yogurt ferment is the product of a careful selection of bacteria found in non-dairy milk that are best for making creamy soy yogurt with a typical flavor in a completely natural method.
Culture of yogurt as a beginner
Using a previous batch of Yogurt to inoculate milk for a fresh batch of Yogurt is a typical practice. When buying commercial Yogurt, check the ingredients list to ensure that it has living cultures and no flavorings or additions. The finest option is plain Greek yogurt.
Additionally, handmade SCD yogurt can be used as a later batch starter. Simply set aside 12 cups of milk for inoculation. The probiotic strains will deteriorate over time; therefore, this is not a practice that should be repeated continuously.
Stabilizers and gelling chemicals in commercial non-dairy yogurt will interfere with the yogurt culturing process. Always use a dry bacteria starting culture or probiotic with a probiotic.
How to make vegan yogurt starter?
Heat 1-2 quarts of soy milk to 110°F, then thoroughly stir in the starter culture.
In a yogurt maker or similar appliance, pour into culturing container, cover, and culture at 108-110°F for 6-8 hours.
After 8 hours, cover with a tight lid and set aside to cool for 2 hours at room temperature. After that, chill for at least 6 hours before serving.
What are the pro tips to make vegan yogurt starter?
Yogurt made from plants does not thicken (except for soy milk). Stir 2 tablespoons of calcium-activated pectin and calcium water into your milk and heat to 140 degrees to make a thicker yogurt. Allow cooling to 110°F before adding the culture.
Cultured milk can be made from nearly any non-dairy source, including legume, nut, seed, grain, or coconut milk. While you can use store-bought boxed or canned milk, we recommend selecting milk with the fewest additives.
What are the ingredients of yogurt?
Milk is the most important element in yogurt. Whole milk for full-fat yogurt, low-fat milk for low-fat yogurt, and skim milk for nonfat yogurt — depends on the type of yogurt. Other dairy components, such as cream to change the fat content and nonfat dry milk to adjust the solids content, are allowed in yogurt to adjust the composition. To give the finished yogurt more body and texture, the solids content of yogurt is sometimes increased above the minimum of 8.25 percent. A list of permitted dairy components for yogurt can be found in the CFR.
Stabilizers can also aid in improving the body and texture of yogurt by enhancing firmness, avoiding whey separation (syneresis), and keeping the fruit evenly distributed in the yogurt. Alginates (carrageenan), gelatins, gums (locust bean, guar), pectins, and starch are all stabilizers in yogurt.
Yogurt contains sweeteners, flavors, and fruit preparations to provide variety to the consumer. The CFR contains a list of acceptable sweeteners for yogurt.
What are the steps to make yogurt in general?
Blend and adjust the composition of the milk Ingredients
Homogenize Pasteurized Milk
Inoculate Cool Milk with Starter Cultures
Allow cooling before adding flavors and fruit.
Adjust the composition of the milk and blend it.
Ingredients
The fat and solids content of milk can be changed to attain the desired result. To achieve a suitable texture, dried milk is frequently added to enhance the amount of whey protein. At this point, stabilizers and other ingredients are introduced.
Pasteurization of milk
The milk combination is pasteurized for 30 minutes at 185°F (85°C) or 10 minutes at 203°F (95°C). The whey (serum) proteins are denatured using a high heat treatment. This enables the proteins to create a more stable gel, preventing water separation during storage. The high heat treatment also minimizes the number of spoilage organisms in the milk, allowing the starting cultures to thrive in a better environment. Yogurt is pasteurized before starter cultures are added to ensure that the cultures remain active in the yogurt after fermentation so that they can act as probiotics; if the yogurt is pasteurized after fermentation, the cultures will be inactivated.
Homogenize
The mixture is homogenized to properly incorporate all components and improve yogurt consistency (2000 to 2500 psi).
Milk that has been chilled
To bring the yogurt to the appropriate growing temperature for the starting culture, the milk is cooled to 108°F (42°C).
Use starter cultures to inoculate
The starting cultures are added to the chilled milk and stirred thoroughly.
Maintain a firm grip
The milk is kept at 108°F (42°C) until it reaches a pH of 4.5. This permits the fermentation to continue, resulting in a soft gel and a distinctive yogurt flavor. This procedure can take several hours to complete.
Keep it cool
To stop the fermentation process, the yogurt is chilled to 7°C.
Fruit and flavorings can be added at any time.
Depending on the type of yogurt, fruit and tastes are added at different stages. The fruit is placed in the bottom of the cup for set-style yogurt, followed by the inoculated yogurt, which is poured on top and fermented in the cup. Before packaging, the fruit is combined with the fermented, cooled yogurt for swiss style yogurt.
Make a package
The yogurt is pumped out of the fermenting tank and packaged according to your preferences.
Why make yogurt at home?
There are only two ingredients required!
All you need is a bowl and a whisk to make this recipe.
Making it at home instead of buying it at the shop saves a lot of money.
Homemade yogurt is healthier and more nutrient-dense, containing active bacteria beneficial to your body.
While the procedure takes some time, it is quite simple and straightforward.
5 minutes to scale the milk
1 hour to cool to room temperature
2 minutes after adding the active bio culture
4 to 6 hours in a warm location
Keep refrigerated for up to a week.
How to make homemade yogurt without starter?
Scald milk by pouring it into a saucepan and heating it over medium heat until it almost boils. (180 degrees Fahrenheit or 82 degrees Celsius)
Cool the milk until it reaches room temperature (110°F or 43°C). Pour the milk into a glass jar or a stainless steel bowl, but not an aluminum container.
You don’t need a thermometer for this. Simply leave it until it is barely warm as if you were preparing bread with milk.
Using a whisk, thoroughly blend the citric acid or freeze-dried culture starter with the milk.
If you add citric acid to hot milk, it will curdle, so first, make sure it’s at room temperature.
Rest for 4 to 6 hours by covering the milk jar with a clean kitchen cloth or paper hand towel and leaving it in a warm location untouched.
Tip: Don’t slam the lid shut too tightly. The yeast in the milk requires oxygen to survive.
It should be set after 4 to 6 hours of chilling. Put it in the fridge for a couple of hours to chill.
Pro tip: Although the culture is established at this point, keeping it in the fridge will allow it to mature more slowly without getting too sour.
What is the shelf life of homemade yogurt?
Homemade yogurt can be kept in the refrigerator for up to two weeks. The first 4 to 5 days are the most flavorful. Yogurt’s active culture, on the other hand, begins to develop a sour flavor as it ages. It’s still edible and tasty, and it’s great in yogurt smoothies, curries, and baked goods. You can certainly use it to make different yogurt. Of course, yogurt can be used in place of sour cream and is ideal for making chocolate desserts.
How to make different kinds of yogurt?
Low-fat yogurt is made the same as regular yogurt but with low-fat milk. (1% or 2% of the total) Because there isn’t enough milk fat,
The culture may take longer to develop, so instead of 4 to 6 hours, it could take up to 8 or more.
Low-fat gives the appearance of being thinner since it contains more whey and less milk fat.
Thickened commercial low-fat yogurts are available. No-fat milk powder or a little amount of unflavored gelatin can be used to thicken the low-fat milk. While the milk is still cold, add it to the mixture and proceed as directed.
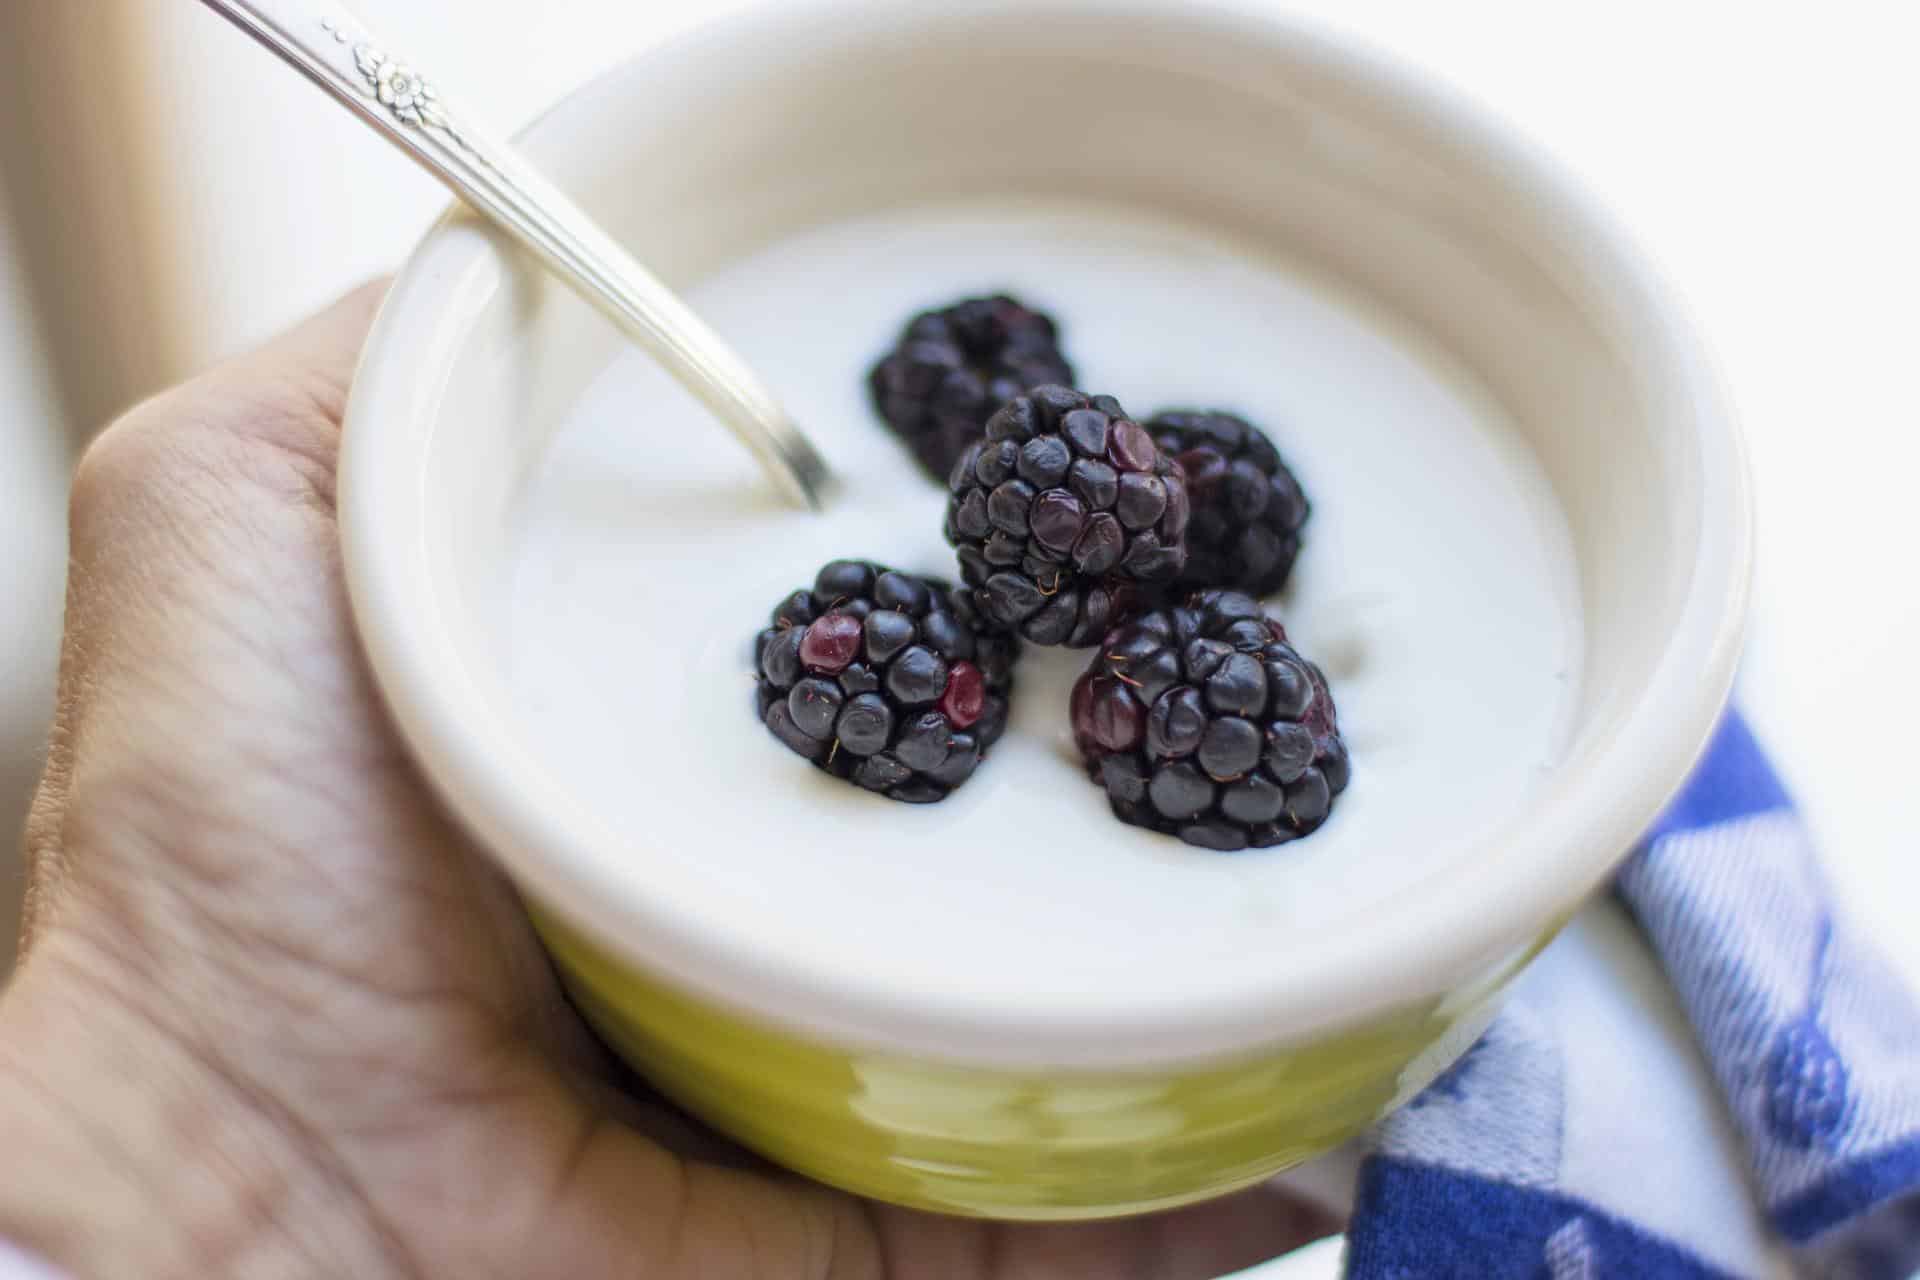
Fruit yogurt – Making fruit yogurt at home is simple and straightforward. In actuality, you only need fruit purée or finely chopped fresh fruits.
2 tablespoons fruit puree to 1 cup homemade yogurt (or 1 cup puree to 4 cups yogurt). Depending on the fruit you use, you may or may not require a drizzle of honey or maple syrup for sweetness.
Smoothies and yogurt drinks are the most delectable ways to consume yogurt. In a blender, combine the following ingredients until smooth.
1-quart yogurt (regular or Greek)
1 pound of ice
1 tbsp honey, maple syrup, or agave syrup
To prepare a delicious fruit yogurt drink, add 1 cup of chopped fruits.
See all of my milkshakes, smoothies, and other beverages.
How to make greek yogurt?
scald – combine milk and cream in a saucepan and heat over medium heat until almost boiling. (180 degrees Fahrenheit or 82 degrees Celsius)
Cool the milk until it reaches room temperature (110°F or 43°C). Pour the milk into a glass jar or a stainless steel bowl, but not an aluminum container.
You don’t need a thermometer for this. Simply leave it until it is barely warm as if you were preparing bread with milk.
Using a whisk, thoroughly blend the active yogurt (or freeze-dried active culture) with the milk.
Pro tip: I like to mix half a cup of milk with the yogurt in a bowl. Make sure there are no lumps by whisking the mixture. Then combine it with the remaining milk.
Rest for 4 to 6 hours by covering the milk jar with a clean kitchen cloth or paper hand towel and leaving it in a warm location untouched.
Tip: Don’t slam the lid shut too tightly. The yeast in the milk requires oxygen to survive.
It should be set after 4 to 6 hours of chilling. Put it in the fridge for a couple of hours to chill.
Pro tip: Although the culture is established at this point, keeping it in the fridge will let it mature more slowly without becoming moldy.
Conclusion
Beneficial bacteria are the living cultures in Yogurt that support digestion and are nourishing.
Probiotics are beneficial bacteria that are consumed to improve one’s health. Essentially, yogurt results from these good bacteria digesting milk and converting it into an acidic food that lasts longer than milk. Milk becomes a form of medicine, teeming with millions of gut-loving bacteria due to this process.
Bacterial culture can be added in a variety of methods. You can use a probiotic powder, a dollop of pre-made yogurt, or a specialized blend of dried bacteria.