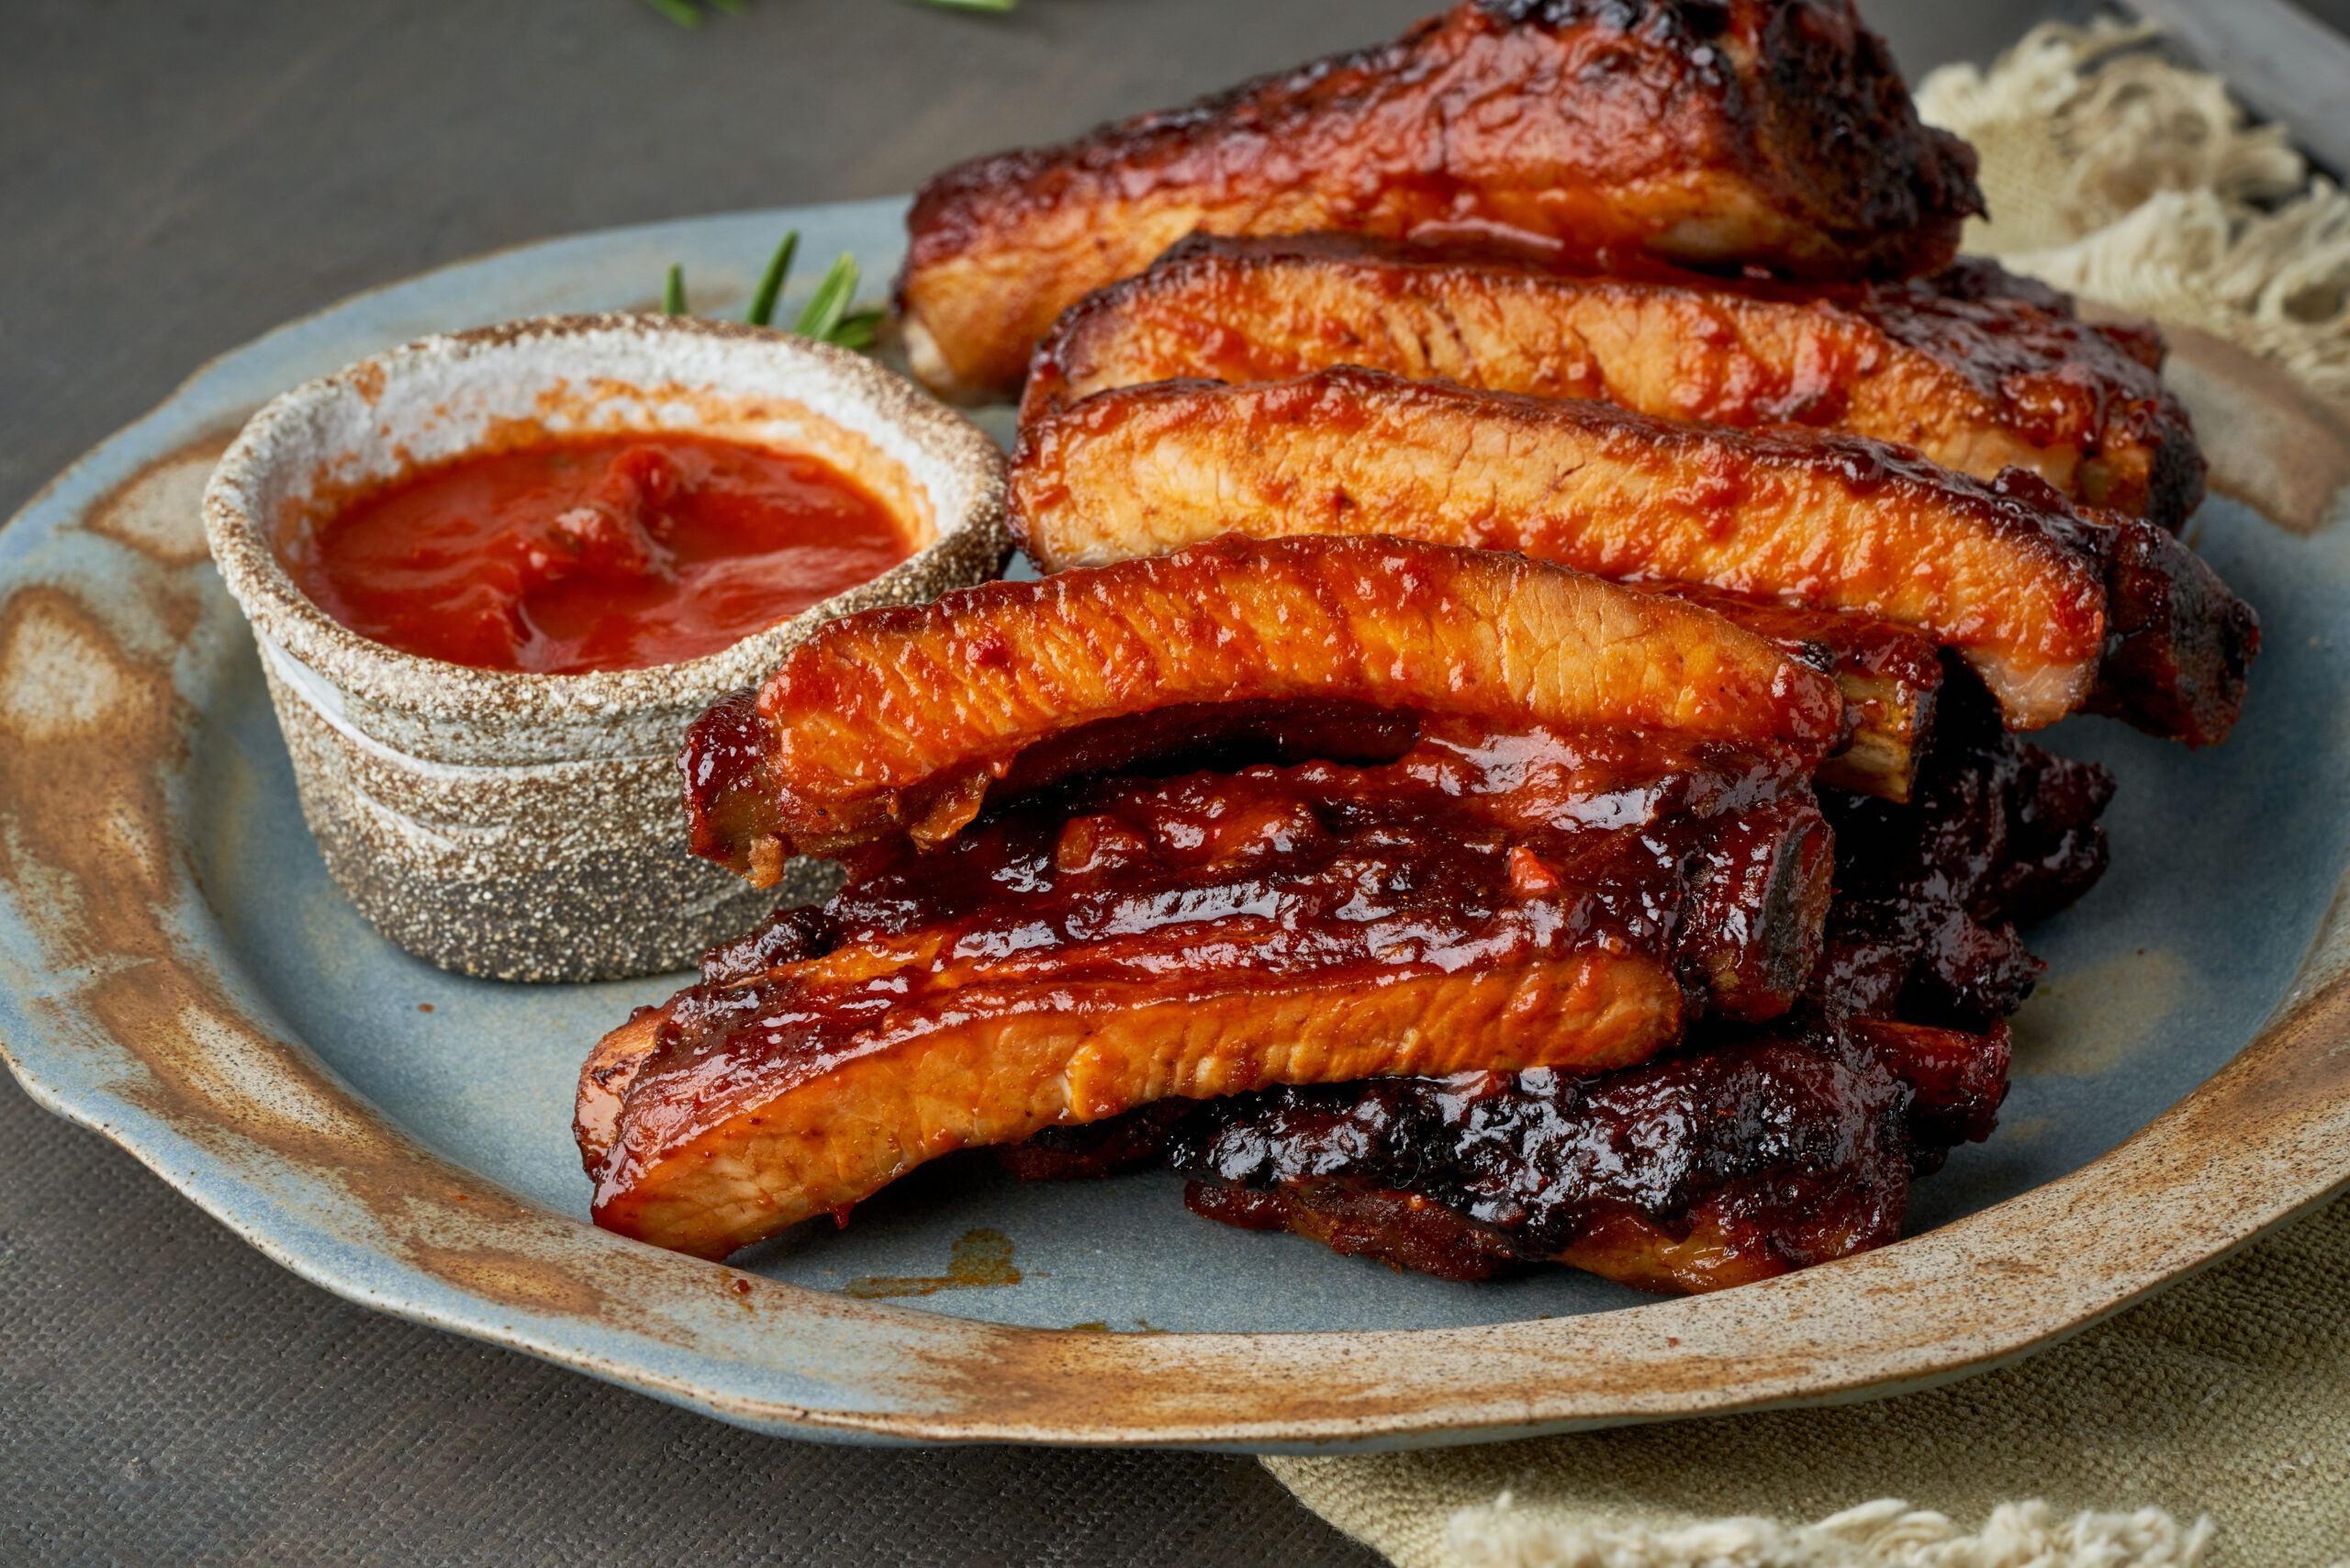
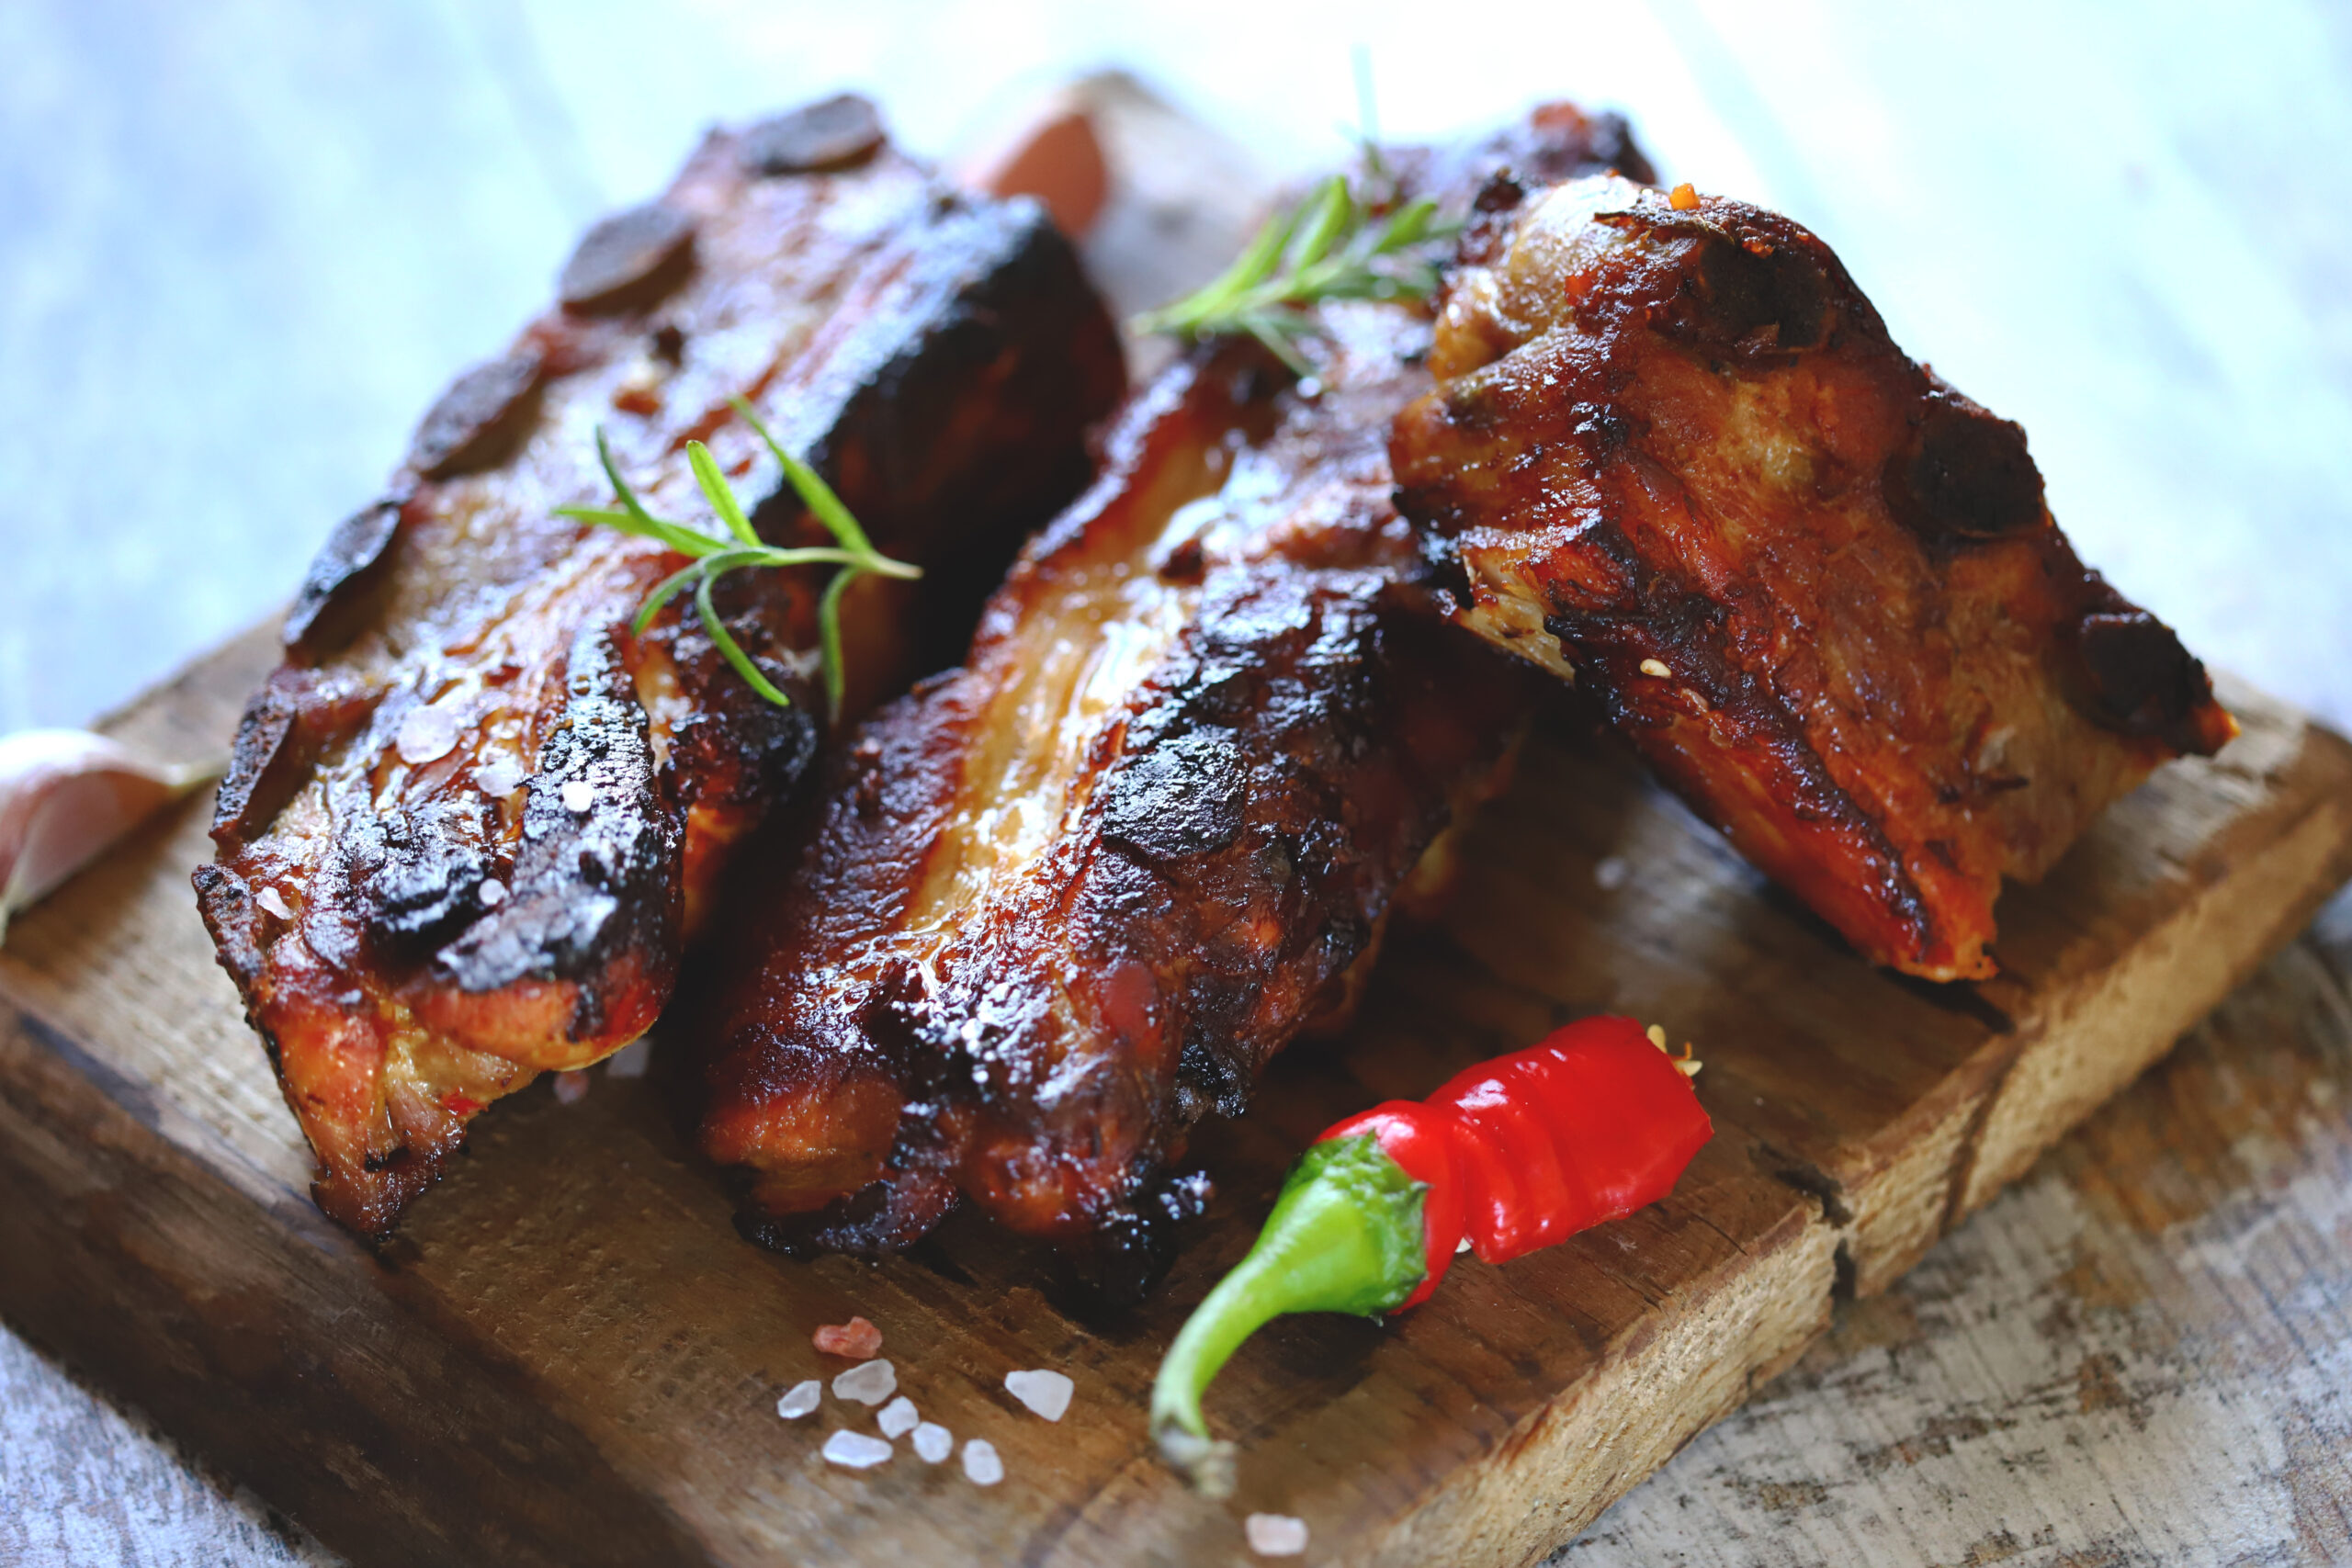
If you don’t have access to an outdoor grill, or if it’s the dead of winter and you don’t want to expose the grill to the elements, oven-baked rib recipes are a great option that produce a delicious rack of ribs with minimal mess and effort. The results you get are tender and flavorful, ultimately worth your while, and oh so satisfying.
If you don’t know how to cook ribs in the oven, no need to worry. We’ve covered the basics, alongside a few extra tips for extra delicious results. Also, take note of ideal timing guidelines; you’ll need them.

Ribs nutrition facts

Tips for cooking ribs in oven
These tips will ensure that you get superb results when cooking ribs in the oven:
Season adequately – A robust flavor is the key to great ribs, and seasoning is the first step that gets you there. Make sure to season generously with kosher salt and freshly cracked pepper. We also use a dry rub to add sweetness and taste to our ribs. Allow the salt and spices to remain on the ribs for about 30 minutes before baking to allow the flavors to truly sink in.
Low and slow is your best bet – Low temperature and plenty of time are the keys to perfect baked ribs. The best part is that, unlike grilling, oven-baked ribs require minimal effort. Put these bad guys in the oven, cover with foil, and let them cook, tenderize, and fill your house with the most delectable aroma you’ve ever experienced. After that, baste the crust with sauce and broil for a few minutes to caramelize and crisp it up.
Watch the clock closely – You can’t raise or lower the cooking temperature as quickly in an oven as you can on a grill (though you can always take the ribs out if they’re cooking too quickly). If you use a meat thermometer to check on the progress of the cooking, the temperature in the oven will drop every time you open the door. Cracking the lid or door of a grill, on the other hand, normally only releases a little amount of heat.
You’ll have to keep a close eye on the clock because you won’t be able to personally check on the meat as often as you may prefer.
Watch your ribs – The longer the ribs cook, the more tender they become, but there comes a moment when they stop tenderizing and begin to dry out.
Check the meat every 10 minutes at the end of cooking for the most tender meat without drying it out by tugging on the bone to see how readily it comes away from the meat. It will eventually fall off the bone, and the flesh will begin to dry out after that.
Always cook ribs bone side down – Cook the ribs with the bone side down and the fleshy side up. This prevents the meat from hitting the pan directly, which would cause it to dry up during the cooking process.
Ideal internal temperature – A minimum internal temperature of 145 degrees Fahrenheit is required, but at around 190 degrees Fahrenheit, the fat and collagen begin to dissolve, resulting in a better-tasting rib. You just need to check on the ribs halfway through the bake and again about a half-hour before the end to avoid overcooking and toughening the meat.
How to tell when ribs are done – When the meat has pulled back sufficiently from the bone, and the bone easily pulls free from the meat when tugged, you’ll know it’s done.
Cooking spare ribs rather than baby back ribs – Spare ribs are rougher than baby back ribs, and beef ribs are tougher than pig ribs, so a slower, lower heat is good for cooking them. The magic numbers in this situation are 3 1/2 hours at 285 degrees Fahrenheit. You should prepare spare ribs similarly to the pork baby backs prior to the slow, steady cooking. Don’t be afraid to experiment with flavors, but sticking to a fantastic recipe for quick, flavorful spare ribs is also a good idea.
If you want an extra smoky flavor – Want to replicate the smokey flavor of barbecued ribs? Unless you use a smoke-flavored BBQ sauce or dry rub, that isn’t going to happen. With brown sugar and black pepper, use liquid smoke or a dried herb and spice blend of your choice.
View this post on Instagram
Cooking Time for Ribs in Oven at 250
The ideal cooking time for oven-cooked ribs as described in the table below:
| Cooking temperature | Cooking time |
| Cooking at 250 F | 3 hours |

Baked barbecue pork ribs (4 servings)
Ingredients
- 1 teaspoon of garlic powder
- 1 teaspoon of onion powder
- 1 teaspoon of paprika
- 1 teaspoon of kosher salt
- 1 teaspoon of freshly cracked black pepper
- 2 tablespoons of brown sugar
- ½ teaspoon of cayenne pepper
- 1 rack of baby back pork ribs, approximately 3 pounds
- ⅔ cup of prepared barbecue sauce or homemade
Instructions
- Preheat the oven to 250 degrees Fahrenheit. Aluminum foil should be used to line a rimmed baking pan.
- In a small bowl, combine the garlic powder, onion powder, paprika, salt, pepper, brown sugar, and cayenne pepper. Keep aside.
- Insert a butter knife beneath the membrane at one end of the ribs and lift to remove the membrane from the rear side of the ribs. Grasp the membrane with a paper towel and gently pull to remove it completely.
- Rub the spice mixture all over the ribs as evenly as possible.
- Place the ribs on the baking sheet that has been prepared (meat side up). Aluminum foil should be used to cover and seal the container.
- Bake for 3 hours, make sure the ribs are soft and tender.
- Remove the ribs from the oven and remove the aluminum foil carefully. Any juices should be drained and discarded. Brush both sides of the ribs with barbecue sauce.
- Turn the oven broiler to high and bake for 3 to 5 minutes, or until the sauce begins to boil and caramelize (watching carefully so that ribs do not burn).
Notes
This recipe was made within an entire duration of 3 hours and 20 minutes, including a prep time of 15 minutes and a cook time of 3 hours and 5 minutes. If you’re hungry for more recipe ideas or need more ways to cook ribs at 250 F, check out this video recipe.
