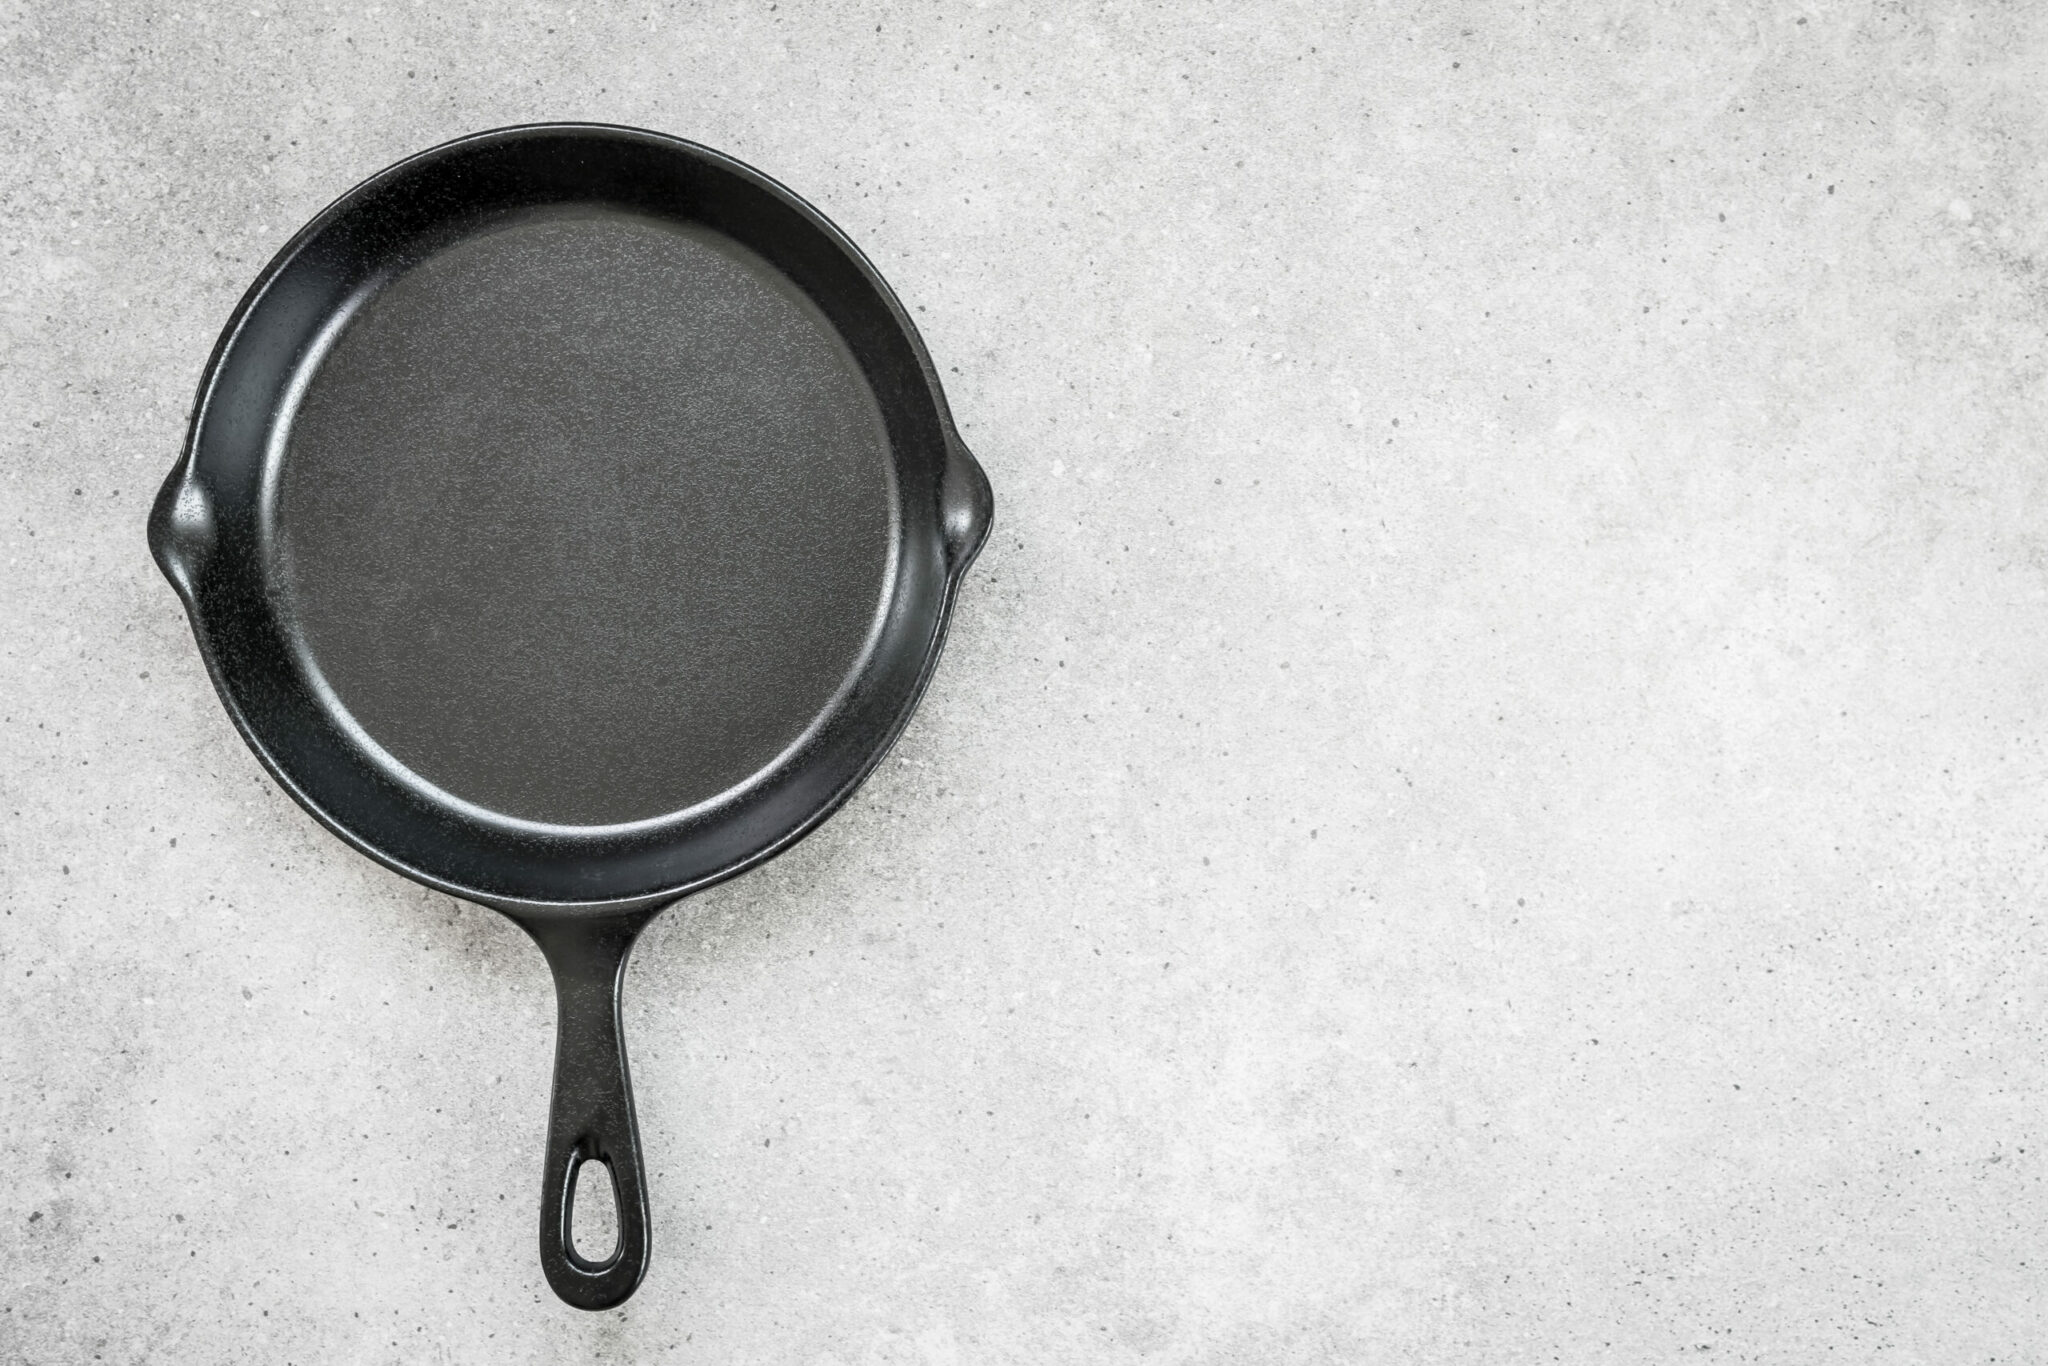
There’s absolutely everything to love about using cast-iron materials for cooking. Cast iron pans are considered a favorite because of their superior heat retention, naturally nonstick surface, and unmatched value and durability.
If not maintained properly during use, a cast iron pan is indestructible and can easily be restored to good condition. Furthermore, a nice skillet can be purchased at ridiculous prices and last for several decades.
This article will teach you all the right things to do when attempting to clean your cast iron cookware after use. Pay attention to all our recommendations and tips because they’ll ensure desirable results.
Tips for cleaning a cast iron skillet
A cast-iron pan is incredibly versatile and inexpensive, and it retains heat very well. It does, however, necessitate upkeep; it’s not ideal to just toss it in the dishwasher and forget about it.
The following tips and recommendations will help you take proper care of your cast iron skillet to maintain it across generations:
Timing for daily cleaning – Set aside one to two minutes to clean your cast iron skillet daily. Plan on spending two to three hours re-seasoning your pan. Deeper cleanings, such as removing layers of build-up, rust, or stains from enameled cast iron, might take anywhere from five minutes to 24 hours.
Don’t leave it in the sink overnight – One important thing to remember when using cast iron is that it will rust if put in the dishwasher or left in a sink full of water overnight. Furthermore, because cast iron is brittle, do not “shock” a hot pan by passing it under cold water; the sudden temperature shift may cause it to warp or shatter.
Also, as opposed to popular opinion, washing your pans with mild dish soap will not harm them if your pans are well seasoned.
How to clean immediately after use – Follow these steps for easy cleaning:
- Scrub the pan gently using a non-abrasive sponge or a scrub brush, using mild dish soap and hot water.
- After rinsing the pan thoroughly, dry it entirely with a dishtowel. To ensure that all moisture evaporates, place it over low heat on the stovetop or in the oven (at 200 to 300 degrees Fahrenheit). Before storing your pan, make sure it is completely dry. Otherwise, it will begin to rust.
- After the pan has dried, coat it in a thin layer of the same neutral oil (such as canola) that you used to season it (a couple of drops is all you need). Rub the oil all over the inside and outside of the pan with a paper towel or clean rag; ensure that you include the pan’s handle when doing this.
If there are stuck-on bits on your pan – Small portions of the seasoning on the cast iron pan will wear down and become thin from time to time, causing bits of cooked food to adhere to the pan.
The next time you find yourself having trouble with removing stuck-on food, add ¼ cup of kosher salt and some drops of warm water to the skillet while it’s warm (not hot). To carefully remove the muck, use a mild brush or a scrub brush. The salt will dissolve and won’t harm the seasoning as you scrub. As usual, wash, dry, and wipe the pan with oil afterward.
Use the boiling method for really stuck-on bits – Bring 1 to 2 cups of water to a boil in the cast iron pan. Do this over high heat until the muck dissolves. If the food parts don’t come off on their own after a few minutes, scrape them up with a wooden spatula. You can use the Lodge pan scrapers designed specifically for this purpose, but a wooden spatula would suffice. After that, clean, dry, and oil the pan as usual.
Getting rid of rust – Rust can form on cast iron cookware due to circumstances beyond your control, and you’ll need to remove it. Rust can be easily removed by gently rubbing it off with the rough side of a dry Scotch-Brite sponge. If required, add a little water and a touch of dish soap. Re-season the pan after rinsing it and thoroughly drying it.
Use a rust eraser – A rust eraser will help remove rust from a large area if your cast iron has more than a few rust spots. To eliminate rusty spots, carefully rub the rust eraser over them. However, when using a rust eraser, always use mild to medium pressure to avoid microcracking. These unseen surface flaws render the pan more prone to breakage in the future.
After you’ve eliminated the rust, wash and dry the pan well.
View this post on Instagram
Re-seasoning a cast iron pan – Because bare cast iron is particularly prone to corrosion, you’ll need to re-season your pan if any of the seasoning – which is the black protective layer of polymerized oil – has been peeled away during cleaning or normal use. This will minimize rust and restore the pan’s naturally nonstick cooking surface.
Follow these steps to re-season your cast iron pan:
- Preheat the oven to 450 to 500 degrees Fahrenheit and place the pan in it.
- After five to ten minutes, carefully remove the pan and wipe a small amount of oil all over the interior and out (ensure that you don’t skip the pan’s handle) using a paper towel or clean rag. You can use canola, soybean, sunflower, or other neutral oils for this step.
- If necessary, a cotton swab can be used to get into the nooks and crannies. Wipe all of the extra oil from the pan with a separate, clean towel (it should appear almost dry). If there’s too much oil, the seasoning will be blotchy and uneven seasoning, resulting in a lot of smoke during the baking process.
- Bake your pan for one hour in a preheated oven, leaving it in an inverted position. Afterward, turn off the oven and allow the pan to cool totally inside it. During the seasoning process, the high heat may generate some light smoke, so make use of your range hood or throw a window open for better ventilation.
- Do these preceding processes all over again as needed until you’ve built up several layers of seasoning. Also, ensure that the coating is sufficiently nonstick (fry an egg in butter or oil and make sure this happens without any sticking).
Conclusion
Taking care of your cast iron pan is crucial to ensuring that it lasts long enough for use over a long period of time. If you’d like more ideas on how to care for your pan, check out the instructions in this video.