Pork chops are undoubtedly delicious and irresistible, which is why they feature tons of recipes and dishes. And the thick cuts of around two inches offer more juiciness and meat, making them a highly sought option. Anyone can prepare two-inch pork chops with proper instructions and the rights, including first-timers. So, if you’re interested, give this recipe a shot and pair that side dish with a plate of juicy tenderness.
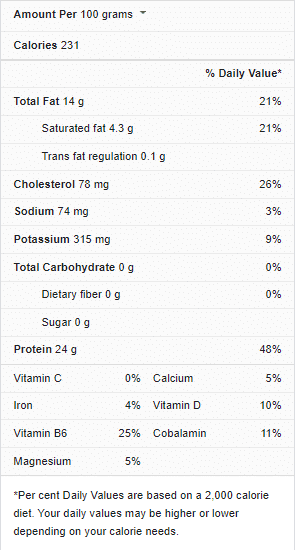
Pork chops nutrition facts

Best pork chops
Choosing the Pork Chops
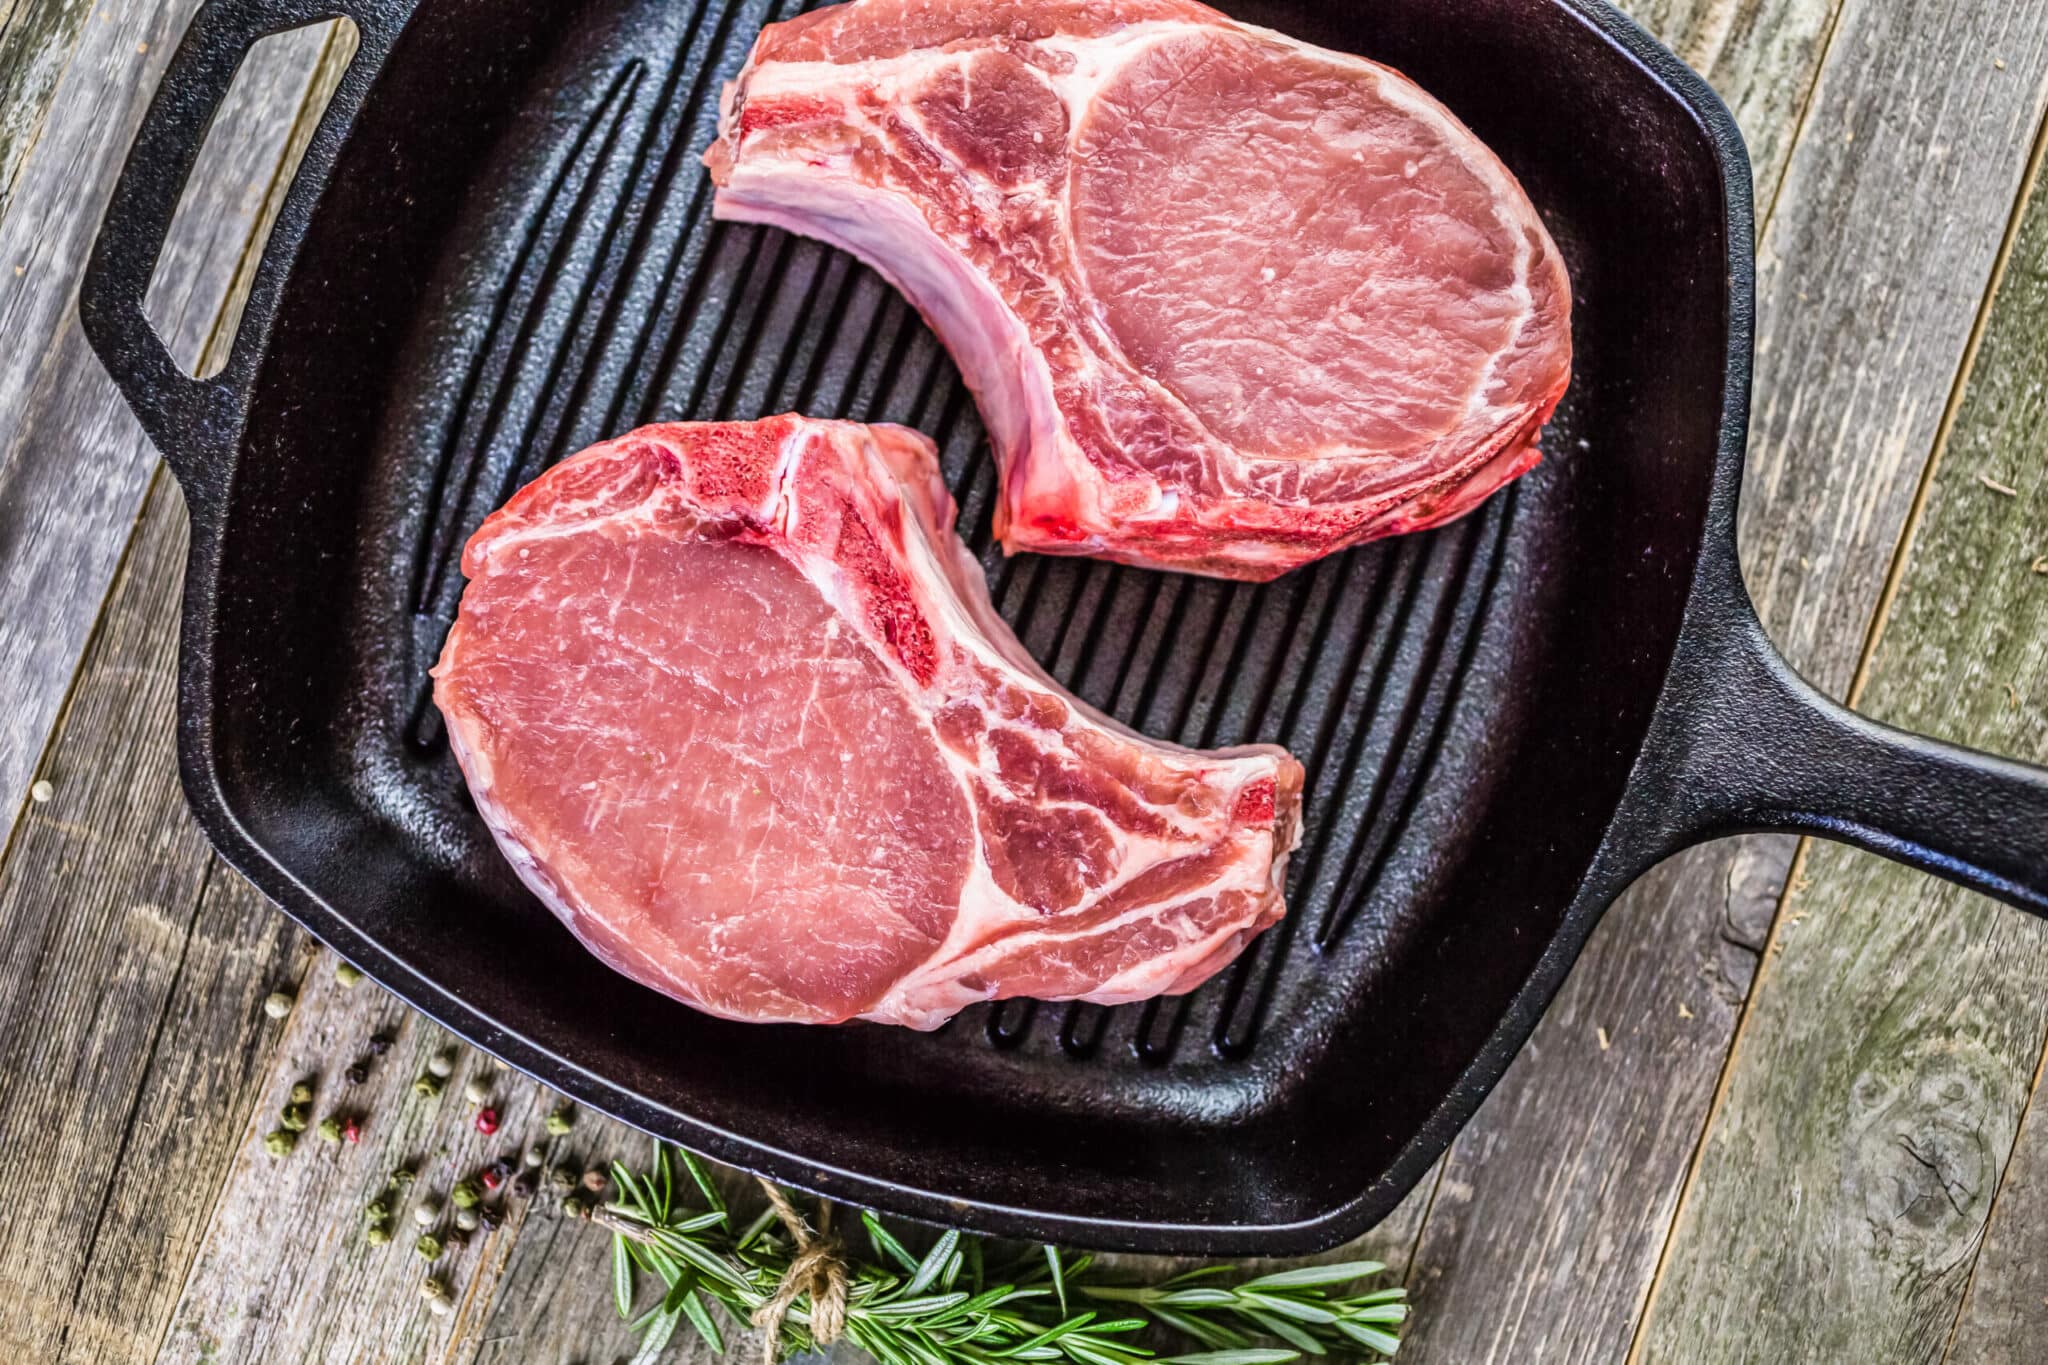
Two-inch pork chops can come in any variety, including rib chops, loin chops, and center-cut. And each type can be cooked as you see fit, regardless of their dense thickness. But note that the doneness time and moisture level will vary between bone-in and boneless two-inch pork chops.
While bone-in pork chops cook faster, boneless pork chops offer more moisture due to their heavier marbling. But bone-in pork chops offer more flavor, though they aren’t as tender as boneless chops and may need a bit of tenderizing before cooking. But the thick size allows you to use both types for any recipe, provided you can adjust the seasoning to complement their difference.
Prepping the pork chops
If the pork chops have been sitting in the fridge, let them stand at room temperature for 15 to 20 minutes before cooking time. Also, moisture won’t help if you’re pan-searing or roasting pork chops, so ensure to blot them dry with paper towels. Even if you’ll be cooking it in a sauce, patting it dry helps you clean the pork chops before cooking.
If you’ve purchased bone-in pork chops, you may need to tenderize them by poking both surfaces with a fork. This, of course, depends on the cooking method you plan to use. Tenderizing the pork chops won’t be needed if you’re cooking it in a sauce, braising liquid, or broth. But for fry-cooking and pan-searing, you may want to take this step first.
Seasoning the pork chops
If you have the time, consider marinating or bringing the pork chops before cooking so the flavor is boosted to the max. You can mix a selection of spices and seasonings with dried or fresh herbs inside an acidic liquid base like citrus juice or vinegar. Soy sauce, Worcestershire sauce, and Sriracha can also be used.
But note that you’ll have to let the meat sit for a while in the marinade or brine, and this could take from five hours to overnight for two-inch-thick pork chops. So, if you can’t spare the time, use a rich sprinkle of dry spice mix after rubbing it with butter or oil. The dry spice mix can include ground pepper and salt, but also options like onion powder, garlic powder, cayenne pepper, paprika, ground mustard, and powdered ginger.
View this post on Instagram
Cooking the Pork Chops
Once you’ve seasoned the pork chops, it’s time to cook them in whatever method you’re using. But note that while each style will work for two-inch-thick pork chops, they may not cook the same way. Check them out below;
Stovetop- Heat some oil inside a heavy, cast-iron skillet over a medium-high stove till it grows smoking hot. Then, put the pork chops and sear one side for two minutes until a crisp exterior is developed. Flip the pork chops, cover the skillet, and cook on low heat for 15 minutes. The meat is done when it feels firm to the touch and hits an internal temperature of 145F
Oven- Heat the oven to 375F and place the seasoned pork chops in a roasting pan. Then, cook the pork chops for 20 minutes or until you note 145F on the meat thermometer. Afterward, rest the pork chops for five to 10 minutes before serving.
Grill- Place the seasoned pork chops on a greased grill rack and roast at 350F to 450F for eight to 12 minutes. Ensure to turn the pork chops every three to four minutes, and set them down when the internal temperature hits 135F. Then, let them rest for five minutes, so the residual heat cooks them to the final 140F before serving.
Crockpot- Coat the pot’s inside with cooking spray and pour some BBQ sauce at the bottom. Arrange some chopped vegetables and aromatics over the sauce, and place the seasoned pork chops over them. Drizzle with more BBQ sauce, cover the pot and cook for five to six hours (bone-in) or two to three hours (boneless) on LOW. Remove the pork chops at 140F doneness, tent them under foil on a serving plate, and rest for five to 10 minutes. The pork chops will cook by carryover heat to the final 145F as it rests and be ready for serving.
Air Fryer- Lay the seasoned pork chops in an air fryer basket and cook for 12 minutes at 400F. Flip the pork chops halfway through the cooking time, and take them out when the internal temperature reaches 140F. Then, tent them in foil until the doneness rises to the final 145F before serving.
Instant Pot- Season the pork chops and place them in the Instant Pot. Then, add water, cover, seal the valve, and PRESSURE COOK for eight to 10 minutes or until the internal temperature reaches 140F. If you’d like a crispy exterior, consider searing the pork chops first using the SAUTE mode for two to three minutes before adding the water.
Print
How to cook 2-inch-thick pork chops
Ingredients
- Two pork chops; two inches thick, bone-in
- One teaspoon of dry spice rub
- One teaspoon of extra virgin olive oil
- One teaspoon of kosher salt
Instructions
- Put a large cast-iron skillet over medium-high heat and trim the pork chop’s surrounding fat if any. Then, season them with the dry spice mix on all surfaces and set them aside.
- Add the oil to the pan so it coats the entire surface, then sprinkle salt on both sides of each pork chop and drop it in the pan immediately. This seals the salt into the tissues.
- Cook the pork chops at the center of the skillet for two minutes on one side, then flip and cover the pan. Reduce the heat and let the chops cook for 15 minutes, or until the meat feels firm when pressed. Check for internal doneness of 145F with a meat thermometer stuck at the thickest center of each pork chop. And once they’re done, transfer to a plate and serve as desired.
If you want more help, watch this video.
