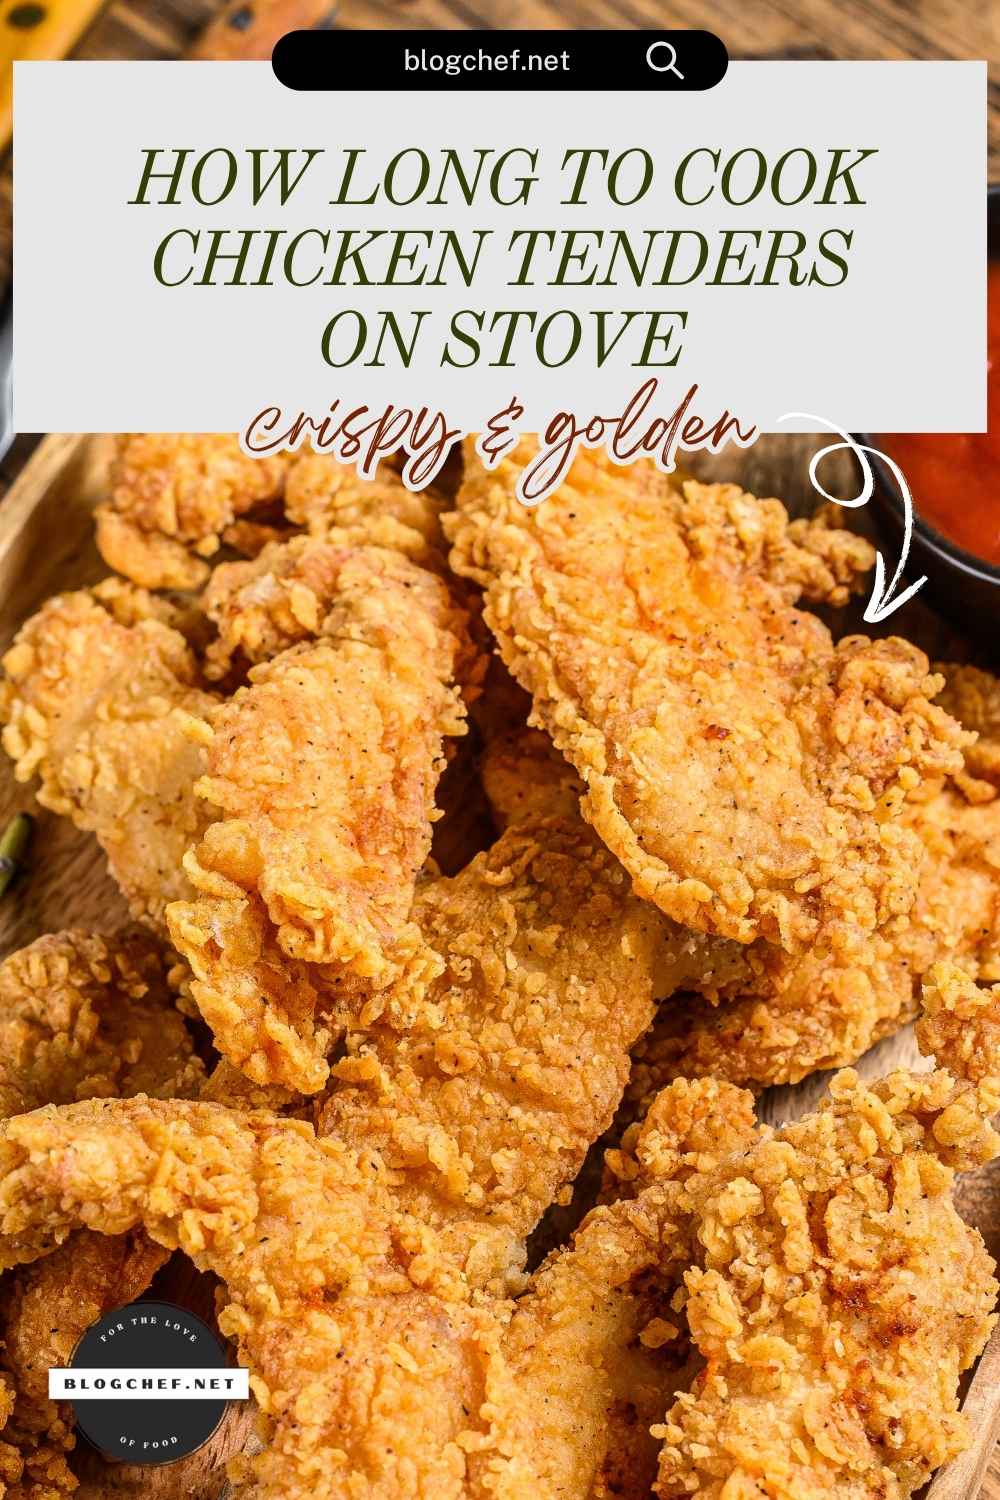
Get your favorite saute pan ready because today is the day to learn how to make chicken tenders on the stovetop! Chicken tenders are transformed into a delicious dish when cooked this way, and it’s a terrific way to enjoy the crisp of classic chicken tenders without the calories.
If this is a recipe you’re definitely interested in, sit tight and pay attention to all the cooking instructions we have outlined in this article. Also take special notes of timing guidelines to cook the tenders properly, as well as helpful tips and suggestions that guarantee desirable results.

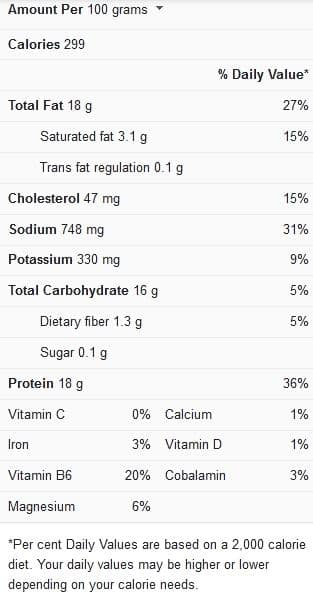
Chicken tenders nutrition facts

Tips for cooking chicken tenders on stove
The following tips and guidelines have been discussed below to ensure that you have all the right information when cooking chicken tenders on the stove, and also to guarantee optimal results.
Reasons to cook chicken tenders on the stovetop – In case you need some convincing on why you should try cooking chicken tenders on the stove, check out the following reasons:
- It’s a piece of cake: Pan-fried chicken tenders provide a terrific foundation on which to quickly build a delicious meal with simple ingredients.
- It’s extremely adaptable: Depending on how you want your finished product to look, you can cook these tenders just the way they are, or you can add in some of the flavor elements you want.
- Leftovers from chicken tenders are fantastic: If you cook a large batch of chicken tenders over the weekend, you’ll have chicken for very easy and quick lunch fixes, or a pre-cooked starter for your dinner all week.
Seasoning suggestions – If your plan is to introduce your pan-fried chicken tenders into another recipe, you can spice them up with additional herbs and spices to help bring out the flavors.
If you’re making a BBQ recipe, season the tenders with paprika, chili powder, or your preferred spice blend. Consider using Italian spice or basil and parsley if you’re going for an Italian theme. If you’re going for a Mexican flavor, cumin and cayenne pepper will really punch up your dish.
No need for breading if you don’t want it – To have a little crunch and a lot of flavors, these chicken tenders don’t need to be breaded. Pan-fried chicken tenders make for a quick, delicious, and grain-free alternative to ones made with breadcrumbs, especially if you’re on a low-carb or gluten-free diet.
How to brown chicken tenders without breading – Before adding the chicken, make sure it’s adequately seasoned and the pan is hot enough. When you put the chicken in a cold pan, it will not brown. It may also lead you to overcook it while waiting for the pan to heat up and brown.
As a result, when cooking chicken tenders on the stovetop, it is important to preheat your pan, the same way you would preheat an oven before you begin to bake.
Don’t use too much oil – You should also avoid using a lot of oil when cooking chicken tenders on the stove, which may sound contradictory. You want a light, even application of oil. When pan-searing, if you use a puddle of oil, it will produce steam, and this is something to avoid.
You must also provide space in addition to ensuring light use of oil. Because you’re not creating pockets of steam during the cooking process, the tenders will be able to brown sufficiently. The importance of making contact with the pan while cooking chicken tenders also cannot be overstated.
View this post on Instagram
Cooking Time for Chicken Tenders on Stove
Follow the timing guidelines in the table below when cooking chicken tenders on the stove:
| Cooking procedure | Cooking time |
| Cooking chicken tenders on the stovetop | 3 to 5 minutes per side |

Easy pan-fried chicken tenders (12 servings)
Ingredients
- 12 chicken tenders
- 1 teaspoon of garlic powder
- 1 teaspoon of onion powder
- 1 teaspoon of smoked paprika
- 1 teaspoon of dried parsley
- 1 teaspoon of salt
- 1 teaspoon of ground black pepper
- 2 tablespoons of ghee or grass-fed butter
- 1 tablespoon of avocado oil
- Honey mustard dip, or Ranch dressing
Instructions
- Clean the chicken tenders by rinsing them and patting them dry.
- Individually sprinkle each herb or spice on each side of the chicken tenders. Your particular preferences will determine how much you use. A suggestion is to use a light sprinkling of the garlic and onion powders, then a heavy sprinkling with the rest of the spices.
- In a large-sized skillet over medium heat, melt the ghee or butter and add the oil. Place the chicken tenders into the pan, with the seasoned side facing downwards, do this as soon as the pan is hot. Don’t move the tenders once they’re in the skillet. Cook them for 3 to 5 minutes, or until their edges are opaque and white.
- Season the opposite side of the chicken while it is cooking in the skillet.
- Turn the chicken tenders over once their edges have turned white and cook them on the opposite side for another 3 to 5 minutes, or until totally cooked through and there’s no pink color visible anywhere. Tenders that are thinner will typically take less than 3 minutes, while those that are thicker will take longer.
- Remove the cooked tenders from the skillet and serve them immediately with a dipping sauce of Honey Mustard or Ranch dressing.
Leftovers from this recipe can be kept in the fridge for as long as a week in an airtight container. To reheat the tenders, pour more ghee or butter and oil into a skillet, slice the tenders into bite-sized pieces, then pan-fry them until they’re crispy and cooked through.
The sliced tenders make a great topping for any green salad mixture once they’ve been cooked or reheated. For a substantial supper, you can also drizzle the tenders with plain Honey Mustard Dressing or Hot Bacon Honey Mustard Dressing.
This recipe yields delicious tenders that can either be eaten as is or introduced as the main or side in several other recipes, making it quite adaptable. It is also a quick and easy recipe to achieve, with an entire cooking duration of 25 minutes, including a prep time of 5 minutes and a cook time of 20 minutes.
If you’re interested in more recipe ideas for chicken tenders cooked on the stovetop, we recommend that you see this video recipe.
