Scrambled eggs can be considered to be one of the little but greatly appreciated culinary luxuries of daily living. They end up soft and rich, as well as creamy and flavorful when cooked properly, and they typically don’t take a lot of time to cook. Not many meals can boast of such ease and mouthwatering deliciousness.
One of the issues with recipes like scrambled eggs is not knowing the ideal amount of time to cook the eggs, which may then cause one to overcook the eggs. If you can relate to this, we’re here for you. Make sure to pay attention to all the tips we’ve outlined in this article to help you get the best of your homemade scrambled egg recipes.
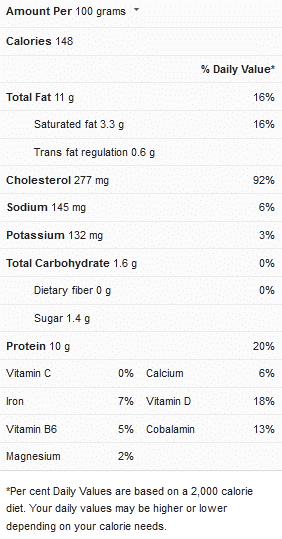
Scrambled Eggs Nutrition Facts

Tips for cooking scrambled eggs
A number of helpful tips, guidelines, and recipe suggestions have been provided below to guide you through the process of cooking scrambled eggs.
Use a good pan – A non-stick skillet is ideal for cooking scrambled eggs since the eggs get the chance to glide smoothly without clinging to the pan. You can also make use of a cast-iron pan if it’s well-seasoned (else, the cast iron will turn your eggs green). A stainless steel pan can be used in the absence of the more preferable options, but extra oil or butter will need to be added to keep the eggs from adhering too much to the pan.
Whisk your eggs properly – Whisk the eggs vigorously until they are frothy and have a uniform color. Doing this is important for two things: color and aeration. When you whisk the eggs, you introduce air into them, which helps them cook into a fluffy texture. Second, it produces a golden color that is consistent. It also helps avoid any yolk or white particles in your finished product.
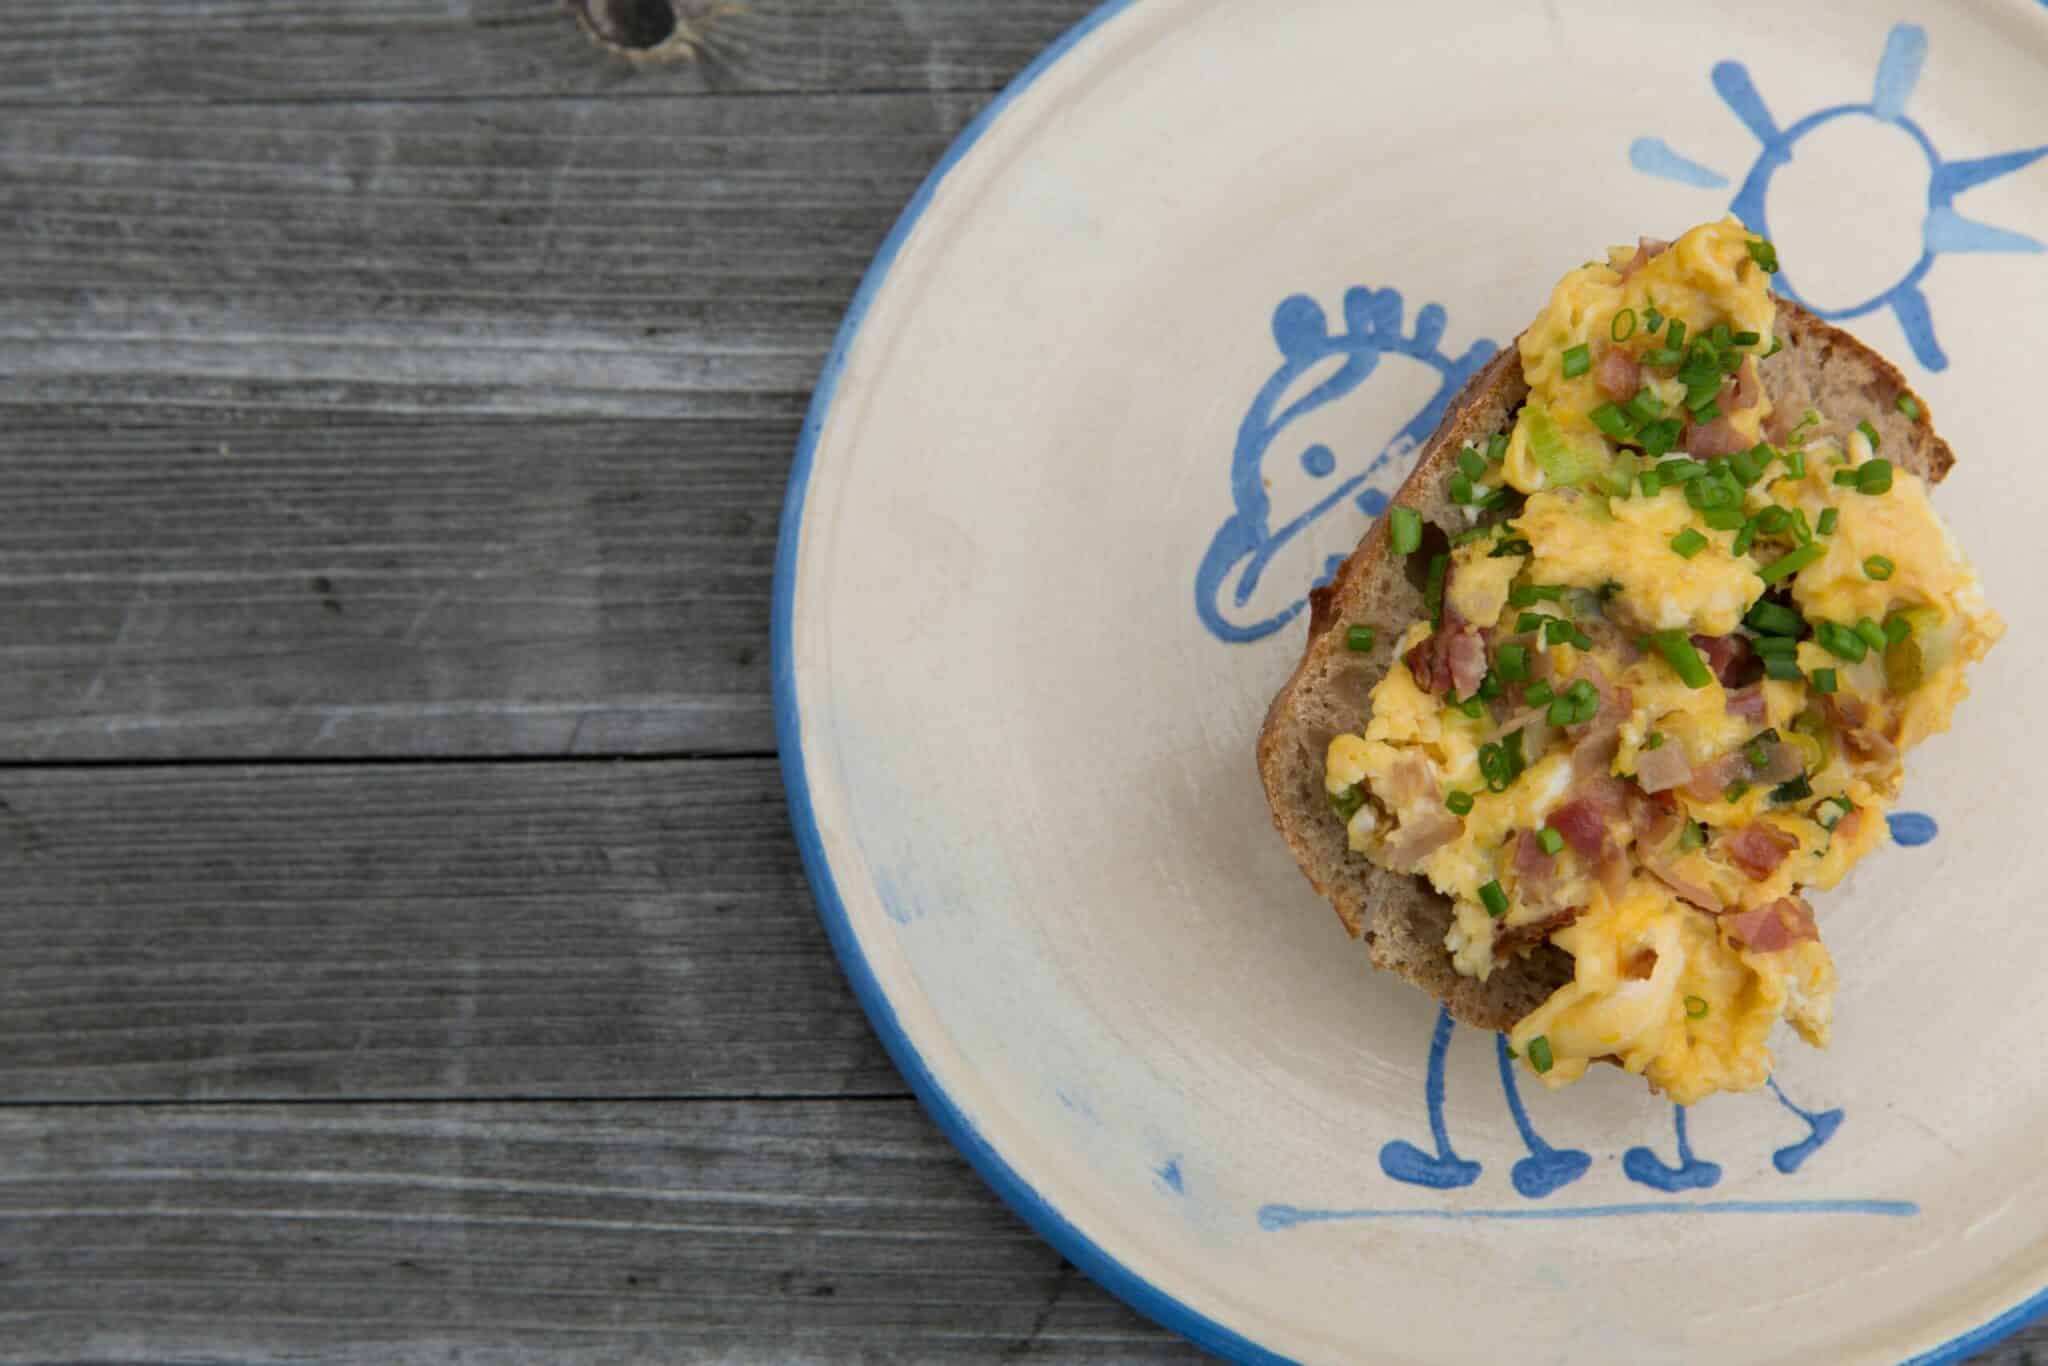
Recipe variations to try – When it comes to converting scrambled eggs into a bigger meal, anything goes. To your eggs, you can conveniently add leftover meat, herbs, veggies, or different kinds of cheese. Sweet corn and chives is one of the popular scrambled egg pairings. Goat cheese, sweet peppers, ham, onion, mushrooms, spinach and tomatoes are some of the other ingredient options to consider.
When including these ingredients in your scrambled egg recipe, there are some important things to keep in mind. Eggs can be discolored by some meats and vegetables (ham, bacon and mushrooms, for instance). Additionally, cooking up your add-ins at the same time as your eggs may cause the eggs to develop a rubbery and dry quality, or they may turn weepy and runny.
Tips for including extra ingredients – Follow these guidelines for to get the best results when cooking scrambled eggs with extras:
- To remove excess moisture from your vegetables, pre-cook them.
- To avoid discoloring the eggs, cook the meat in a separate pan.
- Don’t be hesitant to include basil, chives, or parsley to improve the flavor of your eggs; they also improve the appearance.
- Add the meats, cheese, vegetables, and herbs right before the eggs are done cooking. These ingredients only need to be added long enough to blend them in and get them heated through. You could also keep them separate from the scrambled eggs and serve them on the platter beside your eggs.
Making ahead – The American Egg Council claims that you can break and mix the eggs up to two days ahead of time and store the mixed eggs in the refrigerator without risking a loss in quality. You should however wait until you’re ready to cook the eggs before adding the salt, milk, or cream.
Storage and reheating tips – Scrambled eggs are meant to be eaten right away or within 24 hours of cooking, although they actually do keep in the fridge for up to three or four days.
Follow these steps to reheat refrigerated scrambled eggs:
- Heat up a bit of butter in a pan over medium-low heat. Add the eggs; they’ll clump together quickly.
- After a minute in the pan, gently press on the eggs using the back of a rubber spatula to break up the curds into smaller clusters.
- Warm the curds by turning them about in the pan to cover them in butter.
On the stovetop, two eggs should take around 3 minutes to warm through. They might not have the same texture as freshly cooked cookies, but they’ll still be wonderful.
View this post on Instagram
Cooking Time for Scrambled Eggs
We have outlined appropriate timing guidelines for scrambled egg recipes in the table below:
| Cooking procedure | Cooking time |
| Cooking scrambled eggs on the stove top | 3 minutes |

Scrambled eggs (1 to 2 servings)
Ingredients
- 3 large eggs
- 1 teaspoon of milk (you can also use plant milk or water)
- Extra-virgin olive oil or butter (to grease the pan)
- Sea salt and fresh black pepper
- Chopped fresh chives (optional ingredient for garnishing)
Instructions
- In a medium mixing bowl, crack the eggs and pour in the milk (or water, if that’s what you’re using). Whisk until the mixture is smooth and well blended, with no visible egg white streaks.
- In a small-sized non-stick skillet, brush a small amount of olive oil or melt a small amount of butter. Heat to a medium temperature.
- Pour the eggs into the heated skillet and leave it to simmer without stirring for a few seconds. To make huge, soft curds of scrambled eggs, drag a rubber spatula across the skillet’s bottom.
- Cook the eggs, folding and stirring them every few seconds over medium-low heat. Scrape the sides and bottom of the pan frequently with the spatula to generate more curds and keep any portion of the eggs from drying out.
- When the eggs have mostly set but there’s still a bit of liquid egg remaining, take the pan off the heat.
- Season the scrambled eggs with salt and pepper to taste, and if preferred, garnish them with chopped fresh chives.
Scrambled eggs are delicious, especially when cooked correctly. You also have the option of using scrambled eggs in other breakfast recipes now that you know how to make them. If you’d like more recipe ideas for scrambled eggs, then we recommend that you check out this video recipe.
