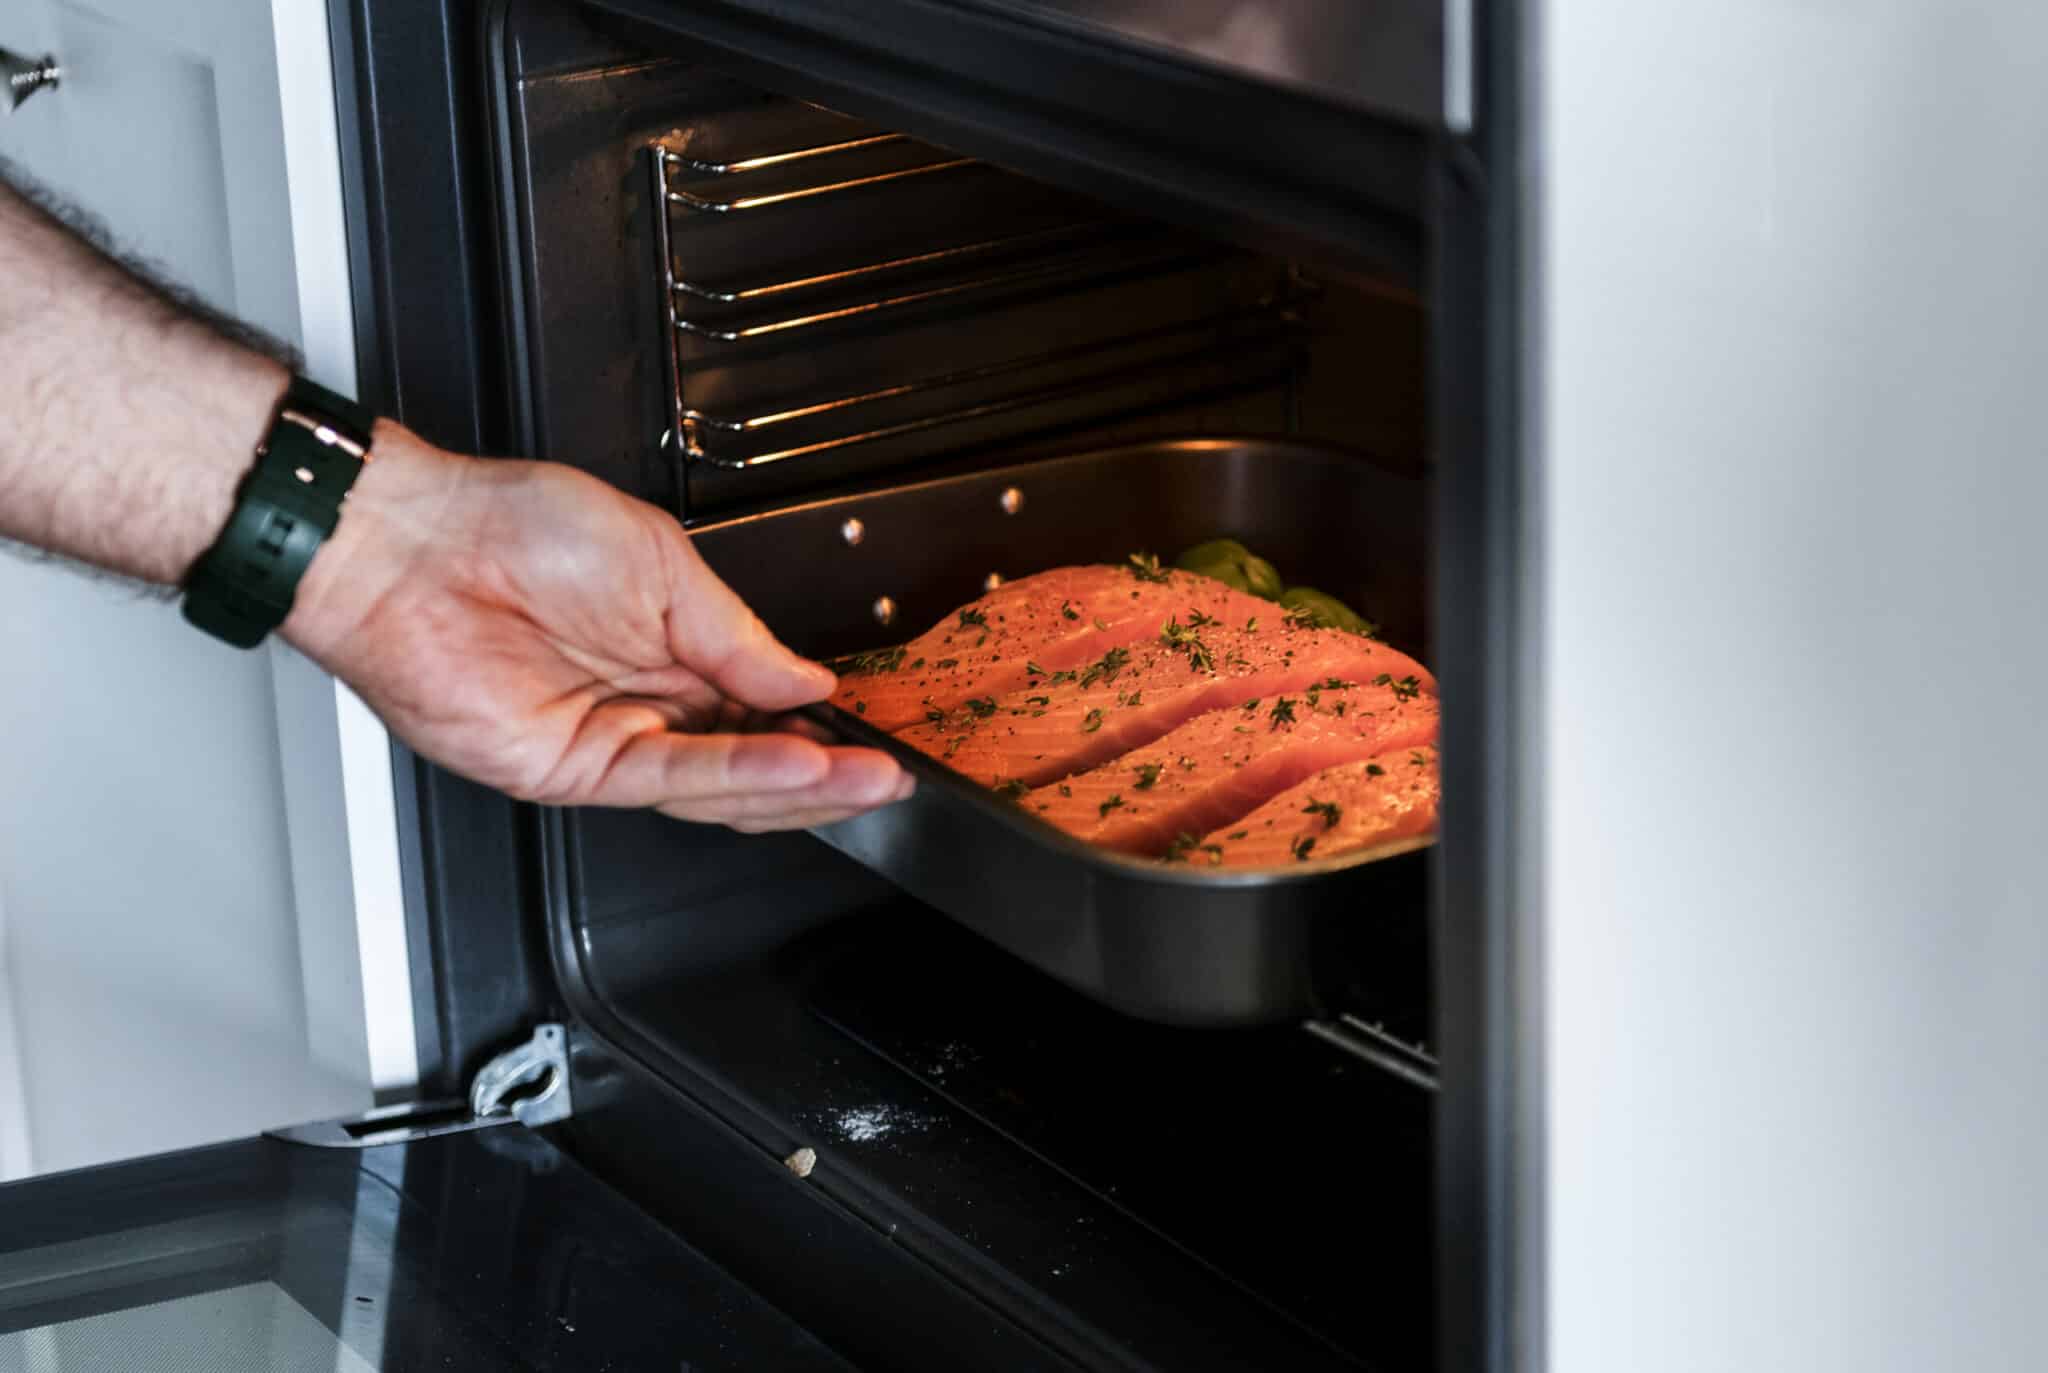
Seafood has one of the most amazing mouth-watering flavors you can ever try, and if you’re looking for an all-easy delicious, and fancy dish, you definitely want to cook up some fresh salmon fillets. This is the easiest and most healthy foolproof recipe that doesn’t take much cooking time and gives an incredibly moist, flaky flavorful result. Whether it’s grilled, smoked, cooked on the stove, or oven-baked, salmons can be served on any occasion.
However, today’s recipe is actually an easy one that involves you effortlessly baking in the oven and serving with some creamy mashed potatoes, salads, or green beans. Once you follow the easy step-by-step procedures and cooking tips, you’ll surely get the hang of it.

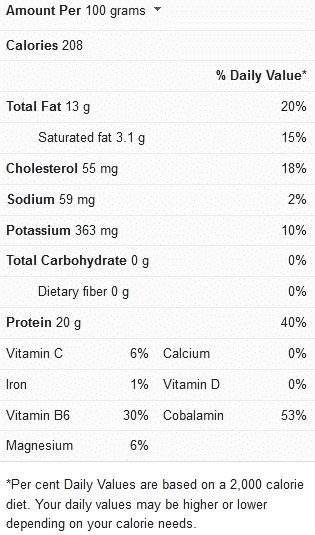
Salmon nutrition facts

Cooking tips for fresh salmon in the oven
To get an all-round buttery salmon with crispy skin, keep in mind the following cooking guidelines and recommendations below:
Purchasing salmons – A major factor to consider when buying salmons is to look out for the really fresh, moist, and pink ones, as they’re sure to taste better when cooked. Be sure to avoid salmons that appear brownish, pale-looking, fish smelly, and dried out. If you’re also going for salmon fillets that are pre-packaged or frozen, ensure to double-check to see if it’s tightly sealed and well packaged.
The different varieties of salmon and different cooking methods depend on the type of salmon you purchased. Salmon fillets come in several varieties ranging from Coho, Pink, Sockeye, Chum, and the King or Chinook salmon, the best of all being the King salmon. It’s one of the most expensive, thick, moist salmon having a buttery smooth texture due to its higher fat. However, if you aren’t able to afford the King salmon, just grab whatever you can easily access, or better yet, consult a fishmonger on the type to purchase if available.
Cooking temperature – Before you proceed to cook your salmon, make sure to pre-heat your oven beforehand between a temperature of 375°F to 425°F as it’s essential if you desire quickly made moist and succulent salmon fillets that are less likely to overcook and dry out. Whether you’re using one large piece of salmon or individual fillets, it’s advisable you cook it just right. The baking time, however, depends on the thickness of the salmon.
Salmon fillets of about one-inch thickness usually take longer than the thinner cuts, so you would want to adjust the cooking time to 15 or 20 minutes at most. Note that once the salmon begins to flake easily with a fork and still remains moist on the insides, it’s perfectly cooked. If you also don’t want to use a fork, an instant-read thermometer can be used to check if it’s done.
Pat dry your salmon – Using some clean, dry napkins or paper towels, thoroughly pat dry the fillets to remove excess moisture on the skin and help olive oil retain the dry spices based on your preferences.
Add some butter – Immediately you finish cooking your salmon in the oven at the required time, it’s important to allow it to boil for a few minutes (3 to 4). Just grab some melted butter (unsalted) and brush it down on top of the fillets to give it a nice beautiful glaze and to lock in moisture that broiling might have taken away.
You can make a salad – While baking your fillets in the oven, you can head straight to making some vegetable salad if you like. With just a few ingredients like your green beans, carrots, Italian seasoning, dried peppers, salt, and lemons, you can effortlessly make a healthy salad with a dash of lemon juice to go with the baked salmon dish.
Storing/Reheating – While most food recipes can be served immediately after they’re cooked, others can be preserved and served whenever they’re needed. To store salmon fillets is pretty simple, just use an aluminum foil or a large airtight container and place it in the refrigerator or freezer, and it can last for a few days.
When reheating, all you need to do is to carefully warm the salmon in a cast-iron skillet real nice and slow on the stovetop rather than using a microwave since it tends to dry out the meat.
View this post on Instagram
Cooking Time for Salmon in Oven
Below is a compilation of the appropriate cooking procedure and times to take note of when preparing fresh salmon in the oven:
| Cooking procedure | Cooking time |
| Cooking salmon fillets in the oven at 375°F | 15 to 20 minutes |

Oven-baked salmon fillets ( 4 servings)
Ingredients
- 4 skin-on salmon fillets ( 6 ounces each)
- 2 tbsps of Extra-virgin olive oil
- ½ cup of melted butter (unsalted)
- 7 to 8 crushed garlic cloves
- 1 tspn of coarse grain salt/kosher salt
- 1 tspn of freshly ground or cracked black peppers
- 4 tbsps of lemon zest
- 1 tbsp of smoked paprika or old bay seasoning
- 1 tspn of thyme, basil, Italian seasoning or oregano (optional)
- Lemon wedges, steamed broccoli forserve (optional)
Cooking equipment:
- Roasting/baking pan or casserole dish and aluminum foil
Instructions
- Make sure to pre-heat your oven to a minimum of 375°F, then grab a large baking pan and brush on some olive oil or melted butter into pan gently placing a non-stick aluminum foil on.
- Place your fillets in the pan and brush each one of them with olive oil or butter. Proceed to seasoning by generously pouring the different measurements of spices and herbs on the greased salmon. The spices should stick properly since it’s well coated in oil, add some lemon juice for a unique touch. You can also mix all the spices in a clean dry bowl and smear all over the salmon. Slice the remaining lemon wedges and place by the corners of the ovenproof baking dish.
- You can choose to gently fold the ends and corners of the foil tightly or leave the salmon fillets uncovered to slighty roast while it sits in the oven. Bake evenly in preheated oven for 15 to 20 minutes at most or until it’s beginning to look opaque and flaky when it’s pulled apart using a fork or kitchen knife. Allow it to broil for 3 to 4 minutes as desired.
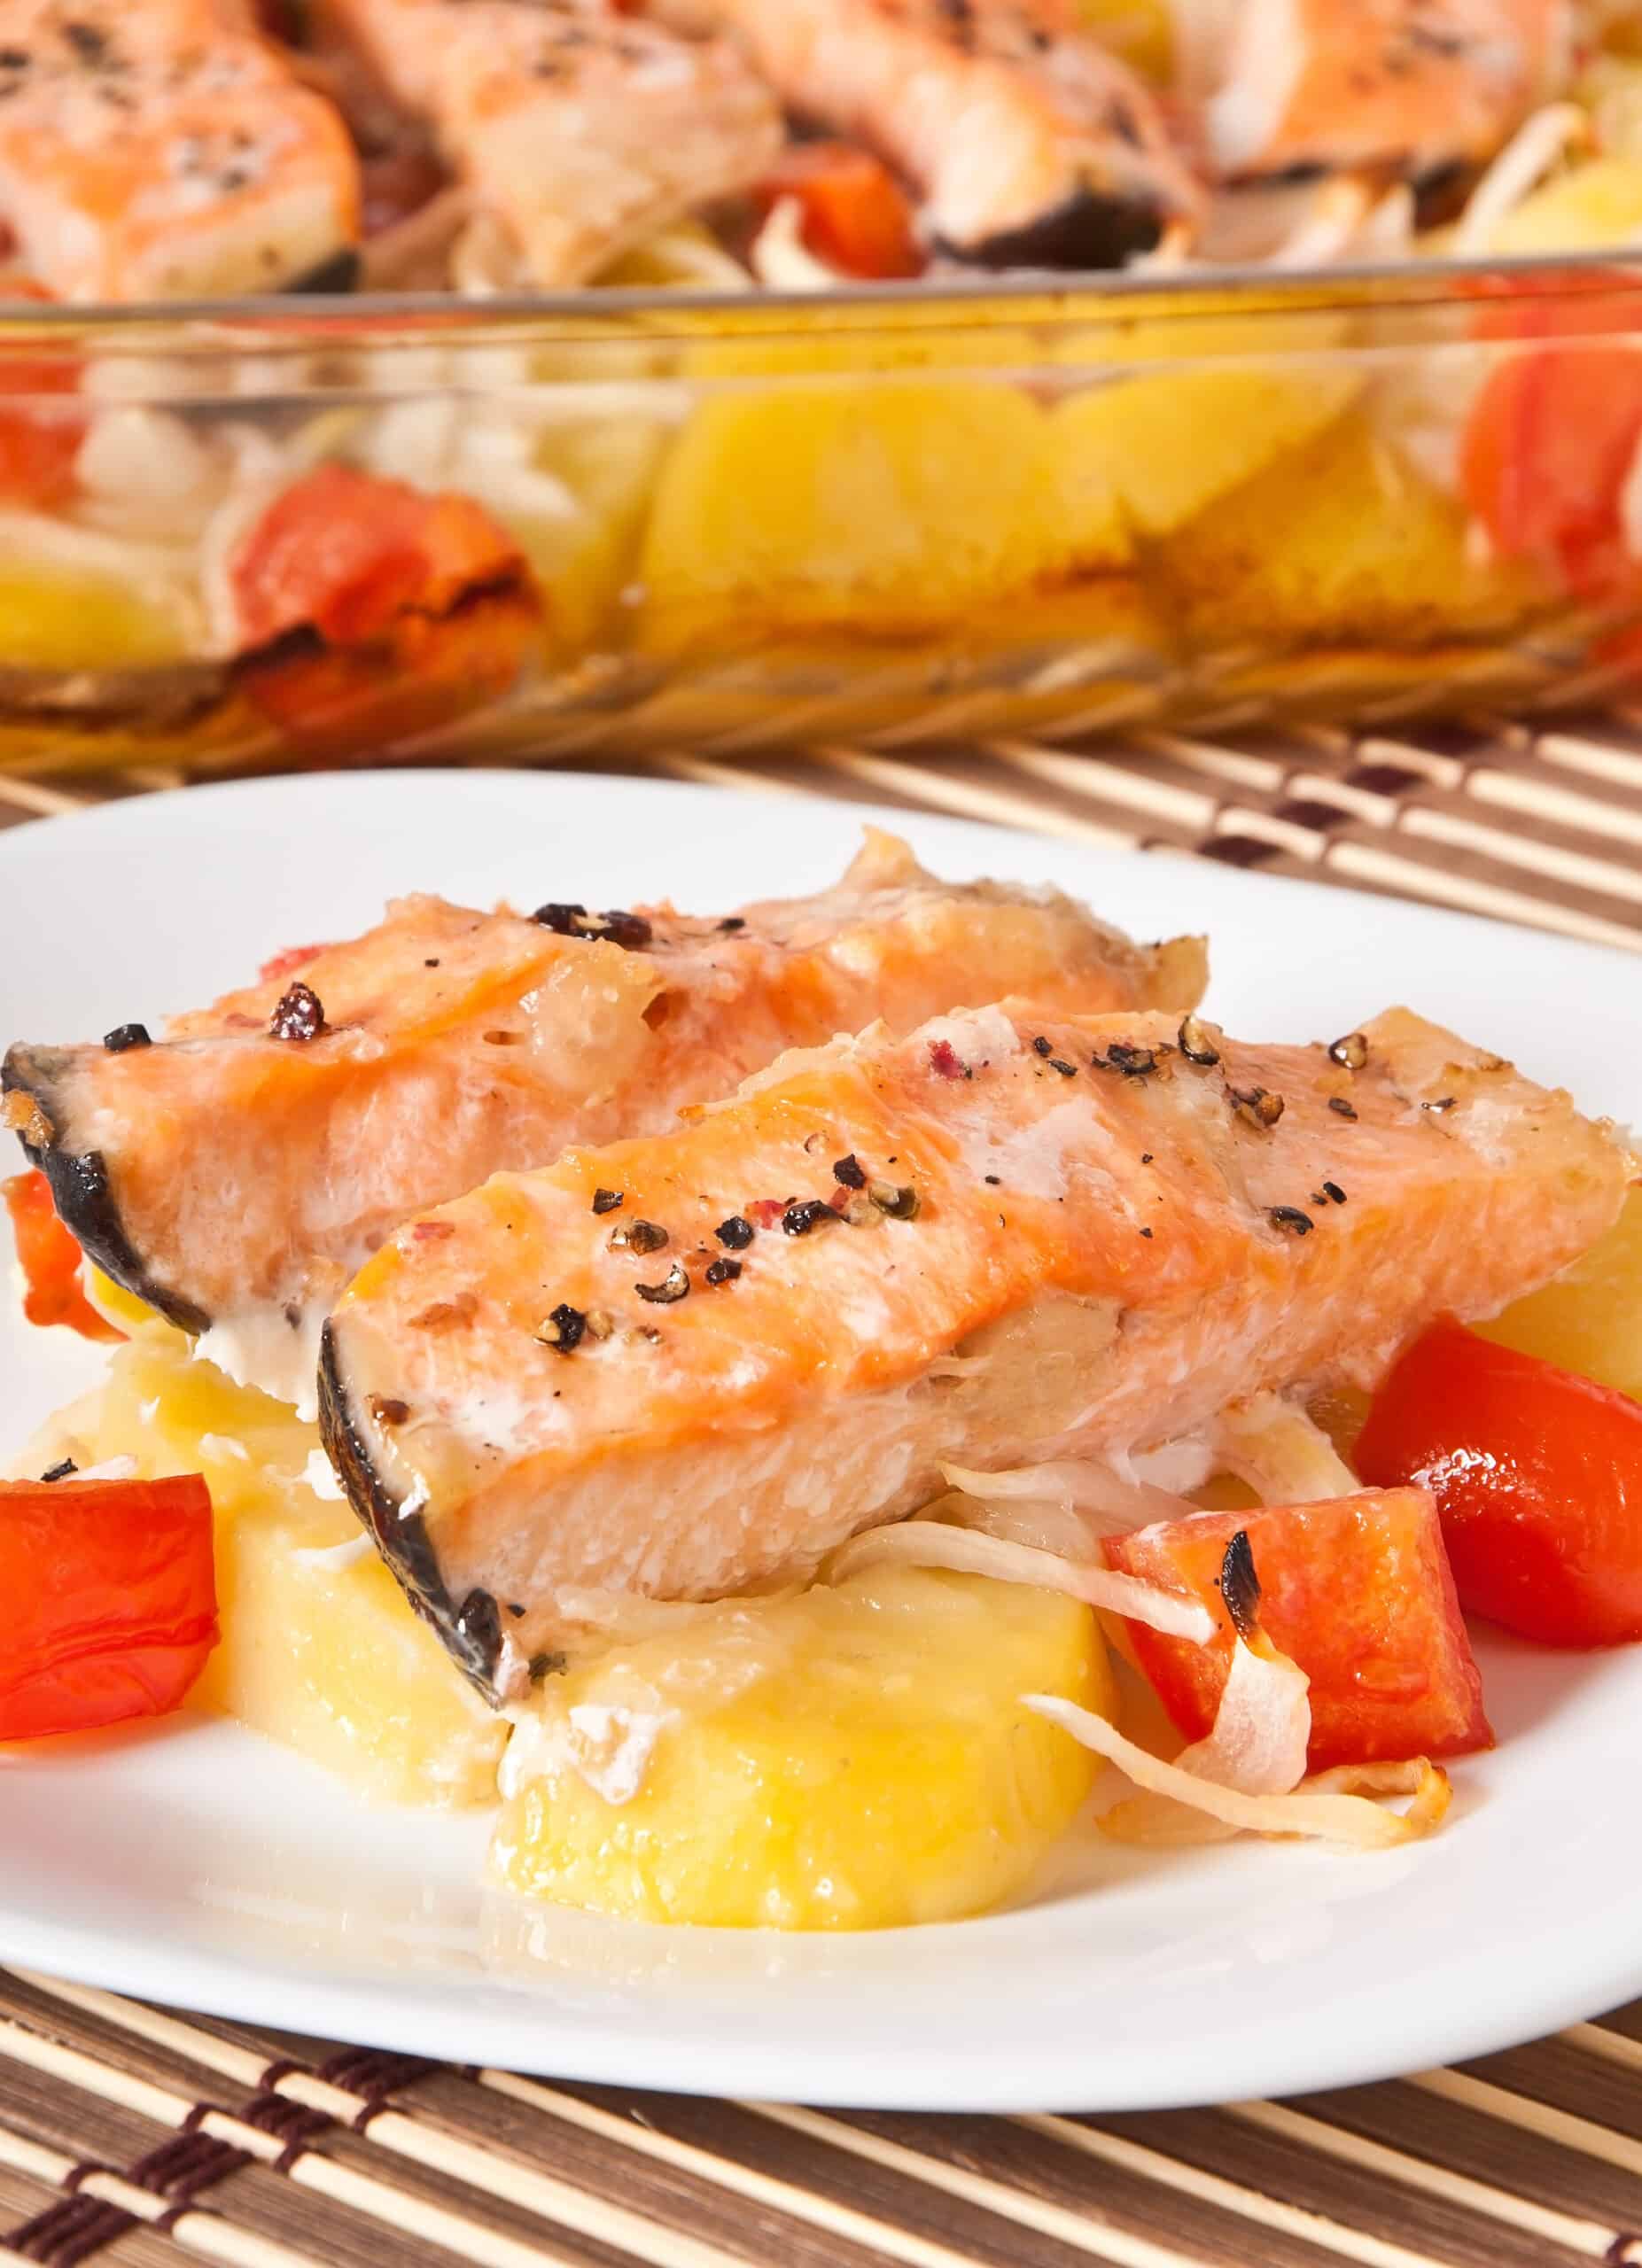
- You can go all out with garnishing the oven-baked salmon with some lemon wedges, steamed broccoli, mashed potatoes, freshly chopped parsley or whatever works best for you. Serve and enjoy!.
Low in calories, saturated fats and serving from a medium-rare to a medium-well done, oven baked salmon fillets would definitely make you craving for more each time. We believe this piece was really helpful, if you wish to learn more about this recipe, we suggest you try out this video recipe.
